I didn’t try Hatch chiles until I moved away from home for college. Growing up, my mom stuck to bell peppers and jalapeños – that was about as adventurous as we got with peppers in our kitchen. The first time my roommate made these burritos, I couldn’t believe what I’d been missing.
Turns out, Hatch chiles have this perfect balance of heat and flavor that regular peppers just can’t match. And when you wrap them up in a warm tortilla with some beans and cheese? It’s the kind of simple comfort food that makes you wonder why you ever bothered with plain old bean burritos in the first place.
Why You’ll Love These Hatch Chile Burritos
- Quick preparation – These burritos come together in just 10-20 minutes, making them perfect for busy weekday lunches or quick snacks.
- Simple ingredients – With just 4 basic ingredients, you can create these tasty burritos without a complicated shopping list or fancy techniques.
- Customizable heat level – Hatch chiles come in mild to hot varieties, so you can choose the perfect spice level for your taste preferences.
- No cooking required – Once you have your roasted Hatch chiles ready, these burritos are just assembly – perfect for those hot days when you don’t want to turn on the stove.
What Kind of Hatch Chiles Should I Use?
Hatch chiles come in both mild and hot varieties, so you’ll want to choose based on your heat preference. These special peppers are grown in New Mexico’s Hatch Valley and are typically available fresh during the late summer harvest season from August through September. If you can’t find fresh Hatch chiles, you can often find them canned or frozen at specialty grocery stores – though fresh ones will give you the best flavor when roasted. When selecting fresh Hatch chiles, look for firm, smooth peppers without any soft spots or wrinkles. Keep in mind that the longer these chiles mature on the vine, the spicier they become, so greener ones tend to be milder while those with more red coloring pack more heat.
Options for Substitutions
Can’t find all the ingredients? Here are some helpful swaps you can try:
- Hatch chiles: If Hatch chiles aren’t in season or available in your area, you can use poblano peppers or Anaheim chiles instead. Just roast them the same way. For a milder option, try roasted green bell peppers, though the flavor will be different.
- Whipped cream cheese: Regular cream cheese works fine – just let it soften at room temperature and whip it with a fork. You could also use Mexican crema, ricotta cheese, or even mashed avocado for a dairy-free option.
- Flour tortilla: While flour tortillas are best for burritos, you can use corn tortillas to make tacos instead. Just warm them slightly so they’re pliable. For a low-carb option, try using large lettuce leaves to make wraps.
- Garlic powder: Fresh minced garlic works great here – use about 1/4 teaspoon per 1/8 teaspoon of garlic powder. Onion powder or even a pinch of cumin can work if you’re out of garlic powder.
Watch Out for These Mistakes While Cooking
The biggest challenge when making Hatch chile burritos is properly roasting and handling the chiles – if you skip the crucial step of placing the roasted chiles in a sealed plastic bag for 15 minutes, the skins won’t peel off easily and you’ll lose precious chile flesh in the process.
Temperature control is essential when warming your tortillas – too hot and they’ll become brittle and crack, too cool and they won’t be pliable enough to roll properly, so aim for medium-low heat and warm them just until they’re flexible.
A common mistake is overfilling the burrito or spreading the cream cheese too thick, which can lead to messy eating and potential tearing – instead, use a thin, even layer of whipped cream cheese and leave about an inch of space around the edges for proper rolling.
For the best flavor balance, let the cream cheese come to room temperature before spreading, and remember to season it with garlic powder before assembly rather than sprinkling it on top.

What to Serve With Hatch Chile Burritos?
These spicy burritos pair perfectly with classic Mexican side dishes that help balance out the heat of the Hatch chiles. A scoop of Mexican rice and refried beans makes the meal more filling and gives you something mild to enjoy between bites of the zesty burrito. I love serving these with a fresh, chunky pico de gallo or a simple guacamole on the side – the cool, creamy avocado is especially nice with the spicy chiles. For a complete meal, add some Mexican-style street corn (elote) or a simple cabbage slaw dressed with lime juice to add some crunch and freshness to your plate.
Storage Instructions
Keep Fresh: These Hatch chile burritos are best enjoyed right after making them, but if you need to save some for later, wrap them tightly in aluminum foil or plastic wrap. They’ll stay good in the fridge for up to 2 days – any longer and the tortilla might get a bit soggy from the cream cheese.
Make Ahead: You can prep your Hatch chiles in advance! After roasting and cleaning them, store the chile strips in an airtight container in the fridge for up to 4 days. This makes burrito assembly super quick when you’re ready to eat.
Warm Up: If you’re working with leftover burritos from the fridge, wrap them in foil and pop them in a 350°F oven for about 10 minutes. You can also use a microwave for 30 seconds, though the tortilla might not be as crispy. Just keep an eye on them – you want them warm but not hot enough to make the cream cheese runny!
| Preparation Time | 10-15 minutes |
| Cooking Time | 0-5 minutes |
| Total Time | 10-20 minutes |
| Level of Difficulty | Easy |
Estimated Nutrition
Estimated nutrition for the whole recipe (without optional ingredients):
- Calories: 300-350
- Protein: 6-10 g
- Fat: 15-20 g
- Carbohydrates: 40-45 g
Ingredients
- 1 large wheat tortilla
- Whipped cream cheese spread
- Garlic powder to sprinkle
- 1 hatch pepper, fire-roasted, peeled, deseeded, sliced into strips
Step 1: Prepare the Tortilla
- 1 large wheat tortilla
Lay the large wheat tortilla flat on a clean surface.
This gives you a ready base to easily assemble the filling.
Step 2: Spread the Cream Cheese
- whipped cream cheese spread
Using an offset spatula or any spreader you have, evenly spread a thin layer of whipped cream cheese over the entire surface of the tortilla.
Be sure to cover all edges to help the roll stick together later.
Step 3: Add Flavor and Hatch Pepper Strips
- garlic powder to sprinkle
- 1 Hatch pepper, fire-roasted, peeled, deseeded, sliced into strips
Lightly sprinkle garlic powder over the cream cheese for an extra boost of flavor.
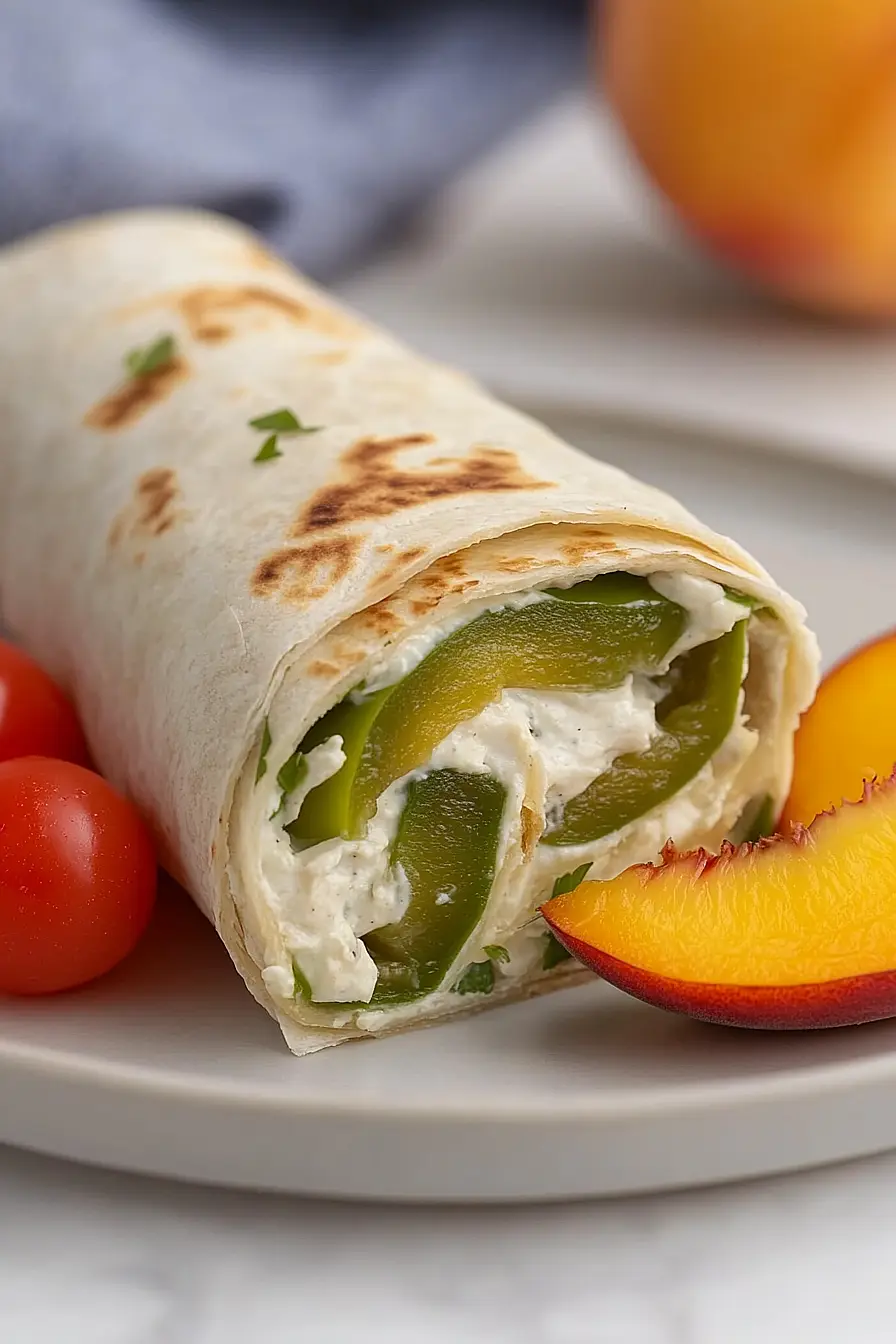
Evenly arrange the fire-roasted Hatch pepper strips (which should already be peeled, deseeded, and sliced into strips) on top of the cream cheese.
I like to make sure the strips are distributed all over so every bite has that tasty Hatch chile.
Step 4: Roll and Slice the Tortilla
Starting from one end, roll the tortilla tightly with your hands, making sure the cream cheese helps seal everything together.
Once rolled, use a sharp knife to cut the tortilla in half or into smaller slices for pinwheel-style pieces if you want bite-sized snacks.
Step 5: Serve
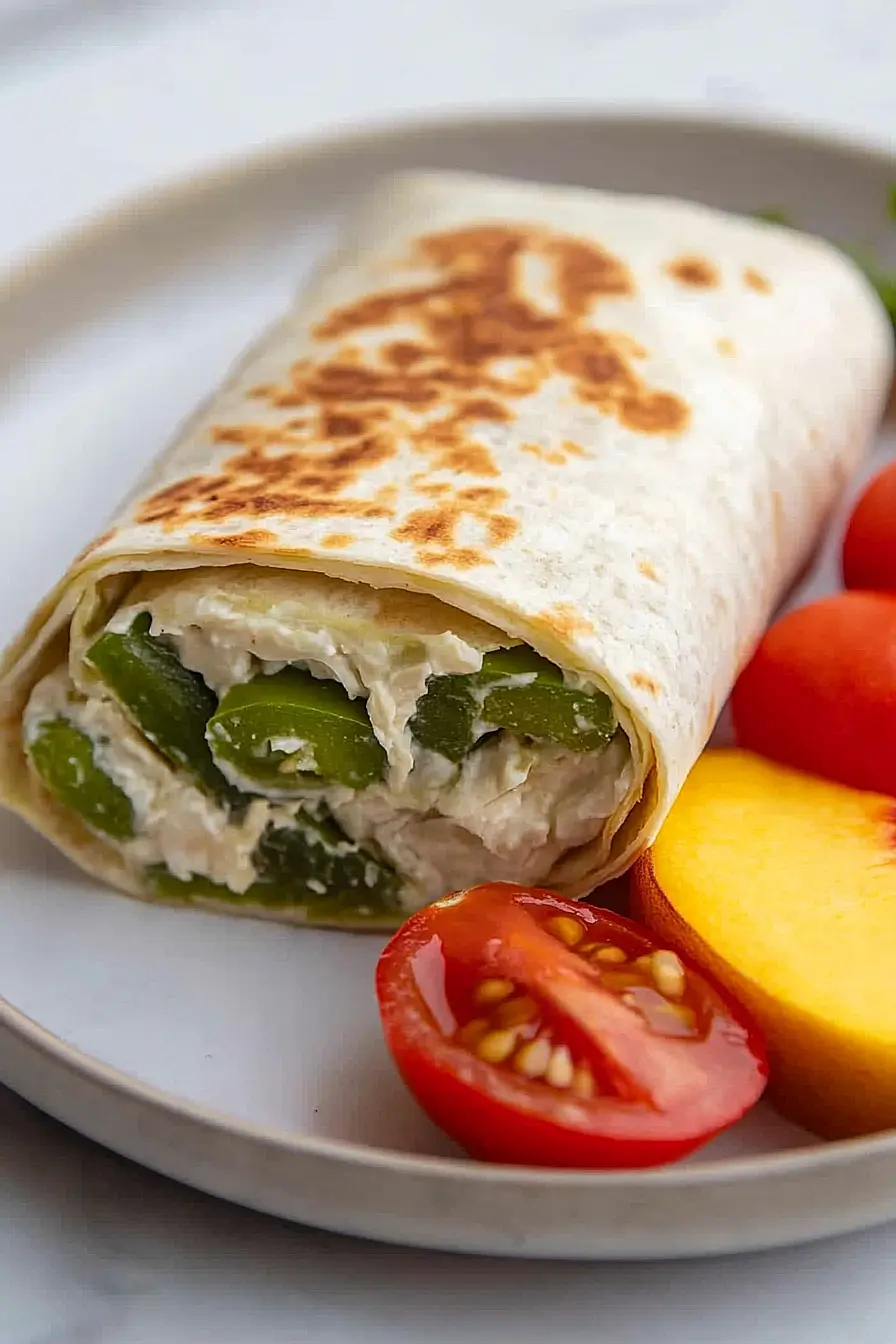
Place the sliced tortilla pieces on a plate and serve immediately.
You can enjoy the halves as is, or arrange pinwheel-style pieces for a nice presentation.
")
")