If you ask me, caramelized onions are one of the most useful things you can keep in your kitchen.
These golden, sweet onions add rich flavor to everything from sandwiches to pasta dishes. The slow cooking process brings out their natural sweetness and creates that deep, jammy texture we all love.
They’re made with just onions, oil, and a pinch of salt – no butter or animal products needed. Low heat and patience are your best friends here, as the onions slowly turn from sharp and pungent to mellow and sweet.
Once you make a batch, you’ll find yourself adding them to grain bowls, pizza, soup, and pretty much everything else. They keep well in the fridge and make any simple meal taste more special.
Why You’ll Love This Caramelized Onions
- Simple ingredients – With just onions, a bit of oil, and optional salt, you probably already have everything you need in your kitchen right now.
- Vegan-friendly – This recipe is naturally plant-based, making it perfect for anyone following a vegan diet or looking to add more plant-based sides to their meals.
- Hands-off cooking – Once you get them started, these onions mostly cook themselves with just occasional stirring, giving you time to prep other dishes.
- Flavor booster for any meal – These sweet, golden onions can transform everything from burgers and sandwiches to pasta and grain bowls with their rich, deep flavor.
- Make-ahead friendly – You can make a big batch and store them in the fridge for up to a week, having this flavor enhancer ready whenever you need it.
What Kind of Onions Should I Use?
The great news about caramelized onions is that you can use pretty much any type of onion you have on hand. Yellow onions are the most popular choice because they have a good balance of sweetness and flavor that really shines when caramelized. Sweet onions like Vidalia or Walla Walla work wonderfully too and will give you an even sweeter result. Red onions will add a slightly different flavor and a beautiful color, while white onions are perfectly fine if that’s what you’ve got in your kitchen. Just make sure your onions are firm and fresh – avoid any that feel soft or have dark spots, as these won’t caramelize as well.
Options for Substitutions
This simple recipe is pretty forgiving when it comes to swaps:
- Onions: Yellow onions are the classic choice for caramelizing, but sweet onions like Vidalia or Walla Walla work great too and cook a bit faster. Red onions will give you a deeper color and slightly different flavor. White onions work fine but may be a touch sharper.
- Cooking oil: Any neutral oil works here – vegetable, canola, or avocado oil are all good options. You can also use a mix of oil and vegan butter for extra richness, just watch the heat so the butter doesn’t burn.
- Salt: While salt helps draw out moisture and speeds up the process, you can skip it entirely if you’re watching sodium. The onions will still caramelize, just plan for a longer cooking time.
- Water: Instead of plain water for deglazing, try vegetable broth for extra flavor, or even a splash of balsamic vinegar during the last few minutes for a sweet-tangy finish.
Watch Out for These Mistakes While Cooking
The biggest mistake people make with caramelized onions is rushing the process by cranking up the heat, which will burn the onions instead of giving you that sweet, golden result you’re after – keep the heat on medium-low and be patient, as proper caramelization takes 30-45 minutes.
Another common error is not slicing the onions evenly, so aim for consistent thickness (about 1/4 inch) to ensure they cook at the same rate and don’t end up with some burnt pieces and others still raw.
Don’t skip adding a splash of water when the onions start to stick or look too dry, as this helps deglaze the pan and prevents burning while keeping the caramelization process going.
Finally, resist the urge to stir constantly – let the onions sit and develop that beautiful brown color before giving them a gentle stir every 5-10 minutes.
What to Serve With Caramelized Onions?
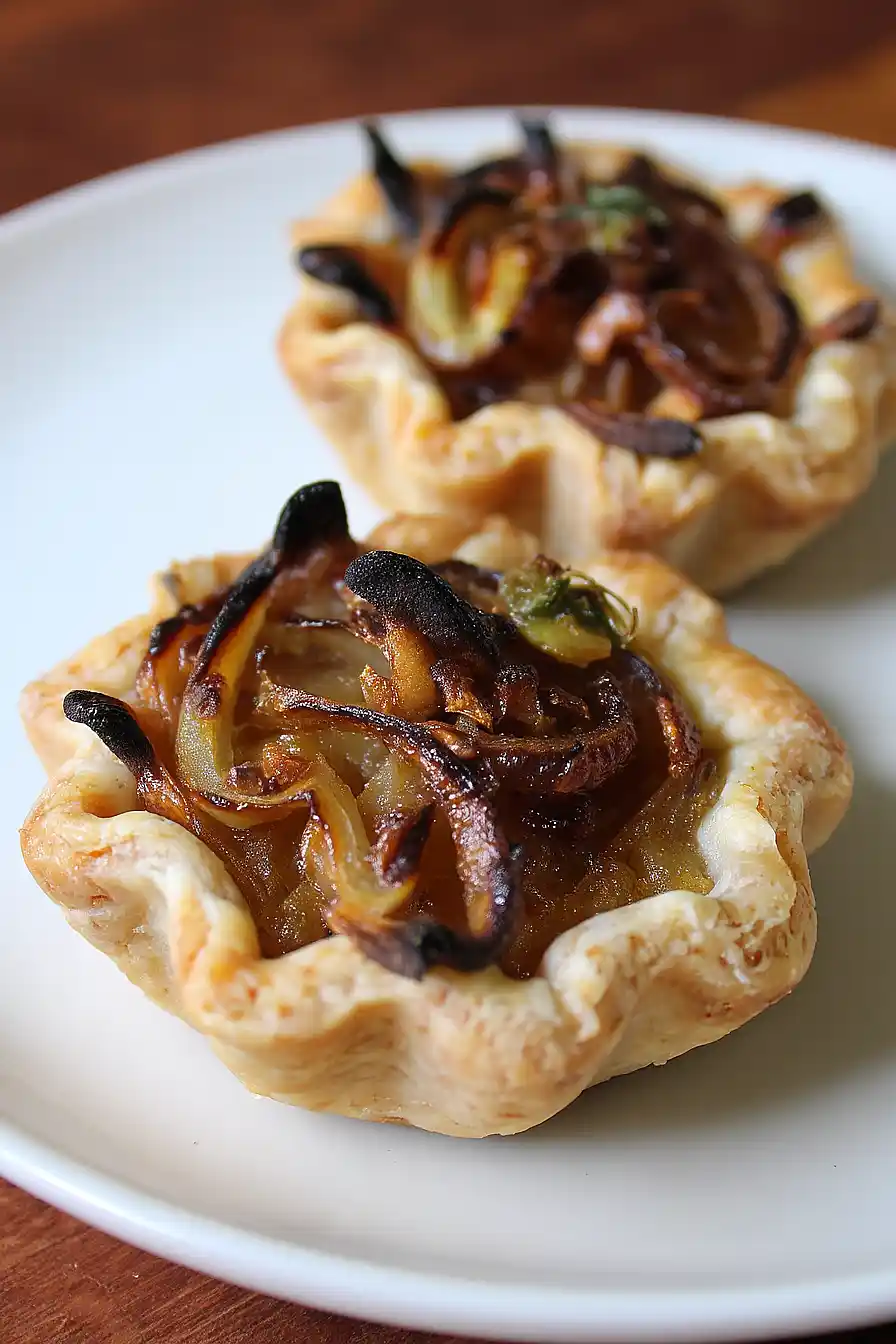
Caramelized onions are like the perfect sidekick that makes everything taste better! I love piling them on top of grilled burgers or veggie patties, where their sweet flavor really complements the savory meat or plant-based protein. They’re also amazing stirred into pasta dishes, especially with some fresh herbs and a splash of balsamic vinegar, or spooned over baked potatoes with a dollop of sour cream. For something a bit fancier, try them on flatbread or pizza with some goat cheese and arugula, or mix them into scrambled eggs or an omelet for a restaurant-quality breakfast at home.
Storage Instructions
Refrigerate: Your caramelized onions will keep beautifully in the fridge for up to a week in an airtight container. I always make a big batch because they’re so handy to have around for adding to sandwiches, pizzas, or pasta dishes throughout the week.
Freeze: These golden onions freeze really well for up to 6 months! I like to portion them out in ice cube trays or small containers so I can grab just what I need. Once frozen solid, you can transfer them to freezer bags to save space.
Use: You can use the caramelized onions straight from the fridge, or thaw frozen ones in the microwave or on the stovetop. They’re perfect for adding instant flavor to soups, grain bowls, or even scrambled eggs without any extra prep time.
| Preparation Time | 10-15 minutes |
| Cooking Time | 90-120 minutes |
| Total Time | 100-135 minutes |
| Level of Difficulty | Medium |
Estimated Nutrition
Estimated nutrition for the whole recipe (without optional ingredients):
- Calories: 200-250
- Protein: 4-6 g
- Fat: 4-6 g
- Carbohydrates: 40-50 g
Ingredients
- 4 large onions (about 2 lb; any variety preferred)
- 1/4 to 1/2 tsp salt, optional
- 1/2 tbsp neutral oil
- Water, as needed for cooking
Step 1: Prepare the Onions
- 4 large onions (about 2 lb; any variety preferred)
- 1/4 to 1/2 tsp salt, optional
Slice the onions into small, uniform pieces to ensure even cooking.
Use your fingers to separate the slices thoroughly.
If you are using salt, sprinkle it over the onions at this point and gently work it in with your hands.
Step 2: Begin Cooking the Onions
- 1/2 tbsp neutral oil
- sliced onions with salt from Step 1
Heat the neutral oil in a large pan over medium heat.
Add the prepared onions from Step 1 to the pan and spread them evenly.
Cook the onions for 10 minutes, then stir to promote even cooking.
Continue this process—cooking for 10 minutes and then stirring—until the onions become sticky or start to adhere to the pan.
Personally, I like using a heavy-bottomed skillet here for more control over the cooking process.
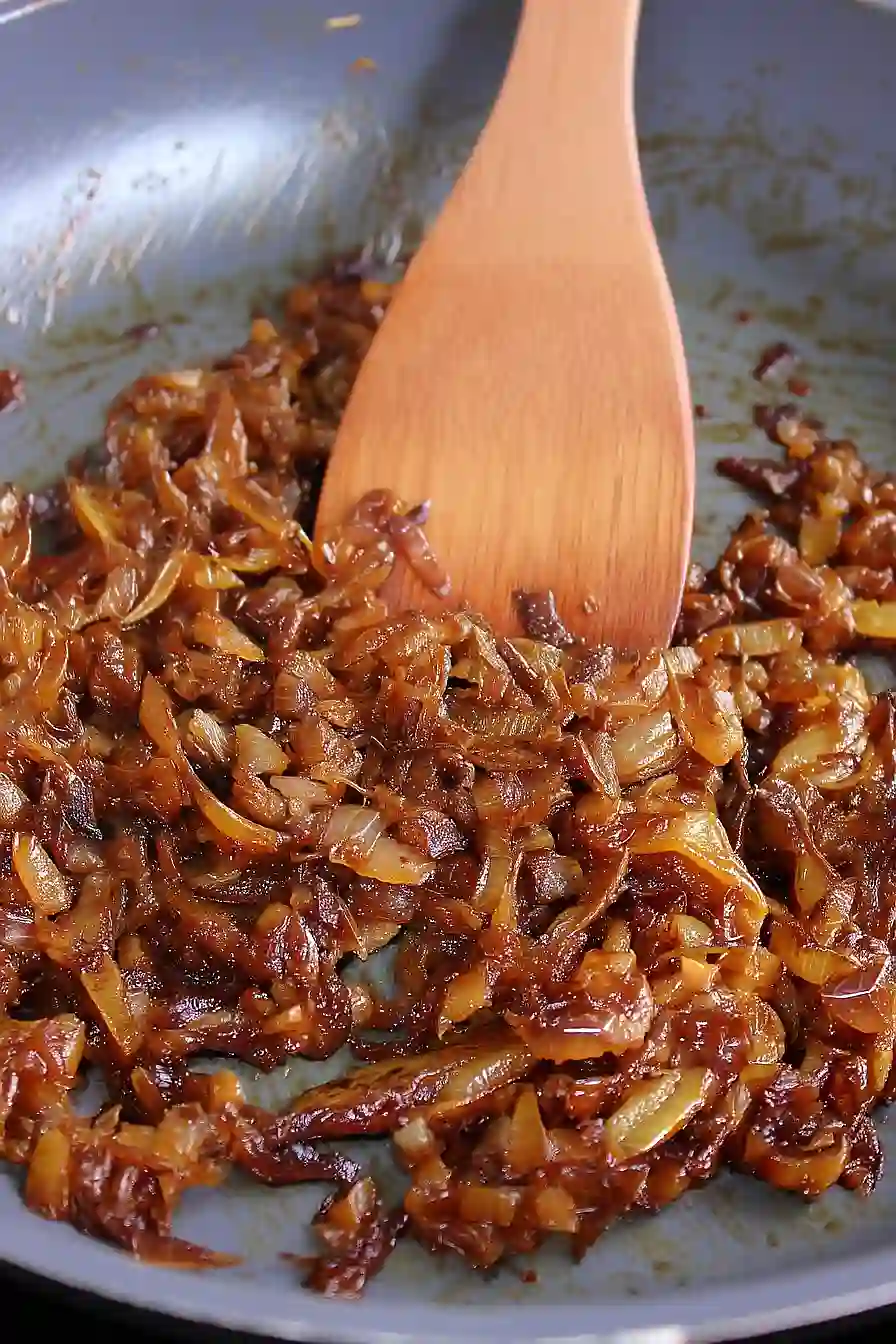
Step 3: Caramelize the Onions
- water, as needed for cooking
- partially cooked onions from Step 2
When the onions start to stick or look gummy, add a few tablespoons of water to the pan.
Stir well, scraping any bits from the bottom.
Continue the cycle: let the onions cook for 10 minutes, then stir and add water as needed whenever they stick.
Repeat this process until the onions are deeply browned, soft, and gooey—this can take 1.5 to 2 hours, so be patient.
I find it helps to keep a container of water nearby so you can add small amounts regularly without interrupting your workflow.
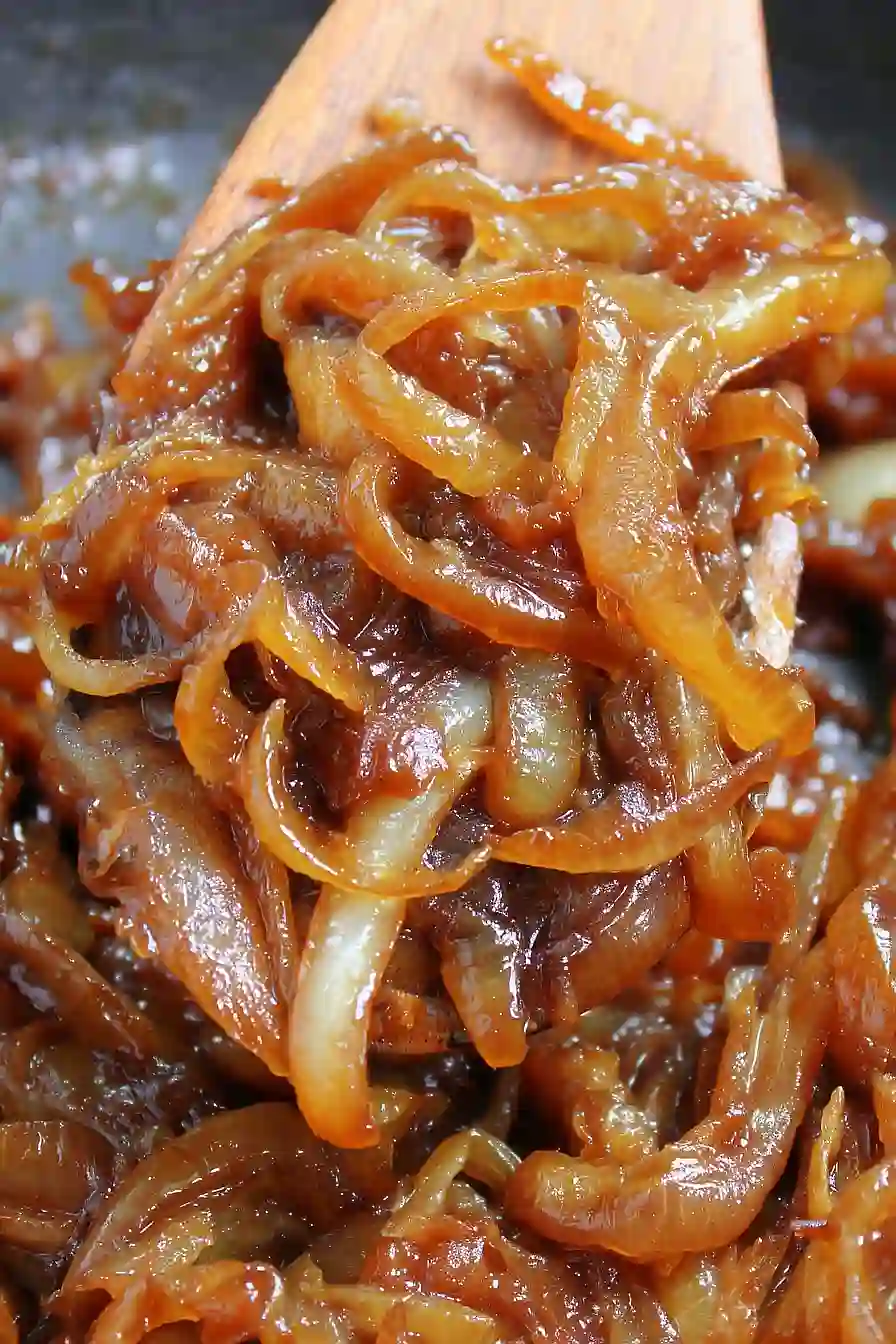
Step 4: Finish and Store the Caramelized Onions
Once your onions achieve a deep brown color and rich flavor, add a final splash of water to deglaze the pan and stir in all the caramelized bits.
Transfer the onions to a heatproof container.
You can serve them immediately or store them in an airtight container in the refrigerator for up to a week.
