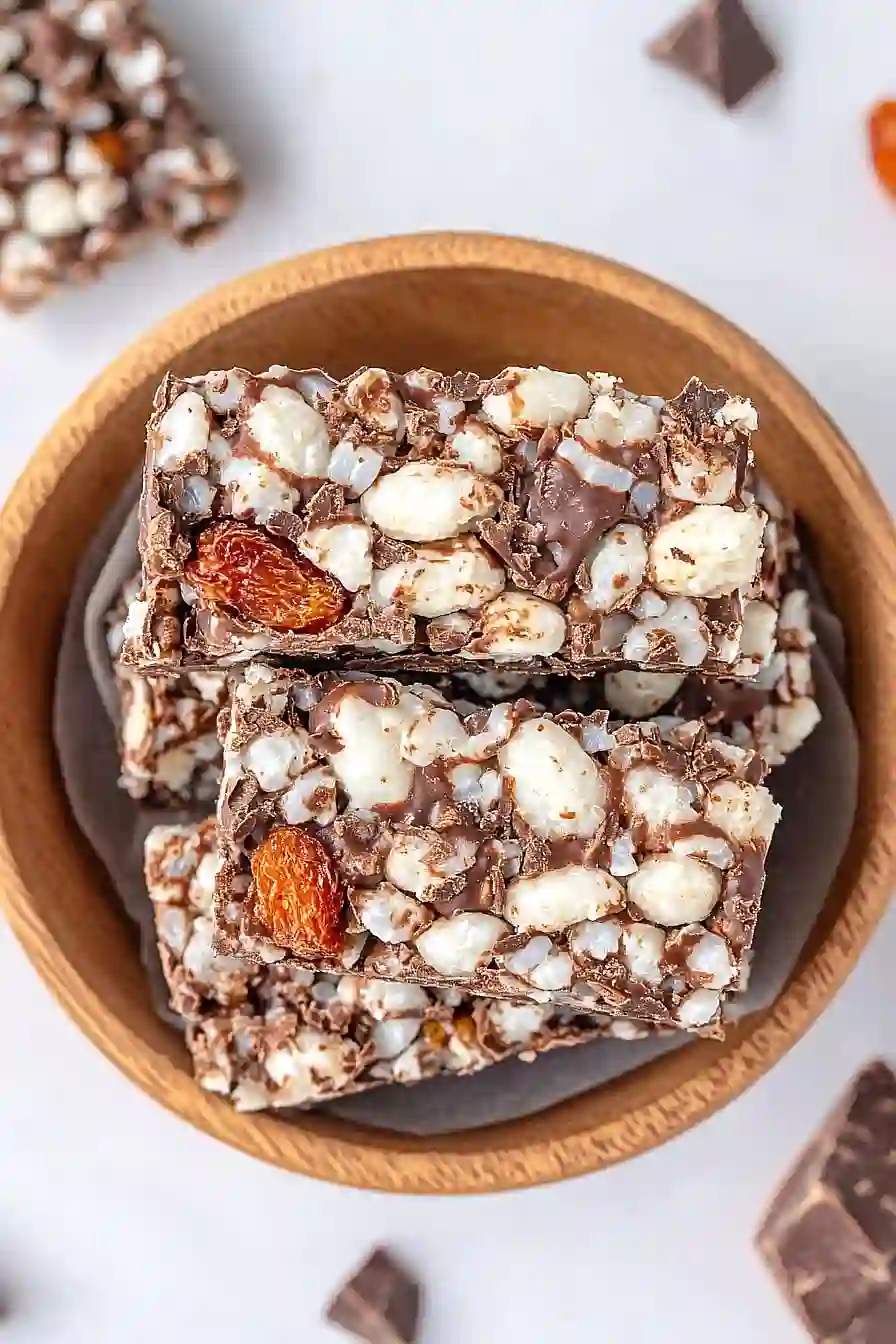
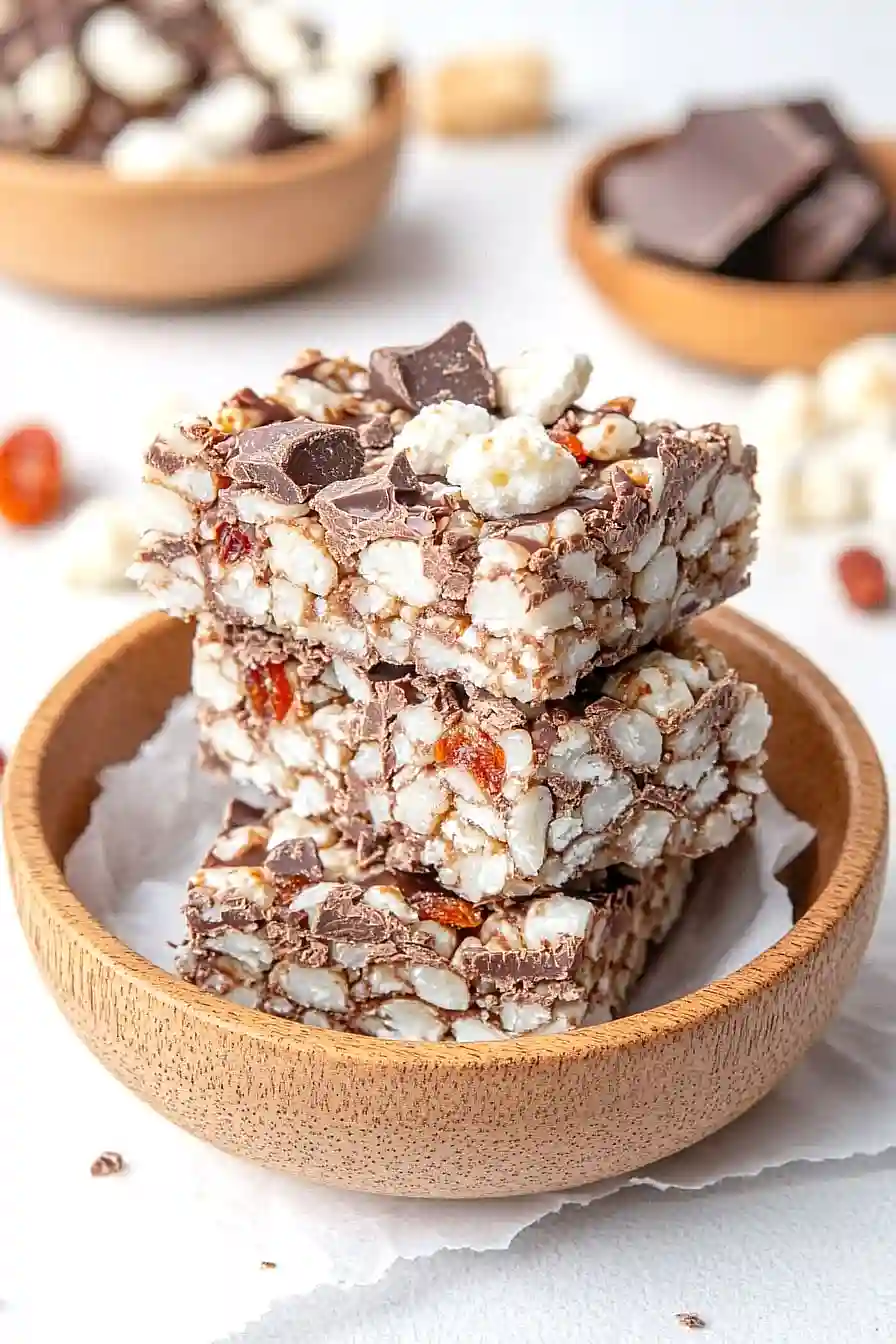
I thought rice cake bars were only something you could buy at the store until my neighbor brought over a homemade batch last month. They were so much better than anything I’d ever grabbed off the shelf—chewy, sweet, and actually fresh.
Turns out, making them at home is way easier than I expected. You don’t need any fancy equipment or hard-to-find ingredients. Just a few pantry staples and about 20 minutes of your time, and you’ve got a batch that’ll make the store-bought versions seem pretty sad in comparison.

Why You’ll Love These Rice Cake Bars
- No-bake simplicity – These bars come together without turning on your oven, making them perfect for hot summer days or when you want a quick treat without the fuss.
- Customizable mix-ins – You can switch up the flavors with whatever you have on hand – nuts, seeds, dried fruit, or extra chocolate chips all work great.
- Quick preparation – Ready in under an hour from start to finish, these bars are perfect when you need a homemade treat fast.
- Pantry-friendly ingredients – Made with simple staples like rice cakes, nut butter, and chocolate chips that you probably already have in your kitchen.
- Naturally gluten-free – Using rice cakes as the base makes these bars a great option for anyone avoiding gluten, without sacrificing taste or texture.
What Kind of Rice Cakes Should I Use?
Any plain rice cakes will work great for this recipe, whether you go with brown rice or white rice varieties. The key is using unflavored rice cakes since you’ll be adding your own sweetness and flavors with the other ingredients. Thick or thin rice cakes both work fine – you’re going to crumble them up anyway, so don’t worry too much about the shape or size. If you only have flavored rice cakes on hand, like lightly salted ones, they’ll still work but might add a bit of extra saltiness to your bars.
Options for Substitutions
These rice cake bars are super adaptable – here are some easy swaps you can make:
- Rice cakes: If you don’t have rice cakes, try using crushed graham crackers, crushed pretzels, or even puffed rice cereal. You’ll want about 2 cups of whatever you choose once it’s crumbled up.
- Nut butter: Any nut or seed butter works great here – almond, peanut, cashew, or sunflower seed butter if you have nut allergies. Just make sure it’s the creamy kind for best results.
- Brown sugar: You can use regular white sugar, maple syrup (reduce by half), or honey instead. Coconut sugar works perfectly too and adds a nice caramel-like flavor.
- Chocolate chips: Feel free to use chopped chocolate bars, mini chocolate chips, or even carob chips. Dark chocolate, milk chocolate, or white chocolate all work depending on your preference.
- Mix-ins: Get creative with what you have on hand! Dried cranberries, coconut flakes, crushed cookies, or even cereal pieces make great additions. Just stick to about ½ cup total so the bars hold together well.
Watch Out for These Mistakes While Making
The biggest mistake when making rice cake bars is not crushing the rice cakes into uniform pieces – aim for chunks about the size of a pea rather than fine crumbs, as this gives you the perfect chewy texture without making the bars too dense.
Another common error is not warming your nut butter slightly before mixing, which makes it much easier to combine with the other ingredients and creates a smoother binding mixture.
Don’t skip pressing the mixture firmly into your pan using the back of a spoon or your hands – loose packing will result in bars that crumble apart when you try to cut them.
For clean cuts, chill the bars in the refrigerator for at least 2 hours before slicing, and use a sharp knife wiped clean between cuts to get those perfect square edges.
What to Serve With Rice Cake Bars?
These rice cake bars are perfect as a grab-and-go snack, but they also make a great dessert when you want something sweet but not too heavy. I love serving them alongside a cup of coffee or tea in the afternoon – the crunchy texture pairs really well with a warm drink. They’re also fantastic for packing in lunch boxes or bringing to potlucks since they travel so well and don’t need any special serving dishes. For a fun dessert spread, try cutting them into smaller squares and serving them with fresh berries or a scoop of vanilla ice cream.
Storage Instructions
Keep Fresh: These rice cake bars stay perfectly chewy when stored in an airtight container at room temperature for up to a week. I like to cut parchment paper to fit between layers if I’m stacking them, which keeps them from sticking together.
Chill: Pop them in the fridge if you want a firmer texture or if your kitchen gets really warm. They’ll keep for up to 2 weeks in the refrigerator and actually taste amazing cold – almost like a candy bar! Just let them sit out for a few minutes before eating if you prefer them softer.
Freeze: These bars freeze really well for up to 3 months in a freezer-safe container. I love having them stashed away for when I need a quick snack. They thaw pretty quickly at room temperature, or you can eat them straight from the freezer for a fun frozen treat.
| Preparation Time | 10-15 minutes |
| Cooking Time | 30-40 minutes |
| Total Time | 40-55 minutes |
| Level of Difficulty | Easy |
Estimated Nutrition
Estimated nutrition for the whole recipe (without optional ingredients):
- Calories: 1500-1700
- Protein: 25-30 g
- Fat: 85-95 g
- Carbohydrates: 150-160 g
Ingredients
For the bars:
- 8 rice cakes, broken into pieces
- 1/2 cup nut butter of your choice
- 1 cup chocolate chips (use dairy-free for vegan)
- 1/2 cup add-ins (such as chopped nuts, dried fruit, seeds, marshmallows, or white chocolate chips)
- 2 tbsp brown sugar or coconut sugar
- 1 tbsp vanilla extract
For the topping:
- 1/4 cup white chocolate chips, melted (optional, for drizzling)
- Flaky sea salt, as garnish
Step 1: Prepare the Rice Cake Base
- 8 rice cakes, broken into pieces
- 1/2 cup add-ins (such as chopped nuts, dried fruit, seeds, marshmallows, or white chocolate chips)
In a large bowl, combine the broken rice cakes with your chosen add-ins, such as chopped nuts, dried fruit, seeds, marshmallows, or white chocolate chips.
Mix together so the add-ins are evenly distributed throughout the rice cake pieces.
I like to use a mix of dried cranberries and pistachios for extra flavor and color.
Step 2: Melt the Chocolate Mixture
- 1/2 cup nut butter of your choice
- 1 cup chocolate chips (use dairy-free for vegan)
- 2 tbsp brown sugar or coconut sugar
- 1 tbsp vanilla extract
In a small microwave-safe bowl, combine the nut butter, chocolate chips, brown sugar or coconut sugar, and vanilla extract.
Microwave on high in 30-second intervals, stirring between each interval, until the mixture is melted and smooth.
This usually takes about 1 to 1.5 minutes.
Step 3: Combine and Press into Pan
- Rice cake mixture from Step 1
- Melted chocolate mixture from Step 2
Pour the melted chocolate mixture from Step 2 over the rice cake mixture from Step 1.
Mix well until all of the rice cakes and add-ins are coated.
Transfer the combined mixture into an 8×8 freezer-safe dish lined with parchment paper.
Press the mixture down firmly and evenly.
Place the dish in the freezer for 30 minutes to set.
Step 4: Melt the White Chocolate (Optional)
- 1/4 cup white chocolate chips, melted (optional, for drizzling)
If using, place the white chocolate chips in a small microwave-safe bowl.
Microwave in 15-second intervals, stirring after each, until melted and smooth.
This shouldn’t take more than a minute.
If you’re a big fan of white chocolate like I am, you can also add an extra sprinkle of chopped white chocolate on top for added texture.
Step 5: Drizzle, Garnish, and Set
- Melted white chocolate from Step 4
- flaky sea salt, as garnish
Remove the chilled bars from the freezer.
Drizzle the melted white chocolate (from Step 4) over the bars, then sprinkle with flaky sea salt.
Return the dish to the freezer for another 10 minutes to allow the drizzle to set before slicing into bars.
Step 6: Cut and Store the Bars
Once set, lift the bars out using the parchment, cut into squares, and serve.
You can keep them at room temperature for up to 3 days, refrigerate for up to a week, or freeze for up to a month.
I like to keep a stash in the freezer for a quick snack whenever I need one!
