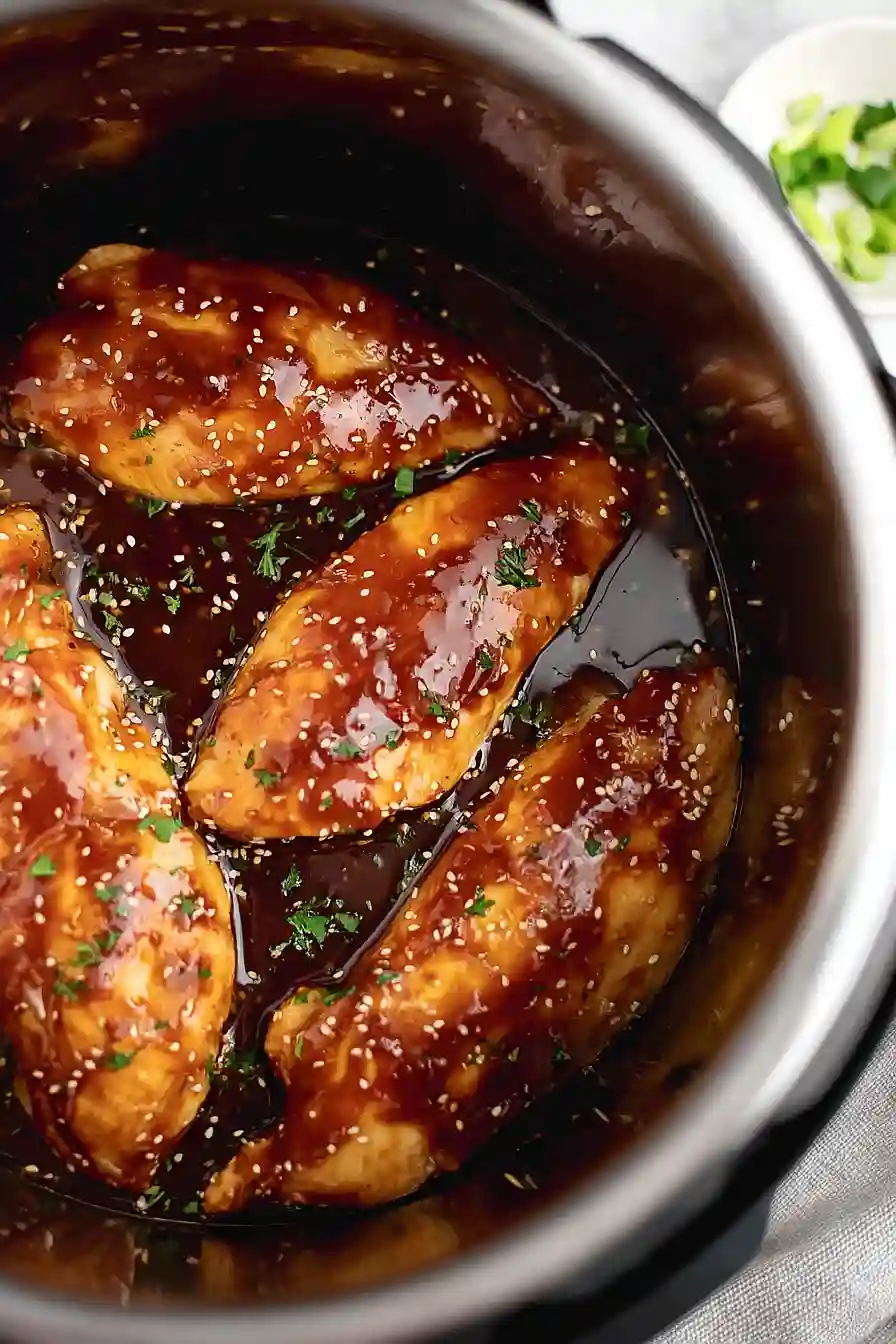
Here is my favorite Instant Pot honey garlic chicken recipe, with tender chicken breasts cooked in a sweet and savory sauce made with honey, soy sauce, garlic, ginger, and just a little kick of sriracha if you want it.
This honey garlic chicken is one of those weeknight dinners that feels fancy but comes together in less than 30 minutes thanks to the Instant Pot. My family loves it served over rice with extra sauce, and I love that I only have one pot to clean up at the end of the night!
Why You’ll Love This Honey Garlic Chicken
- Quick weeknight dinner – This Instant Pot recipe gets dinner on the table in under 45 minutes, making it perfect for busy evenings when you need something fast.
- Sweet and savory flavor – The honey garlic sauce is the perfect balance of sweet and salty that everyone in the family will love, and it tastes like takeout but better.
- Simple pantry ingredients – You probably already have most of these ingredients in your kitchen, so no special shopping trip required.
- Pressure cooker convenience – The Instant Pot makes the chicken tender and juicy while infusing it with all that delicious sauce, and cleanup is a breeze with just one pot.
- Family-friendly meal – Serve it over rice with some veggies, and you’ve got a complete dinner that even picky eaters will ask for again.
What Kind of Chicken Should I Use?
For this recipe, boneless, skinless chicken breasts are your best bet since they cook evenly and quickly in the Instant Pot. If you only have frozen chicken breasts on hand, you can actually use them straight from the freezer – just add a few extra minutes to your cooking time. Fresh or thawed chicken will give you slightly better texture, but frozen works in a pinch when you need dinner on the table fast. You can also swap in chicken thighs if that’s what you have available, though they’ll give you a bit more fat and a richer flavor compared to the leaner breast meat.
Options for Substitutions
This recipe is pretty forgiving when it comes to swaps, so here are some options if you need to make changes:
- Chicken breasts: You can easily use chicken thighs instead – they’ll actually stay more tender during pressure cooking. Just keep the cooking time the same.
- Soy sauce: If you’re watching sodium, try low-sodium soy sauce. For a gluten-free version, swap it with tamari or coconut aminos (though coconut aminos are sweeter, so you might want to reduce the honey slightly).
- Honey: Maple syrup or agave nectar work well as substitutes. You can also use brown sugar, but start with 1/3 cup since it’s more concentrated.
- Vegetable oil: Any neutral oil works here – canola, avocado, or even olive oil will do the job just fine.
- Cornstarch: If you don’t have cornstarch, use 6 teaspoons of flour mixed with the water instead. It’ll thicken the sauce just as well, though it might not be quite as glossy.
- Fresh garlic: In a pinch, use 1 teaspoon of garlic powder, but add it with the other ingredients rather than sautéing it first.
Watch Out for These Mistakes While Cooking
The biggest mistake with Instant Pot chicken is not doing a proper quick release – if you let the pressure release naturally, your chicken will continue cooking and turn rubbery and dry.
Another common error is skipping the cornstarch slurry or adding it directly to the sauce without mixing it with water first, which creates lumps instead of a smooth, glossy coating.
To get the best texture, make sure your chicken breasts are roughly the same size (pound them if needed), and don’t stack them on top of each other in the pot – they should lay flat in a single layer for even cooking.
Finally, resist the urge to skip the saute step at the end, as those 5 minutes are what transform the thin cooking liquid into a thick, sticky sauce that actually clings to your chicken.
What to Serve With Honey Garlic Chicken?
This honey garlic chicken is already pretty sweet and savory, so it pairs perfectly with simple sides that won’t compete with those flavors. White rice or brown rice is the obvious choice since it soaks up all that delicious sauce, but you could also try cauliflower rice if you want something lighter. Steamed broccoli, snap peas, or green beans make great veggie sides that balance out the sweetness of the honey. For a complete meal, I like adding some roasted vegetables like carrots or bell peppers, or even a quick cucumber salad with rice vinegar to cut through the richness.
Storage Instructions
Store: Keep your leftover honey garlic chicken in an airtight container in the fridge for up to 4 days. The sauce actually gets even better as it sits, so don’t be surprised if it tastes amazing the next day! I like to store the chicken and rice separately so the rice doesn’t get too mushy.
Freeze: This chicken freezes really well for up to 3 months. Let it cool completely, then portion it out into freezer bags with some of that delicious sauce. I usually freeze it without the rice, since rice can get a bit weird in the freezer.
Reheat: Warm it up in the microwave for a couple minutes, stirring halfway through, or heat it gently on the stove over medium-low heat. Add a splash of water or chicken broth if the sauce seems too thick after reheating.
| Preparation Time | 10-15 minutes |
| Cooking Time | 20-30 minutes |
| Total Time | 30-45 minutes |
| Level of Difficulty | Easy |
| Servings | 5 servings |
Estimated Nutrition
Estimated nutrition for the whole recipe (without optional ingredients):
- Calories: 1700-1900
- Protein: 170-190 g
- Fat: 30-40 g
- Carbohydrates: 170-200 g
Ingredients
For the chicken:
- 5 chicken breasts
- salt to taste
- black pepper to taste
For the sauce:
- 3/4 cup honey
- 1/2 cup soy sauce (I use Kikkoman low sodium)
- 1/4 cup onion (finely diced)
- 1/4 cup ketchup
- 2 tbsp vegetable oil
- 5 garlic cloves (minced for best flavor)
- 1 tsp fresh ginger (grated)
- 1/2 tsp sriracha (optional, for a kick)
- 4 tsp cornstarch
- 1/4 cup water
For serving:
- sesame seeds
- green onion
- rice
Step 1: Prepare Mise en Place and Season Chicken
- 5 chicken breasts
- salt to taste
- black pepper to taste
- 5 garlic cloves
- 1 tsp fresh ginger
- 1/4 cup onion
Pat the 5 chicken breasts dry with paper towels and season both sides generously with salt and black pepper.
While the chicken rests, mince the 5 garlic cloves and grate the fresh ginger, then finely dice the onion.
Having everything prepped and ready will make the cooking process smooth and quick.
Step 2: Brown Chicken and Build Sauce Base
- 2 tbsp vegetable oil
- seasoned chicken breasts from Step 1
- 3/4 cup honey
- 1/2 cup soy sauce
- 1/4 cup ketchup
- 5 garlic cloves
- 1 tsp fresh ginger
- 1/4 cup onion
- 1/2 tsp sriracha
Set your Instant Pot to Sauté mode and heat 2 tablespoons of vegetable oil until shimmering.
Working in batches if needed, sear the seasoned chicken breasts for 2-3 minutes per side until golden brown—this builds flavor through the Maillard reaction.
While the chicken sears, whisk together the honey, soy sauce, ketchup, minced garlic, grated ginger, diced onion, and sriracha (if using) in a bowl to create your sauce base.
Step 3: Pressure Cook Chicken in Sauce
- sauce mixture from Step 2
- seared chicken from Step 2
Pour the honey garlic sauce from Step 2 over the seared chicken in the Instant Pot.
Stir gently to distribute the sauce evenly.
Secure the lid, set the valve to sealing, and cook on high pressure using the Meat setting for 15 minutes.
I find that this shorter cooking time keeps the chicken breasts moist and tender while the sauce infuses flavor throughout.
Step 4: Quick Release and Remove Chicken
- cooked chicken from Step 3
Once the cooking cycle completes, carefully perform a quick pressure release by moving the valve to venting.
Open the lid and transfer the cooked chicken breasts to a cutting board, leaving all the sauce in the pot.
Let the chicken rest while you thicken the sauce—this gives the meat a chance to retain its juices.
Step 5: Thicken the Sauce
- 4 tsp cornstarch
- 1/4 cup water
- sauce in pot from Step 4
In a small bowl, whisk together 4 teaspoons of cornstarch and 1/4 cup of water until completely smooth with no lumps.
Keep the Instant Pot on Sauté mode and slowly pour the cornstarch slurry into the simmering sauce, stirring constantly to prevent clumping.
Cook for about 5 minutes, stirring frequently, until the sauce thickens to a glossy, coat-the-back-of-a-spoon consistency.
Step 6: Combine Chicken and Sauce, Finish with Garnish
- rested chicken from Step 4
- thickened sauce from Step 5
- sesame seeds
- green onion
- rice
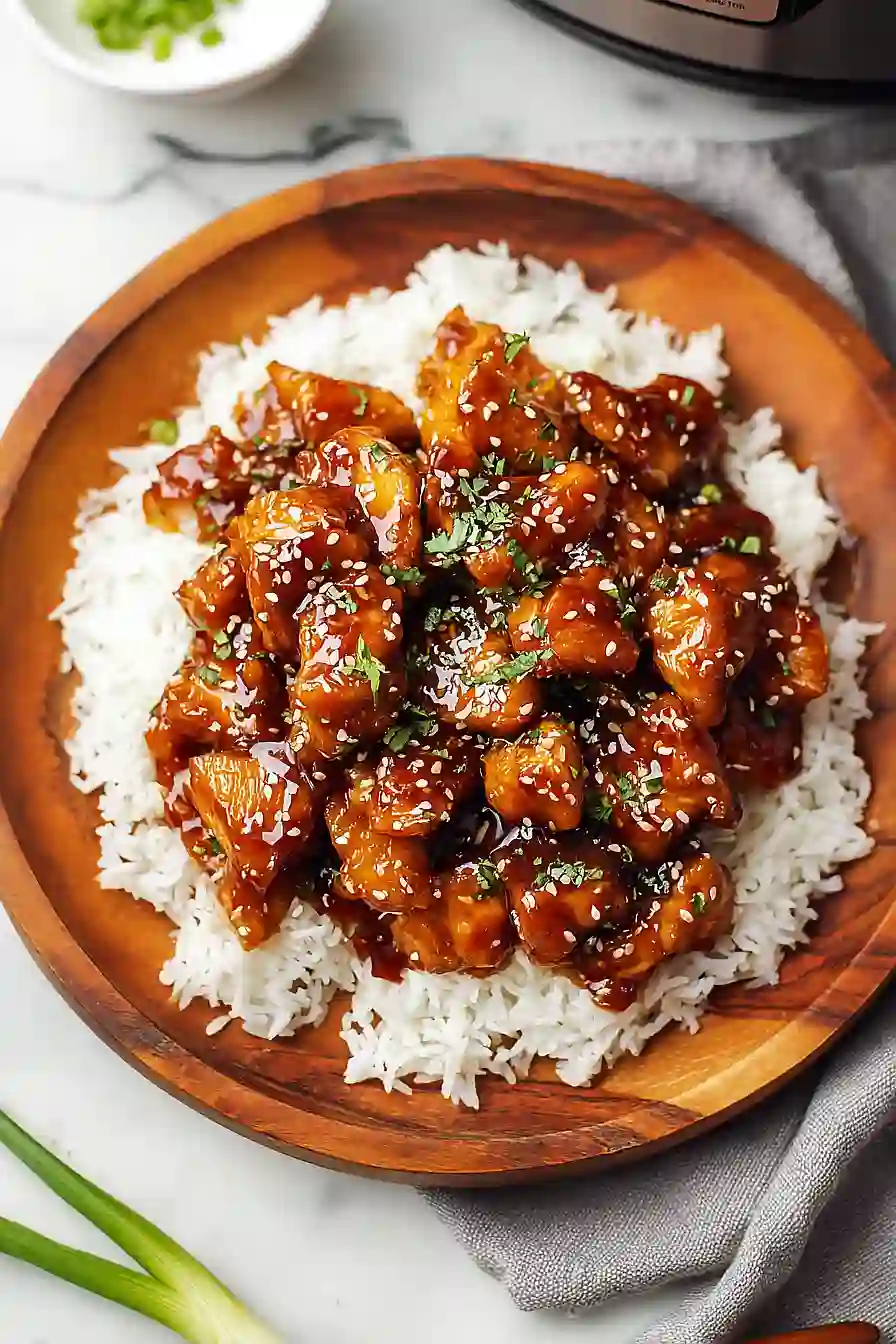
Cut the rested chicken breasts into bite-sized pieces or thick strips, depending on your preference.
Return the chicken to the pot with the thickened sauce and toss gently to coat everything evenly.
Turn off the heat and transfer to a serving bowl.
Sprinkle generously with sesame seeds and sliced green onion for brightness and texture.
Serve immediately over steamed rice to soak up the delicious sauce.
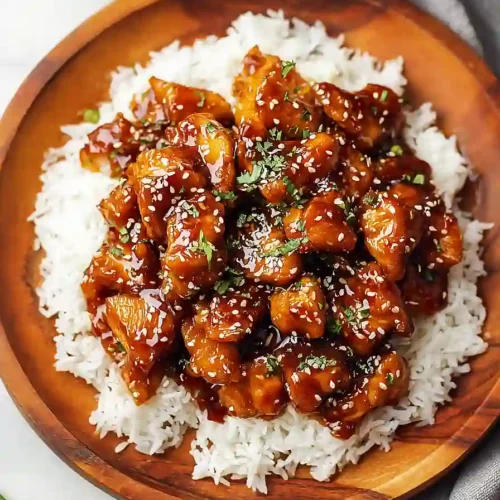
Irresistible Instant Pot Honey Garlic Chicken
Ingredients
For the chicken::
- 5 chicken breasts
- salt to taste
- black pepper to taste
For the sauce::
- 3/4 cup honey
- 1/2 cup soy sauce (I use Kikkoman low sodium)
- 1/4 cup onion (finely diced)
- 1/4 cup ketchup
- 2 tbsp vegetable oil
- 5 garlic cloves (minced for best flavor)
- 1 tsp fresh ginger (grated)
- 1/2 tsp sriracha (optional, for a kick)
- 4 tsp cornstarch
- 1/4 cup water
For serving::
- sesame seeds
- green onion
- rice
Instructions
- Pat the 5 chicken breasts dry with paper towels and season both sides generously with salt and black pepper. While the chicken rests, mince the 5 garlic cloves and grate the fresh ginger, then finely dice the onion. Having everything prepped and ready will make the cooking process smooth and quick.
- Set your Instant Pot to Sauté mode and heat 2 tablespoons of vegetable oil until shimmering. Working in batches if needed, sear the seasoned chicken breasts for 2-3 minutes per side until golden brown—this builds flavor through the Maillard reaction. While the chicken sears, whisk together the honey, soy sauce, ketchup, minced garlic, grated ginger, diced onion, and sriracha (if using) in a bowl to create your sauce base.
- Pour the honey garlic sauce from Step 2 over the seared chicken in the Instant Pot. Stir gently to distribute the sauce evenly. Secure the lid, set the valve to sealing, and cook on high pressure using the Meat setting for 15 minutes. I find that this shorter cooking time keeps the chicken breasts moist and tender while the sauce infuses flavor throughout.
- Once the cooking cycle completes, carefully perform a quick pressure release by moving the valve to venting. Open the lid and transfer the cooked chicken breasts to a cutting board, leaving all the sauce in the pot. Let the chicken rest while you thicken the sauce—this gives the meat a chance to retain its juices.
- In a small bowl, whisk together 4 teaspoons of cornstarch and 1/4 cup of water until completely smooth with no lumps. Keep the Instant Pot on Sauté mode and slowly pour the cornstarch slurry into the simmering sauce, stirring constantly to prevent clumping. Cook for about 5 minutes, stirring frequently, until the sauce thickens to a glossy, coat-the-back-of-a-spoon consistency.
- Cut the rested chicken breasts into bite-sized pieces or thick strips, depending on your preference. Return the chicken to the pot with the thickened sauce and toss gently to coat everything evenly. Turn off the heat and transfer to a serving bowl. Sprinkle generously with sesame seeds and sliced green onion for brightness and texture. Serve immediately over steamed rice to soak up the delicious sauce.
