Fried rice is one of those dishes I make when I need dinner on the table fast. It’s also my go-to for using up leftover rice that’s been sitting in the fridge. The key is having cold, day-old rice – fresh rice turns into a mushy mess, and nobody wants that.
This Korean beef version has become a weeknight staple at our house. The brown sugar and soy sauce create this sweet and salty flavor that my kids actually get excited about. Plus, everything cooks in one pan, which means less cleanup for me after dinner.
The best part? You probably have most of these ingredients already. A little ground beef, some pantry staples, and leftover rice, and you’ve got a dinner that tastes like takeout but costs way less. I keep pepper flakes and sesame oil stocked just for recipes like this.
Why You’ll Love This Korean Beef Fried Rice
- Quick weeknight dinner – Ready in just 30-45 minutes, this fried rice is perfect for those busy evenings when you need something satisfying on the table fast.
- Simple ingredients – You probably have most of these pantry staples on hand already, making it easy to whip up without a special grocery run.
- Budget-friendly – Ground beef and rice are affordable ingredients that stretch to feed the whole family without breaking the bank.
- Sweet and savory flavors – The combination of brown sugar and soy sauce creates that addictive Korean-inspired taste that keeps you coming back for seconds.
- One-pan meal – Everything cooks together in one skillet, which means less cleanup and more time to relax after dinner.
What Kind of Ground Beef Should I Use?
For Korean beef fried rice, you’ll want to use ground beef with a bit of fat content to keep things flavorful and juicy. I’d recommend going with 80/20 or 85/15 ground beef, which gives you enough fat to add richness without making the dish too greasy. If you only have leaner ground beef like 90/10, that’ll work too, though you might want to add a tiny splash more oil to the pan. You can also swap in ground turkey or ground pork if that’s what you have on hand, just know that the flavor will be a bit different from the traditional beef version.

Options for Substitutions
This recipe is pretty forgiving when it comes to swaps, so here are some options that work well:
- Ground beef: You can easily swap this with ground pork, ground turkey, or ground chicken. If using leaner meats like turkey or chicken, you might want to add a bit more oil to keep things from drying out.
- Soy sauce: If you’re watching sodium, use low-sodium soy sauce. Tamari works great if you need a gluten-free option, or you can try coconut aminos for a slightly sweeter, less salty flavor.
- Brown sugar: White sugar, honey, or maple syrup all work here. If using honey or maple syrup, start with about 2 teaspoons and adjust to taste since they’re a bit sweeter.
- Rice: Day-old rice is actually best for fried rice since it’s drier and won’t get mushy. If you only have fresh rice, spread it on a baking sheet and let it cool completely in the fridge for at least 30 minutes before using.
- Pepper flakes: Korean gochugaru is traditional, but regular red pepper flakes work fine. You can also use sriracha or gochujang paste (about 1 teaspoon) for heat and extra flavor.
- Green onions: Regular yellow or white onions can work in a pinch – just dice them finely and cook them with the garlic at the start.
Watch Out for These Mistakes While Cooking
The biggest mistake people make with fried rice is using freshly cooked rice, which turns sticky and clumpy instead of getting those nice separate grains – day-old rice from the fridge works much better because it’s dried out and will fry up perfectly.
Don’t rush the beef by cranking up the heat too high, as this can cause the sugar in the sauce to burn and turn bitter before the meat is fully cooked through.
Make sure your pan is hot enough before adding the rice, and resist the urge to stir it constantly – letting it sit for a minute or two creates those crispy, golden bits that make fried rice so good.
Finally, add your green onions at the very end rather than cooking them with everything else, since they only need about 30 seconds to soften and will keep their fresh flavor and bright color.
What to Serve With Korean Beef Fried Rice?
This fried rice is pretty filling on its own, but I love pairing it with some quick pickled cucumbers or a simple cucumber salad to cut through the richness of the beef. A fried egg on top is always a good call – the runny yolk mixes into the rice and makes everything even better. If you want to round out the meal, some steamed or sautéed bok choy on the side adds a nice fresh crunch, or you could do some kimchi if you like a bit of tang and spice with your rice.
Storage Instructions
Store: Keep your leftover Korean beef fried rice in an airtight container in the fridge for up to 4 days. The flavors actually get even better the next day as everything has time to meld together, making it perfect for meal prep lunches throughout the week.
Freeze: This fried rice freezes really well for up to 3 months. Let it cool completely first, then portion it out into freezer-safe containers or bags. I like to freeze individual servings so I can grab just what I need for a quick meal.
Reheat: Warm it up in the microwave with a splash of water to keep it from drying out, or toss it in a skillet over medium heat for a few minutes. The skillet method is great if you want to crisp up the rice a bit and add some fresh green onions on top.
| Preparation Time | 10-15 minutes |
| Cooking Time | 20-30 minutes |
| Total Time | 30-45 minutes |
| Level of Difficulty | Easy |
| Servings | 3 servings |
Estimated Nutrition
Estimated nutrition for the whole recipe (without optional ingredients):
- Calories: 700-850
- Protein: 28-34 g
- Fat: 25-32 g
- Carbohydrates: 80-95 g
Ingredients
For the sauce and beef:
- 2 tbsp oil (I use Chosen Foods avocado oil for high-heat searing)
- 2 cloves garlic (freshly minced for best flavor)
- 1/2 tsp pepper flakes
- 1 1/2 tbsp brown sugar
- 1/3 cup soy sauce (I prefer Kikkoman for a balanced saltiness)
- 1 tsp sesame oil
- 1.5 cups ground beef
For assembly:
- 1.5 cups rice (day-old and chilled is best to prevent mushiness)
- green onions
Step 1: Prepare Mise en Place and Cook Rice
- 2 cloves garlic, minced
- green onions, sliced
- 1.5 cups day-old rice, chilled
Mince the garlic cloves finely and slice the green onions, separating white parts from green parts for different cooking stages.
If your rice isn’t already chilled from the day before, spread it on a plate and refrigerate it for at least 30 minutes—cold rice grains stay separate and won’t turn mushy when fried.
This is the most important trick for perfect fried rice texture.
Step 2: Build the Sauce Base
- 1/3 cup soy sauce
- 1 1/2 tbsp brown sugar
- 1 tsp sesame oil
- 1/2 tsp pepper flakes
In a small bowl, whisk together the soy sauce, brown sugar, sesame oil, and pepper flakes until the sugar dissolves completely.
Set aside.
This creates your flavor foundation and prevents lumps from forming when it hits the hot pan.
Step 3: Sear Beef and Infuse with Aromatics
- 2 tbsp oil
- 2 cloves garlic, minced
- 1.5 cups ground beef
- sauce mixture from Step 2
Heat the oil in a large skillet or wok over medium-high heat until shimmering.
Add the minced garlic and cook for about 30 seconds until fragrant, then immediately add the ground beef, breaking it apart with a spoon as it cooks.
Once the beef is browned and cooked through (about 4-5 minutes), pour in the sauce mixture from Step 2 and stir constantly for 2-3 minutes to coat all the meat evenly and allow the flavors to meld.
The beef should be glossy and caramelized at this point.
Step 4: Combine Rice with Beef and Finish
- chilled rice from Step 1
- beef mixture from Step 3
- white parts of green onions from Step 1
Add the chilled rice from Step 1 to the pan with the beef mixture, breaking up any clumps with your spoon.
Stir-fry for 2-3 minutes over medium-high heat, tossing everything together until the rice is heated through and evenly coated with the sauce.
I like to keep the heat high enough that you hear the rice sizzling against the pan—this adds a subtle toasted flavor without burning anything.
In the last 30 seconds, add the white parts of the green onions and toss once more.
Step 5: Plate and Garnish
- green parts of green onions from Step 1
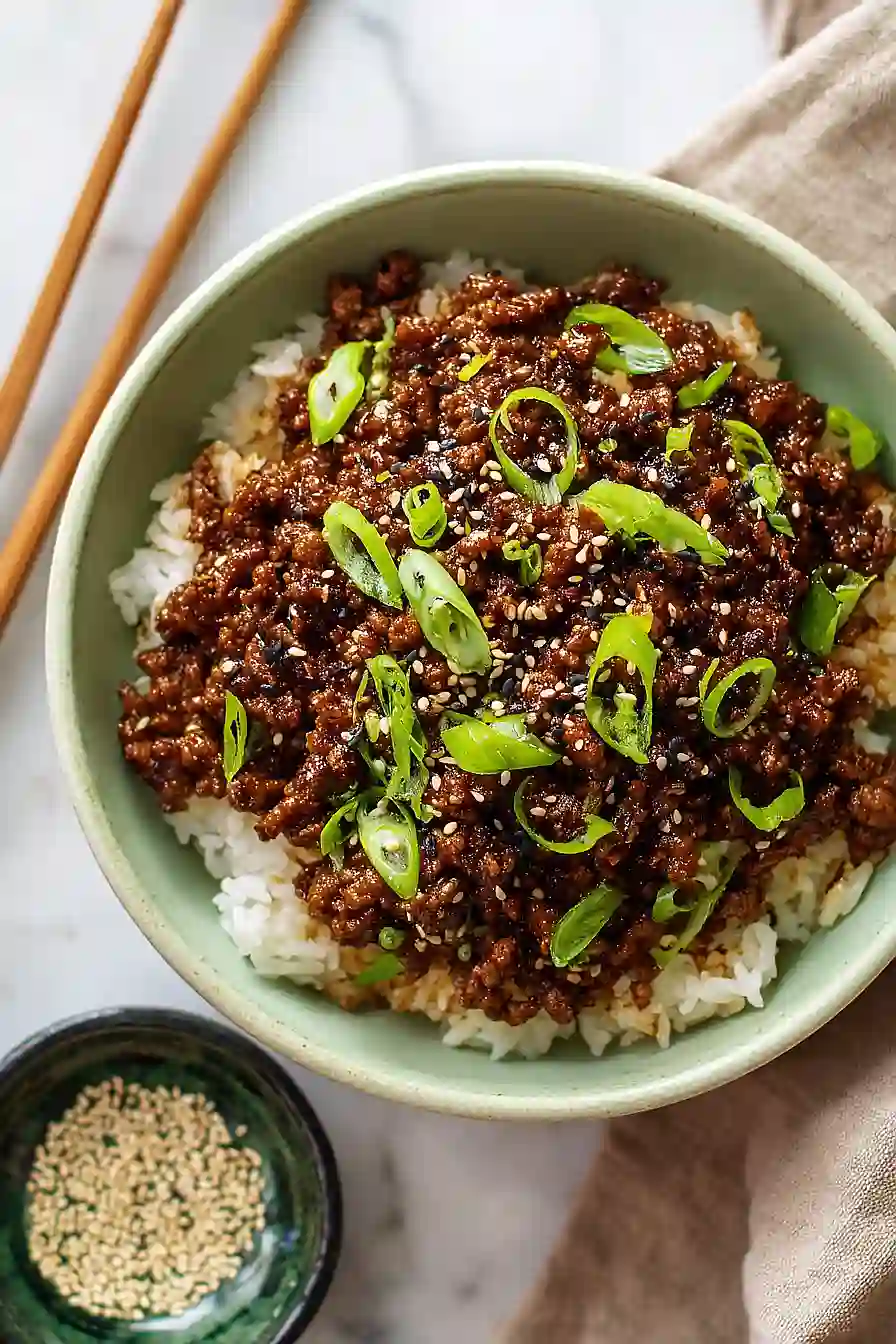
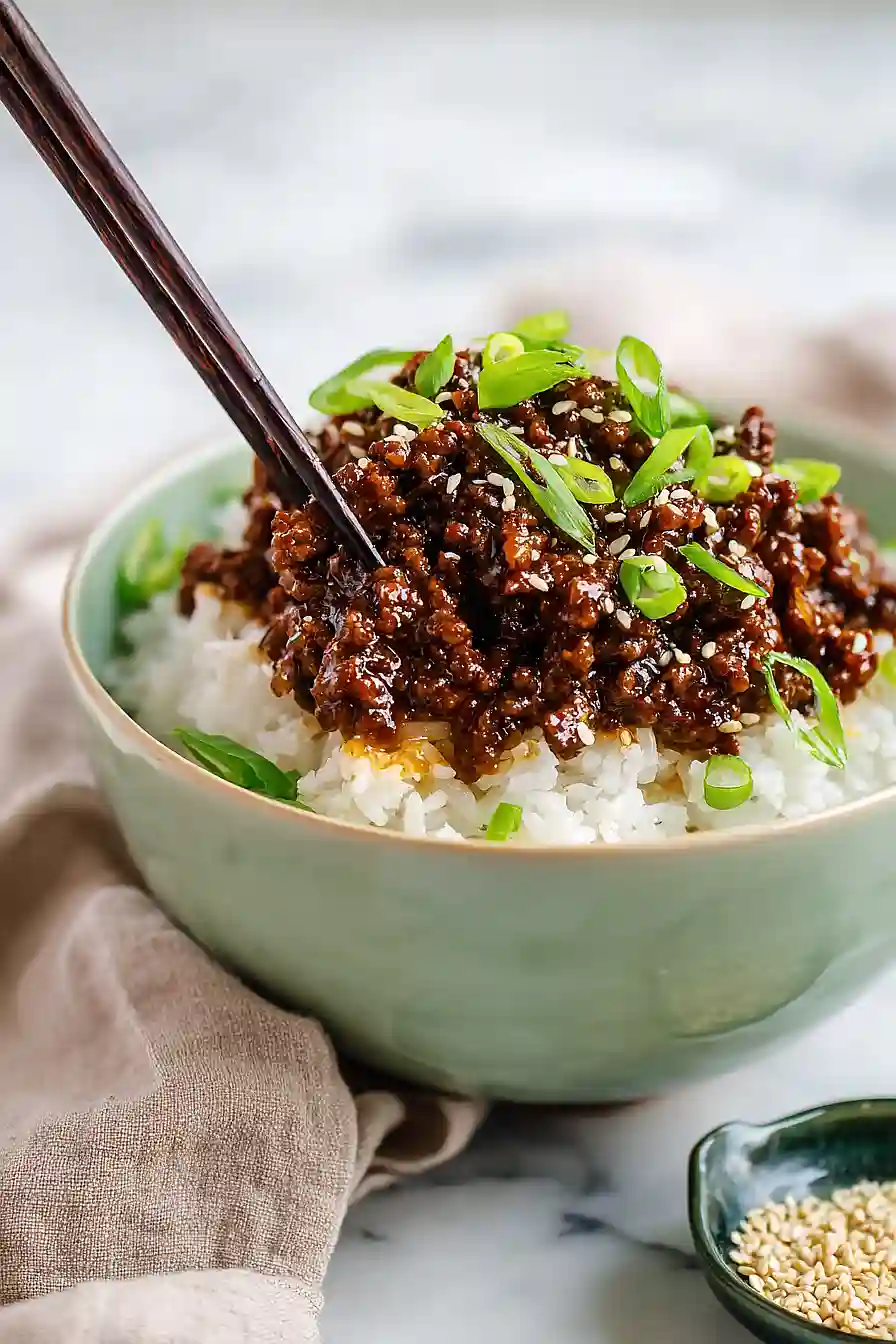
Transfer the fried rice to a serving dish or individual bowls and top with the reserved green parts of the green onions for a fresh, bright finish.

Ground Beef Korean Fried Rice
Ingredients
For the sauce and beef::
- 2 tbsp oil (I use Chosen Foods avocado oil for high-heat searing)
- 2 cloves garlic (freshly minced for best flavor)
- 1/2 tsp pepper flakes
- 1 1/2 tbsp brown sugar
- 1/3 cup soy sauce (I prefer Kikkoman for a balanced saltiness)
- 1 tsp sesame oil
- 1.5 cups ground beef
For assembly::
- 1.5 cups rice (day-old and chilled is best to prevent mushiness)
- green onions
Instructions
- Mince the garlic cloves finely and slice the green onions, separating white parts from green parts for different cooking stages. If your rice isn't already chilled from the day before, spread it on a plate and refrigerate it for at least 30 minutes—cold rice grains stay separate and won't turn mushy when fried. This is the most important trick for perfect fried rice texture.
- In a small bowl, whisk together the soy sauce, brown sugar, sesame oil, and pepper flakes until the sugar dissolves completely. Set aside. This creates your flavor foundation and prevents lumps from forming when it hits the hot pan.
- Heat the oil in a large skillet or wok over medium-high heat until shimmering. Add the minced garlic and cook for about 30 seconds until fragrant, then immediately add the ground beef, breaking it apart with a spoon as it cooks. Once the beef is browned and cooked through (about 4-5 minutes), pour in the sauce mixture from Step 2 and stir constantly for 2-3 minutes to coat all the meat evenly and allow the flavors to meld. The beef should be glossy and caramelized at this point.
- Add the chilled rice from Step 1 to the pan with the beef mixture, breaking up any clumps with your spoon. Stir-fry for 2-3 minutes over medium-high heat, tossing everything together until the rice is heated through and evenly coated with the sauce. I like to keep the heat high enough that you hear the rice sizzling against the pan—this adds a subtle toasted flavor without burning anything. In the last 30 seconds, add the white parts of the green onions and toss once more.
- Transfer the fried rice to a serving dish or individual bowls and top with the reserved green parts of the green onions for a fresh, bright finish.
