If you ask me, fried chicken without flour is a total game changer.
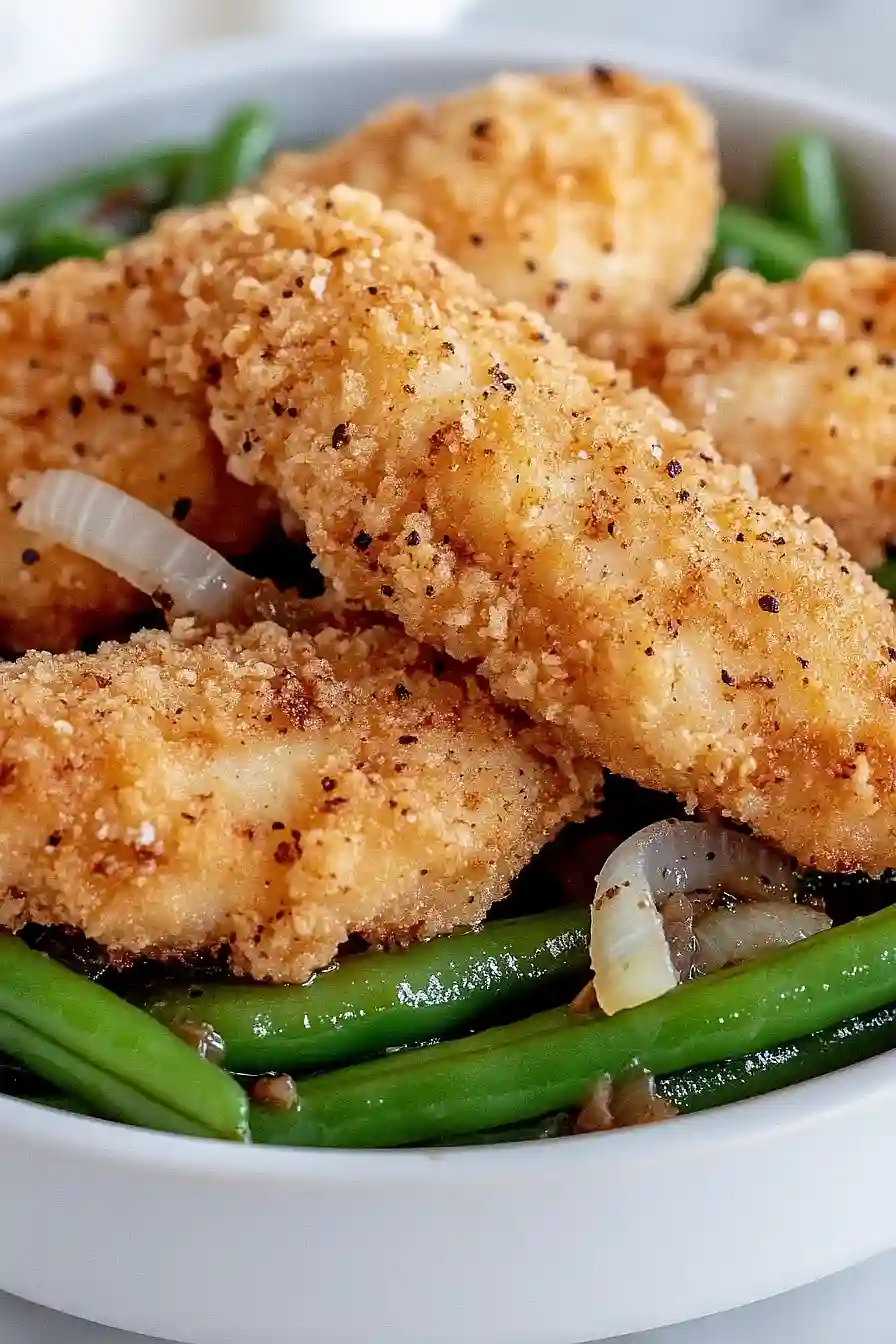
This crispy main dish gives you all the crunch and flavor you crave without any wheat flour. The chicken gets coated in a simple mix of cornstarch and spices, then fried until golden brown and juicy inside.
It’s made with basic ingredients you probably have in your pantry right now. The cornstarch creates a light, crispy coating that stays crunchy even after it cools down a bit.
It’s a family-friendly recipe that works great for busy weeknights, and it’s naturally gluten-free too.
Why You’ll Love This Fried Chicken
- Flour-free and gluten-free – Using cornstarch instead of flour makes this perfect for anyone avoiding gluten, while still giving you that crispy coating you crave.
- Quick and easy – Ready in just 30-45 minutes, this recipe is perfect for busy weeknights when you want homemade fried chicken without the long wait.
- Healthier cooking method – Using olive oil spray instead of deep frying cuts down on oil and calories while still delivering that satisfying crunch.
- Simple pantry ingredients – You probably already have most of these basic seasonings and cornstarch in your kitchen, making this an easy go-to recipe.
- Crispy coating every time – The combination of cornstarch and baking powder creates an incredibly crispy exterior that rivals traditional flour-based recipes.
What Kind of Chicken Should I Use?
For this flour-free fried chicken, boneless and skinless chicken breasts work perfectly since they cook evenly and quickly. You can also substitute with chicken thighs if you prefer darker meat – just make sure they’re boneless and skinless too. When selecting your chicken breasts, look for pieces that are similar in thickness so they cook at the same rate. If your breasts are particularly thick, don’t forget to slice them in half lengthwise as the recipe suggests – this helps them cook through properly and gives you more surface area for that crispy coating to stick to.
Options for Substitutions
This flour-free fried chicken is surprisingly flexible with a few smart swaps:
- Chicken breasts: You can easily use chicken thighs, drumsticks, or wings instead. Thighs will give you juicier results, while wings make great appetizers. Just adjust cooking time – thighs need a few extra minutes.
- Cornstarch: This is pretty important for getting that crispy coating without flour, but you can try potato starch or arrowroot powder if that’s what you have. Use the same amount.
- Baking powder: Don’t skip this one – it’s what makes the coating extra crispy! If you’re out, you can make your own by mixing 1 part baking soda with 2 parts cream of tartar.
- Garlic and onion powder: Feel free to swap these with your favorite seasonings like paprika, cayenne for heat, or even ranch seasoning mix for a different flavor profile.
- Olive oil spray: Any cooking spray works here, or you can brush the chicken with a light coating of regular olive oil or melted butter before cooking.
Watch Out for These Mistakes While Cooking
The biggest mistake when making flour-free fried chicken is not letting the seasoned chicken rest for at least 15-20 minutes after coating – this waiting period allows the cornstarch and baking powder to properly adhere and creates that crispy crust you’re after. Another common error is overcrowding the pan, which causes the temperature to drop and results in greasy, soggy chicken instead of crispy golden pieces. Make sure your oil reaches 350°F before adding the chicken, and don’t skip checking the internal temperature with a meat thermometer – you want 165°F in the thickest part. For extra crispiness, pat the chicken completely dry with paper towels before seasoning, and avoid flipping the pieces too often since this can cause the coating to fall off.
What to Serve With Fried Chicken?
This crispy fried chicken pairs perfectly with classic comfort sides like creamy mashed potatoes and coleslaw for that traditional Southern feel. I love serving it alongside mac and cheese or buttery corn on the cob when I want something really satisfying. For a lighter option, try it with a fresh garden salad or roasted vegetables like green beans or Brussels sprouts. Don’t forget some warm biscuits or dinner rolls on the side – they’re perfect for soaking up any extra flavors and making the meal feel complete.
Storage Instructions
Refrigerate: Your crispy fried chicken will keep in the fridge for up to 3 days when stored in an airtight container. I like to place a paper towel in the bottom of the container to absorb any excess moisture and keep the coating from getting soggy.
Freeze: This chicken freezes really well for up to 3 months! Let it cool completely first, then wrap each piece individually in plastic wrap before placing in a freezer bag. This way you can grab just what you need for a quick meal later.
Reheat: To get that crispy coating back, reheat your chicken in the oven at 350°F for about 10-15 minutes, or pop it in an air fryer for 3-5 minutes. Skip the microwave if you can – it’ll make the coating soft and chewy instead of crispy.
| Preparation Time | 10-15 minutes |
| Cooking Time | 20-30 minutes |
| Total Time | 30-45 minutes |
| Level of Difficulty | Easy |
Estimated Nutrition
Estimated nutrition for the whole recipe (without optional ingredients):
- Calories: 700-800
- Protein: 110-120 g
- Fat: 8-12 g
- Carbohydrates: 24-28 g
Ingredients
- 1 1/2 lb boneless, skinless chicken breast halves
- 1 tsp granulated garlic
- 1 tsp onion granules
- 1/4 tsp black pepper
- 1 tsp kosher salt
- 1 1/2 tsp baking powder
- 1/4 cup corn starch
- Olive oil spray for cooking
Step 1: Preheat the Air Fryer
Preheat your air fryer to 350°F to ensure it’s ready for cooking when the chicken is prepared.
This helps the chicken cook evenly and become properly crisp.
Step 2: Season and Coat the Chicken
- 1 1/2 lb boneless, skinless chicken breast halves
- 1 tsp granulated garlic
- 1 tsp onion granules
- 1/4 tsp black pepper
- 1 tsp kosher salt
- 1 1/2 tsp baking powder
- 1/4 cup corn starch
Place the boneless, skinless chicken breast halves on a baking sheet.
Sprinkle the granulated garlic, onion granules, black pepper, kosher salt, baking powder, and corn starch evenly over the chicken.
Turn the chicken to make sure it’s thoroughly and evenly coated on both sides.
I find tossing the chicken gently by hand ensures full coverage and better flavor.
Step 3: Air Fry the Chicken
- coated chicken from Step 2
- olive oil spray for cooking
Transfer the coated chicken to the basket of the air fryer in a single layer.
Spray both sides of the chicken with olive oil spray.
Air fry for 20 minutes at 350°F, flipping the chicken halfway through the cooking time so both sides cook evenly.
I like to check for an internal temperature of 165°F to ensure the chicken is fully cooked.
Step 4: Rest and Serve the Chicken
Move the cooked chicken onto a cooking rack and let it rest for 5 minutes.
This helps keep it juicy when you slice or serve it.
Then, place the rested chicken onto a serving platter.
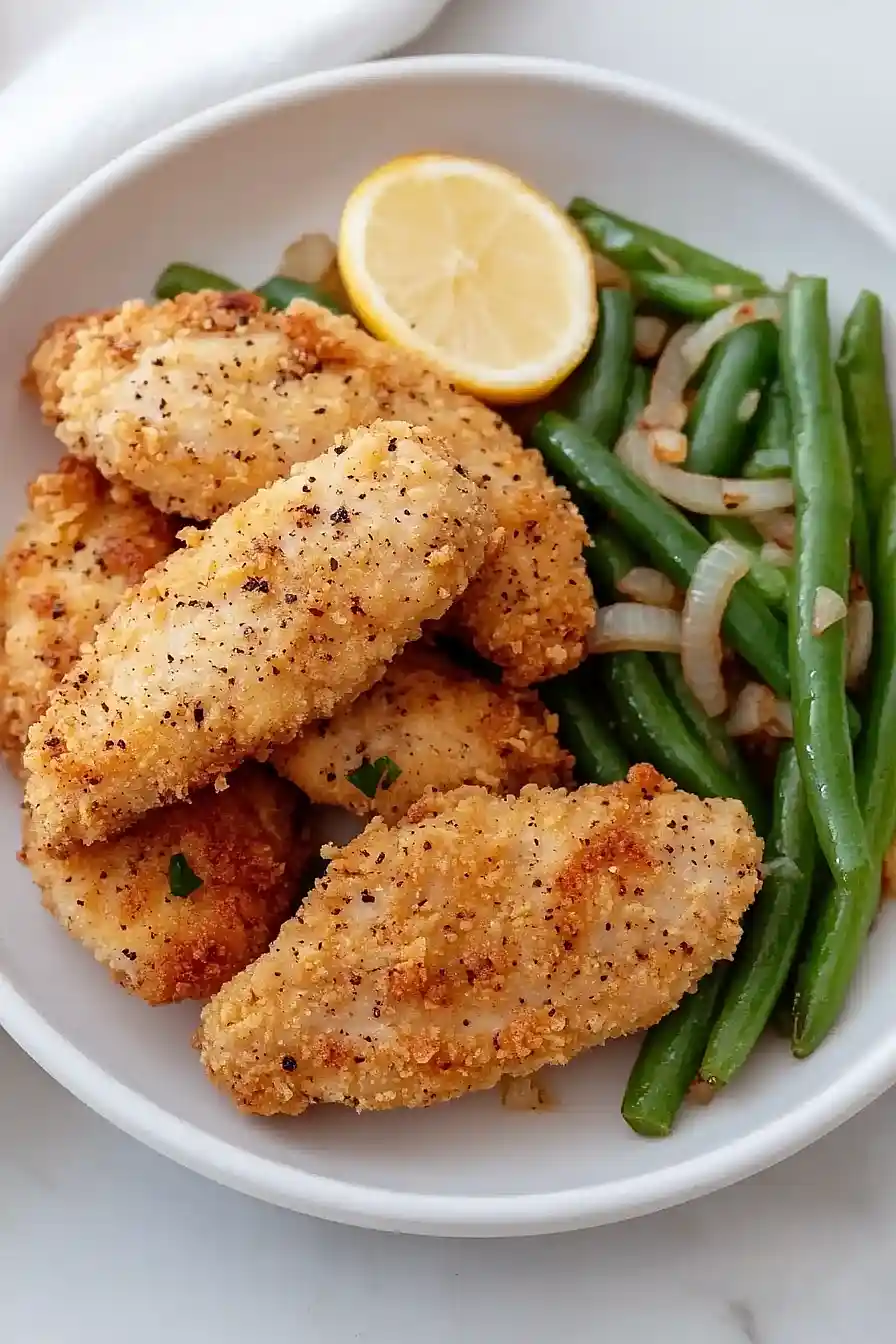
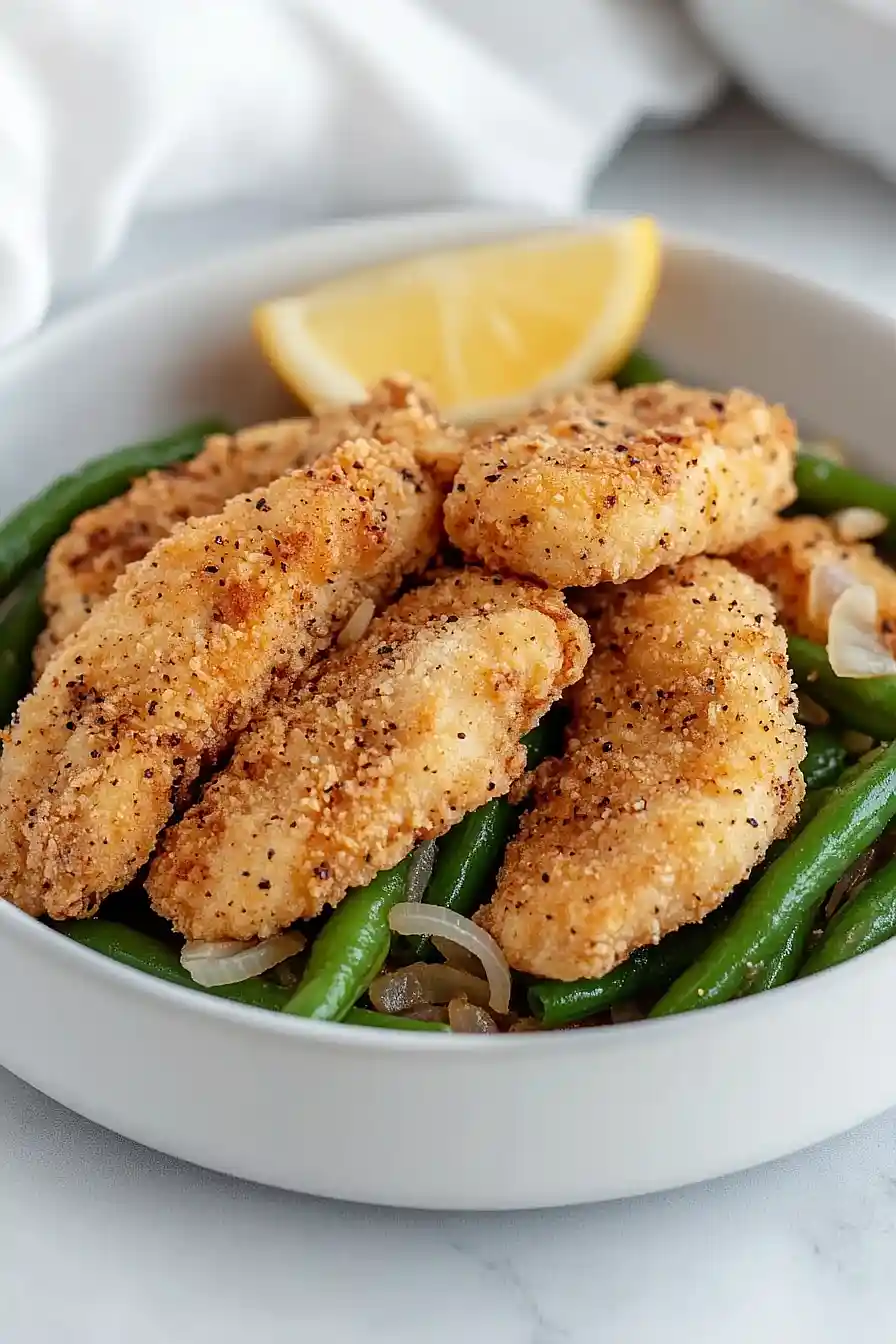
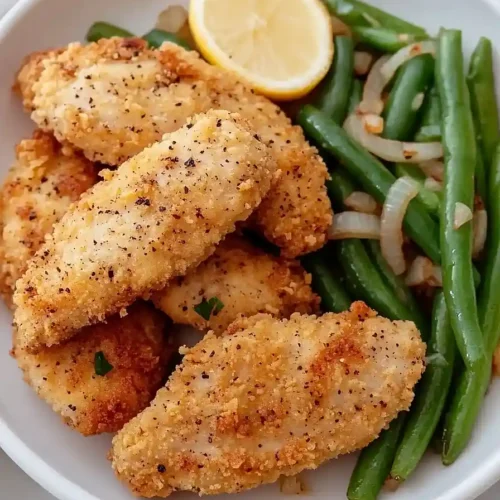
Serve with your choice of cooked green beans or another vegetable, and lemon wedges if desired for a fresh, flavorful finish.
I like to pair mine with extra lemon for brightness.
Golden Fried Chicken Without Flour
Ingredients
- 1 1/2 lb boneless, skinless chicken breast halves
- 1 tsp granulated garlic
- 1 tsp onion granules
- 1/4 tsp black pepper
- 1 tsp kosher salt
- 1 1/2 tsp baking powder
- 1/4 cup corn starch
- olive oil spray for cooking
Instructions
- Preheat your air fryer to 350°F to ensure it's ready for cooking when the chicken is prepared. This helps the chicken cook evenly and become properly crisp.
- Place the boneless, skinless chicken breast halves on a baking sheet. Sprinkle the granulated garlic, onion granules, black pepper, kosher salt, baking powder, and corn starch evenly over the chicken. Turn the chicken to make sure it's thoroughly and evenly coated on both sides. I find tossing the chicken gently by hand ensures full coverage and better flavor.
- Transfer the coated chicken to the basket of the air fryer in a single layer. Spray both sides of the chicken with olive oil spray. Air fry for 20 minutes at 350°F, flipping the chicken halfway through the cooking time so both sides cook evenly. I like to check for an internal temperature of 165°F to ensure the chicken is fully cooked.
- Move the cooked chicken onto a cooking rack and let it rest for 5 minutes. This helps keep it juicy when you slice or serve it. Then, place the rested chicken onto a serving platter. Serve with your choice of cooked green beans or another vegetable, and lemon wedges if desired for a fresh, flavorful finish. I like to pair mine with extra lemon for brightness.
