Snack time used to stress me out. My kids would come home from school starving, and I’d scramble to find something that wasn’t just crackers or fruit snacks. I wanted to give them something with protein that would actually keep them full until dinner, but I didn’t want to spend an hour in the kitchen when I had homework to supervise and laundry to fold.
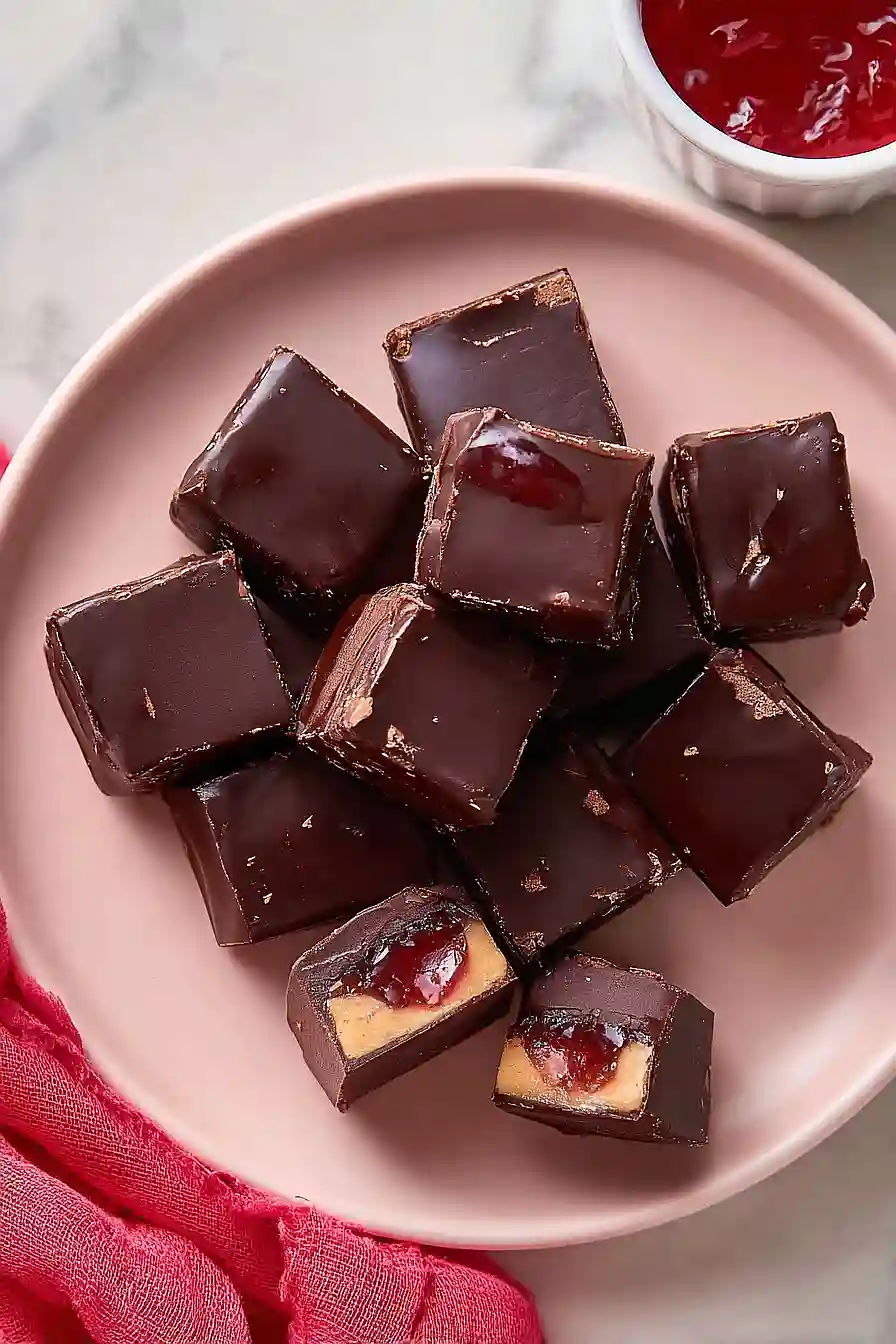
That’s when I started making these peanut butter and jelly banana bites. They take about 15 minutes to throw together, and I can make a batch on Sunday that lasts most of the week. The dark chocolate coating makes them feel like a treat, but the banana and peanut butter keep them from being pure sugar.
Want something that tastes like dessert but works as a snack? These are it. Plus, you can prep them while you’re already in the kitchen cleaning up from lunch. No extra mess, no extra time.

Why You’ll Love These Peanut Butter and Jelly Banana Bites
- Kid-friendly snack – These bites combine the classic PB&J flavor that kids love with banana and chocolate, making them a fun treat that disappears fast.
- Quick and easy to make – With just 30-45 minutes from start to finish, you can whip up a batch of these when you need a last-minute snack or dessert.
- Simple ingredients – You probably already have most of these pantry staples on hand, so no special shopping trip required.
- Perfect portion control – These bite-sized treats let you enjoy a sweet snack without going overboard, making them great for lunchboxes or after-school munching.
- Healthier dessert option – With real fruit and peanut butter packed inside, these bites offer more nutrition than your typical candy or cookie.
What Kind of Peanut Butter Should I Use?
For these banana bites, you’ll want to use a creamy peanut butter that’s easy to spread and work with. Natural peanut butter can work, but keep in mind it tends to be a bit runnier and might slide off your banana slices more easily. Regular processed peanut butter like Jif or Skippy is actually perfect here since it has a thicker consistency that holds its shape better. If you’re going the natural route, try to find one that’s been stirred well and isn’t too oily on top. Either salted or unsalted peanut butter will work fine, though I’d lean toward salted for a nice sweet and salty contrast with the jelly and chocolate.
Options for Substitutions
This recipe is pretty forgiving when it comes to swaps, so feel free to customize based on what you have:
- Dark chocolate: You can use milk chocolate or semi-sweet chocolate chips instead. White chocolate works too if you prefer something sweeter, though it melts a bit differently so keep an eye on it.
- Peanut butter: Any nut butter works here – try almond butter, cashew butter, or sunflower seed butter if you have a peanut allergy. Just make sure it’s the creamy kind for easy spreading.
- Strawberry jelly: Switch it up with raspberry, grape, or apricot jam. Really any fruit spread you enjoy will work perfectly in these bites.
- Banana: Make sure your banana is firm and not too ripe, or the slices will be mushy and hard to work with. If your banana is overripe, consider using apple slices instead for a nice crunch.
- Peanuts: Chopped almonds, walnuts, or even crushed pretzels make great toppings. You can also skip the nuts entirely and use sprinkles or coconut flakes.
- Oil: Coconut oil works great here, but vegetable or canola oil will do the job just fine for thinning out the chocolate.
Watch Out for These Mistakes While Making
The biggest mistake when melting chocolate is overheating it, which causes it to seize up and become grainy – stop microwaving as soon as you see a few unmelted chunks and stir until smooth, since the residual heat will finish the job.
Another common error is slicing your banana too thick, which makes the bites hard to eat in one go and can cause them to fall apart, so aim for slices about 1/4 inch thick for the perfect bite-sized treat.
Don’t skip adding the oil to your chocolate, as it helps create a smoother coating that’s easier to work with and gives your bites a nice glossy finish instead of a dull, chalky appearance.
Finally, resist the urge to pull these out of the freezer too early – if they’re not fully set, the chocolate will smudge when you remove the liners and your beautiful swirls will get messy.

What to Serve With Peanut Butter and Jelly Banana Bites?
These little bites are pretty much a snack all on their own, but they’re perfect alongside a cold glass of milk for dipping. If you’re serving them for a party or get-together, set them out with some fresh strawberries and apple slices to balance out the sweetness. They also work great as a fun dessert after a light lunch like sandwiches or wraps. For breakfast or brunch, try pairing them with yogurt parfaits or a simple fruit salad to round out the meal.
Storage Instructions
Store: Keep your peanut butter and jelly banana bites in an airtight container in the fridge for up to 3 days. The banana will start to brown after that, so they’re best enjoyed within the first couple of days. I like to separate layers with parchment paper so they don’t stick together.
Freeze: These bites are actually perfect for freezing! Place them on a parchment-lined baking sheet and freeze until solid, then transfer to a freezer bag for up to 1 month. They make a great grab-and-go snack straight from the freezer, kind of like little frozen treats.
Serve: You can enjoy these straight from the fridge when they’re nice and cold, or let them sit at room temperature for about 5 minutes if you prefer a softer chocolate coating. If eating from frozen, let them thaw for just a minute or two, or eat them frozen for an ice cream bite vibe!
| Preparation Time | 10-15 minutes |
| Cooking Time | 20-30 minutes |
| Total Time | 30-45 minutes |
| Level of Difficulty | Easy |
| Servings | 24 bites |
Estimated Nutrition
Estimated nutrition for the whole recipe (without optional ingredients):
- Calories: 1300-1500
- Protein: 25-30 g
- Fat: 80-95 g
- Carbohydrates: 130-150 g
We'll Pay You $5 to Try This Recipe!
Cook our recipe, snap some photos, and earn a $5 Amazon Gift Card. It's that simple!
Here's how:
- Make the recipe
- Take nice pictures of your final dish
- Fill out our quick form (2 minutes max!)
- Your $5 reward is on the way!
Ingredients
For the chocolate coating:
- 1.25 cups dark chocolate (I use Ghirardelli 60% cacao chips for a smooth melt)
- 2 tsp oil (coconut oil works best to help the coating harden)
- 1/3 cup peanut butter
- Pinch of sea salt
For the filling and topping:
- 1 banana (cut into 1/2-inch thick rounds)
- 15 tsp peanut butter (I prefer Jif creamy for a consistent texture)
- 16 tsp strawberry jelly
- 1/4 cup peanuts (finely crushed for better adhesion)
Step 1: Prepare Mise en Place and Banana Rounds
- 1 banana, cut into 1/2-inch thick rounds
- 1/3 cup peanut butter
- 15 tsp peanut butter
- 16 tsp strawberry jelly
- 1/4 cup peanuts, finely crushed
Line a mini muffin tin with paper liners for easy removal later.
Slice your banana into 1/2-inch thick rounds and set aside on a plate—you should have about 16 rounds.
Measure out your peanut butter, jelly, and crushed peanuts into separate small bowls for quick assembly.
Having everything prepped and within arm’s reach will make the next steps move quickly.
Step 2: Melt and Flavor the Chocolate Coating
- 1.25 cups dark chocolate chips
- 2 tsp oil
- 1/3 cup peanut butter
- Pinch of sea salt
Combine the dark chocolate chips and oil in a microwave-safe bowl.
Heat in 30-second intervals, stirring between each interval, until completely smooth—typically 1-2 minutes total depending on your microwave.
Once melted, stir in the 1/3 cup peanut butter and pinch of sea salt until fully incorporated.
The oil helps the coating set properly, and the salt enhances the chocolate flavor without making it noticeably salty.
Step 3: Layer the Chocolate Base and Banana
- chocolate and peanut butter mixture from Step 2
- banana rounds from Step 1
Spoon about 1 teaspoon of the chocolate mixture from Step 2 into each lined cup, creating a thin base.
Place one banana round on top of each chocolate base, pressing it down gently so it adheres.
Add another thin layer of chocolate mixture over the banana, covering it partially but leaving room for the peanut butter and jelly filling.
Step 4: Add Peanut Butter and Jelly Filling
- 15 tsp peanut butter
- 16 tsp strawberry jelly
Dollop about 1 teaspoon of peanut butter (from the 15 tsp measured out) onto each banana bite.
Follow with about 1 teaspoon of jelly.
Using a toothpick, gently swirl the peanut butter and jelly together on top of the banana, creating a marbled effect.
I like to use a gentle figure-eight motion rather than aggressive mixing—it keeps the layers distinct and looks more appealing.
Step 5: Top with Peanuts and Final Chocolate Drizzle
- 1/4 cup peanuts, finely crushed
- chocolate and peanut butter mixture from Step 2
Sprinkle a pinch of the crushed peanuts onto each bite while the filling is still tacky.
Drizzle a small amount of the remaining chocolate mixture from Step 2 over the top of each bite, ensuring the peanuts stay in place.
Work quickly so the chocolate doesn’t set before you’re done topping all the bites.
Step 6: Freeze and Set
Transfer the muffin tin to the freezer and chill for 20-30 minutes until the chocolate is completely hardened and no longer tacky to the touch.
For a firmer bite that holds its shape better, I like to freeze them for the full 30 minutes, especially if your kitchen is warm.
Step 7: Remove from Liners and Store
Once fully frozen and set, gently peel away the paper liners from each bite.
Store the finished bites in an airtight container in the refrigerator or freezer—they’ll keep for up to 2 weeks frozen.
Serve directly from the freezer for the best texture, as they soften quickly at room temperature.
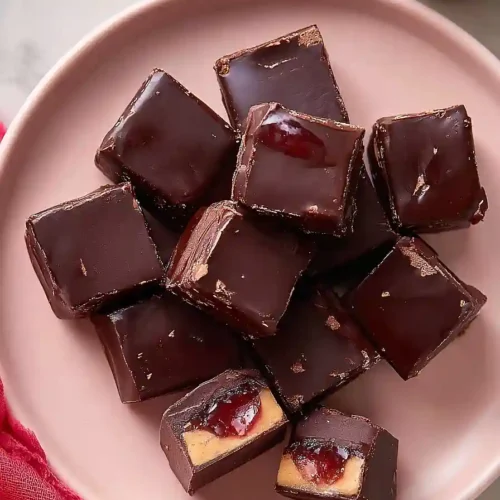
Frozen Peanut Butter and Jelly Banana Bites
Ingredients
For the chocolate coating::
- 1.25 cups dark chocolate (I use Ghirardelli 60% cacao chips for a smooth melt)
- 2 tsp oil (coconut oil works best to help the coating harden)
- 1/3 cup peanut butter
- Pinch of sea salt
For the filling and topping::
- 1 banana (cut into 1/2-inch thick rounds)
- 15 tsp peanut butter (I prefer Jif creamy for a consistent texture)
- 16 tsp strawberry jelly
- 1/4 cup peanuts (finely crushed for better adhesion)
Instructions
- Line a mini muffin tin with paper liners for easy removal later. Slice your banana into 1/2-inch thick rounds and set aside on a plate—you should have about 16 rounds. Measure out your peanut butter, jelly, and crushed peanuts into separate small bowls for quick assembly. Having everything prepped and within arm's reach will make the next steps move quickly.
- Combine the dark chocolate chips and oil in a microwave-safe bowl. Heat in 30-second intervals, stirring between each interval, until completely smooth—typically 1-2 minutes total depending on your microwave. Once melted, stir in the 1/3 cup peanut butter and pinch of sea salt until fully incorporated. The oil helps the coating set properly, and the salt enhances the chocolate flavor without making it noticeably salty.
- Spoon about 1 teaspoon of the chocolate mixture from Step 2 into each lined cup, creating a thin base. Place one banana round on top of each chocolate base, pressing it down gently so it adheres. Add another thin layer of chocolate mixture over the banana, covering it partially but leaving room for the peanut butter and jelly filling.
- Dollop about 1 teaspoon of peanut butter (from the 15 tsp measured out) onto each banana bite. Follow with about 1 teaspoon of jelly. Using a toothpick, gently swirl the peanut butter and jelly together on top of the banana, creating a marbled effect. I like to use a gentle figure-eight motion rather than aggressive mixing—it keeps the layers distinct and looks more appealing.
- Sprinkle a pinch of the crushed peanuts onto each bite while the filling is still tacky. Drizzle a small amount of the remaining chocolate mixture from Step 2 over the top of each bite, ensuring the peanuts stay in place. Work quickly so the chocolate doesn't set before you're done topping all the bites.
- Transfer the muffin tin to the freezer and chill for 20-30 minutes until the chocolate is completely hardened and no longer tacky to the touch. For a firmer bite that holds its shape better, I like to freeze them for the full 30 minutes, especially if your kitchen is warm.
- Once fully frozen and set, gently peel away the paper liners from each bite. Store the finished bites in an airtight container in the refrigerator or freezer—they'll keep for up to 2 weeks frozen. Serve directly from the freezer for the best texture, as they soften quickly at room temperature.
