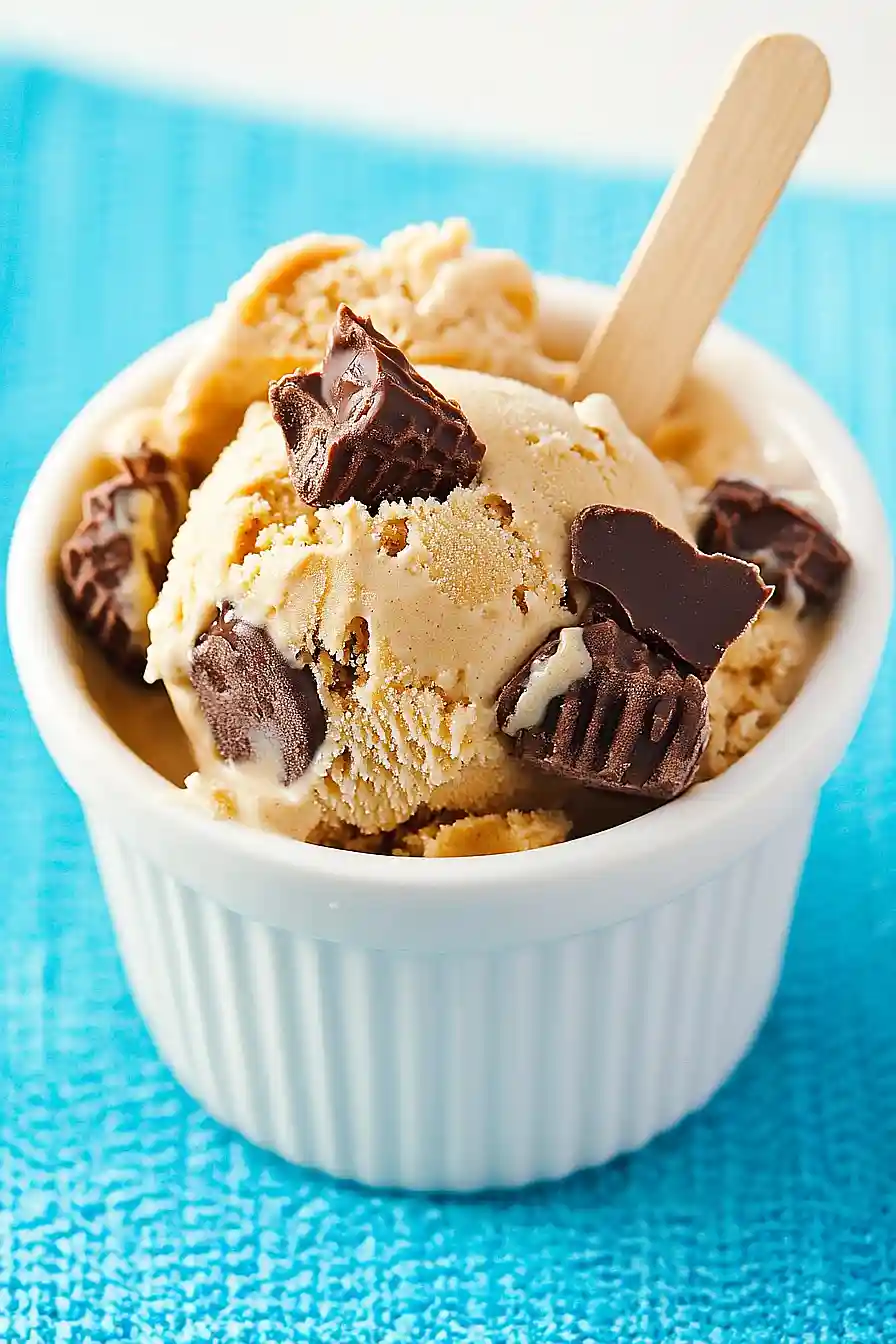
If you ask me, peanut butter ice cream is one of life’s simple pleasures.
This creamy frozen treat skips the eggs but keeps all the rich, nutty flavor you’re craving. Smooth peanut butter gets mixed with cream and a touch of vanilla for a dessert that tastes like your childhood in a bowl.
It’s churned in an ice cream maker until thick and scoopable. A pinch of salt helps bring out the peanut butter taste and makes each bite feel like a warm hug.
It’s a family-friendly dessert that comes together easily, perfect for those hot summer days when you need something cold and satisfying.

Why You’ll Love This Peanut Butter Ice Cream
- No eggs required – This recipe skips the custard base entirely, making it much simpler and safer to prepare at home without worrying about tempering eggs.
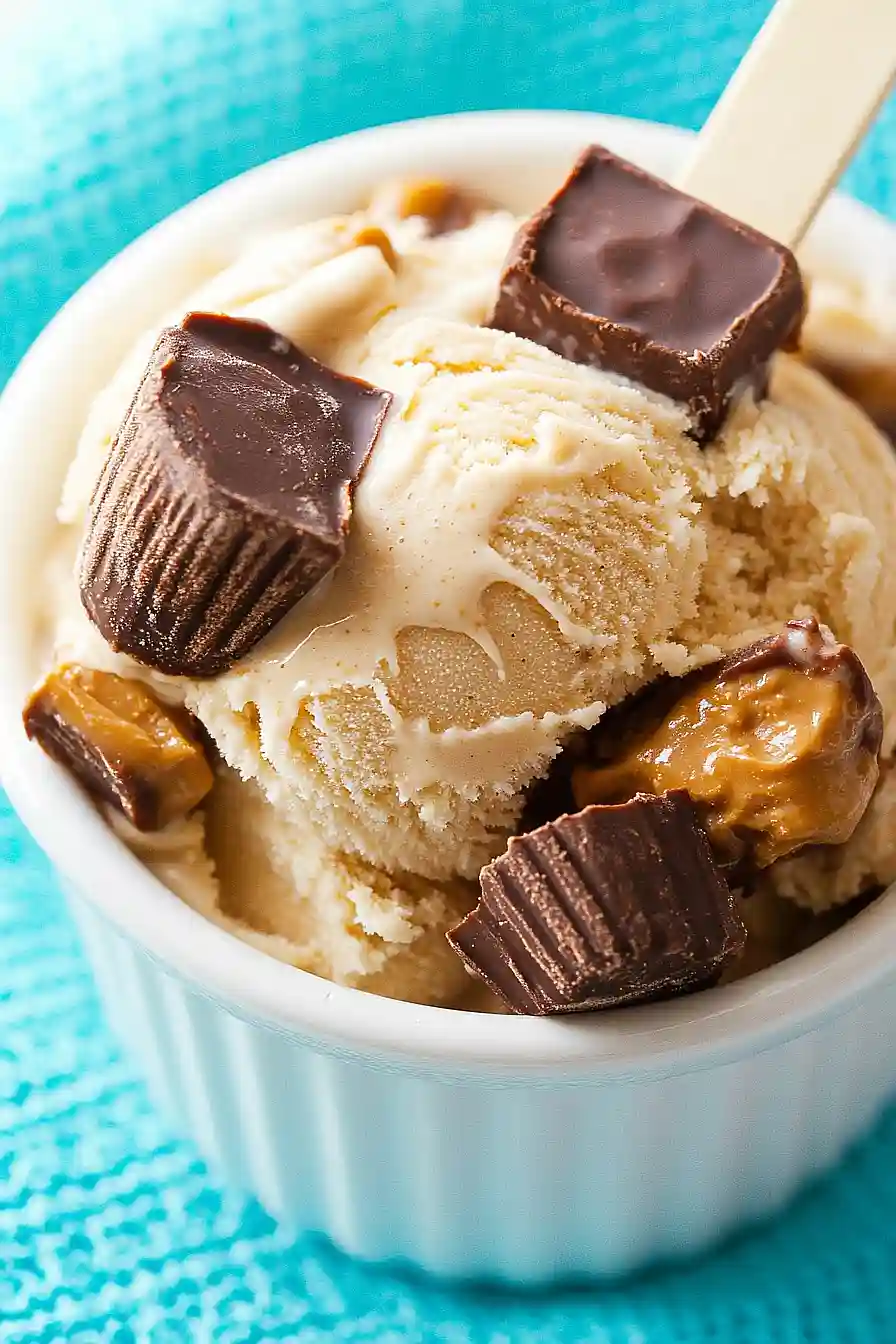
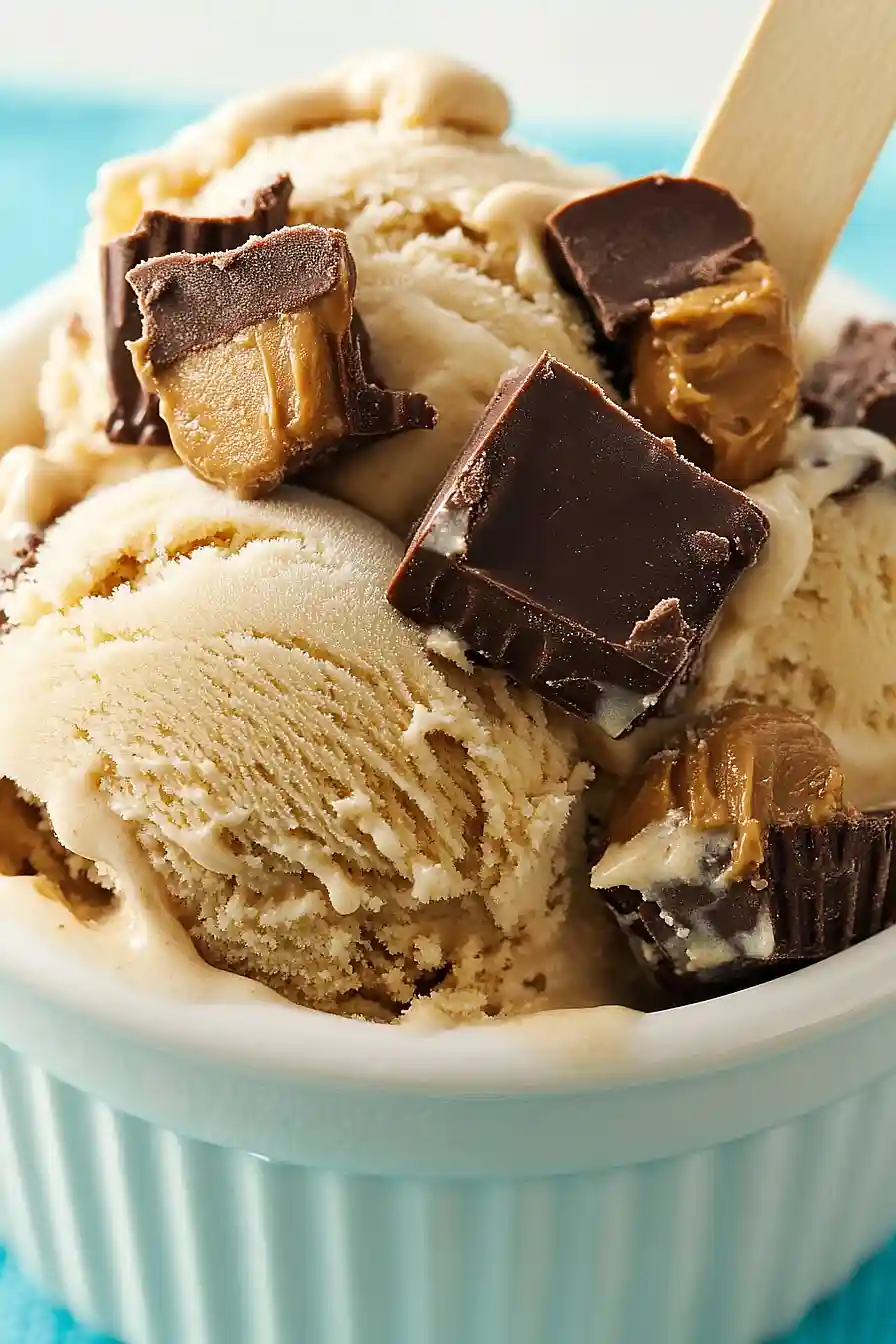
- Rich peanut butter flavor – The combination of creamy peanut butter and chopped peanut butter cups gives you that perfect nutty taste in every bite.
- Simple ingredients – You probably have most of these pantry staples on hand already, and they’re easy to find at any grocery store.
- Homemade treat – Making your own ice cream means you control the quality and can customize it exactly how you like it, plus it tastes so much better than store-bought.
- Perfect texture – The heavy cream creates that smooth, creamy consistency you want in ice cream, while the peanut butter cups add fun chunks throughout.
What Kind of Peanut Butter Should I Use?
For this ice cream recipe, you’ll want to stick with creamy processed peanut butter like Jif, Skippy, or similar brands rather than natural peanut butter. The processed varieties have stabilizers that help them blend smoothly into the cream mixture, while natural peanut butter can separate and create a grainy texture in your finished ice cream. Make sure to choose the smooth version rather than crunchy, since we’re already adding chopped peanut butter cups for texture. If you only have natural peanut butter on hand, give it a really good stir first to make sure the oils are well incorporated before measuring it out.

Options for Substitutions
This simple ice cream recipe has some room for swaps, though a few ingredients are best left alone:
- Heavy whipping cream: This one’s non-negotiable – heavy cream is what gives the ice cream its rich, creamy texture without eggs. Half-and-half or milk just won’t work here.
- Creamy peanut butter: Stick with processed peanut butter like Jif or Skippy rather than natural versions. Natural peanut butter can make the ice cream grainy and doesn’t freeze as smoothly.
- Granulated sugar: You can swap this for brown sugar if you want a deeper, molasses-like flavor, but use the same amount. Powdered sugar works too and dissolves even easier.
- Peanut butter cups: Get creative here! Try chopped peanut brittle, crushed peanut butter cookies, or even mini chocolate chips mixed with chopped peanuts.
- Vanilla extract: Almond extract makes a nice change if you want to play up the nutty flavors, but use only half the amount since it’s stronger than vanilla.
- Salt: Any salt works fine, but if you only have table salt, use just a pinch since it’s saltier than kosher salt.
Watch Out for These Mistakes While Making
The biggest mistake when making no-churn peanut butter ice cream is not whipping the heavy cream to stiff peaks – under-whipped cream will result in a dense, icy texture instead of the creamy consistency you’re after.
Another common error is using natural peanut butter instead of processed, as the oils in natural peanut butter can separate and create an uneven texture throughout your ice cream.
Make sure to fold in the peanut butter mixture gently rather than stirring vigorously, which can deflate all that air you worked so hard to whip into the cream.
For the best results, freeze your ice cream for at least 6 hours before scooping, and if you’re adding peanut butter cups, toss them in the freezer for 15 minutes beforehand so they don’t melt when mixed in.

What to Serve With Peanut Butter Ice Cream?
This rich peanut butter ice cream is amazing on its own, but it really shines when paired with warm desserts like brownies, chocolate chip cookies, or a slice of chocolate cake. The contrast between the cold, creamy ice cream and something warm and chocolatey is just perfect. You can also drizzle some hot fudge or caramel sauce on top, or sprinkle on some crushed pretzels for a salty crunch that plays off the peanut butter flavor. For a fun sundae setup, add some whipped cream and a cherry on top, or serve it alongside a warm peanut butter cookie for the ultimate peanut butter lover’s treat.
Storage Instructions
Keep Frozen: Your homemade peanut butter ice cream will stay creamy and delicious in the freezer for up to 2 months when stored in an airtight container. I like to press a piece of plastic wrap directly onto the surface before putting the lid on to prevent ice crystals from forming on top.
Scoop and Serve: Since this is homemade ice cream without stabilizers, it can get pretty hard in the freezer. Let it sit on the counter for about 10-15 minutes before scooping to make your life easier. If it’s still too firm, you can run your ice cream scoop under warm water between scoops.
Portion Control: I love portioning this ice cream into individual containers right after churning for easy grab-and-go treats. Small mason jars or freezer-safe containers work great, and you won’t have to worry about the whole batch getting too hard when you just want a single serving.
| Preparation Time | 10-15 minutes |
| Cooking Time | 240-360 minutes |
| Total Time | 250-375 minutes |
| Level of Difficulty | Easy |
Estimated Nutrition
Estimated nutrition for the whole recipe (without optional ingredients):
- Calories: 2500-2700
- Protein: 35-40 g
- Fat: 180-200 g
- Carbohydrates: 200-220 g
Ingredients
- 1/3 cup smooth processed peanut butter (not natural style)
- 1/3 cup granulated sugar
- 1 and 1/3 cups cold heavy cream
- 1 tsp vanilla extract
- 1/8 tsp kosher salt
- 1 cup chopped peanut butter candy cups
Step 1: Blend the Ice Cream Base
- 1/3 cup smooth processed peanut butter (not natural style)
- 1/3 cup granulated sugar
- 1 and 1/3 cups cold heavy cream
- 1 tsp vanilla extract
- 1/8 tsp kosher salt
Combine the peanut butter, granulated sugar, cold heavy cream, vanilla extract, and kosher salt in a blender.
Blend until the mixture is completely smooth and no lumps remain.
Transfer the blended mixture to a bowl, cover, and refrigerate until thoroughly chilled, for at least 1 hour.
I find that chilling the base well makes for a creamier finished ice cream.
Step 2: Churn the Ice Cream
- ice cream base from Step 1
- 1 cup chopped peanut butter candy cups
Pour the well-chilled ice cream base from Step 1 into your ice cream maker.
Churn according to the manufacturer’s instructions, or use a hand method if you don’t have an ice cream maker.
In the last few minutes of churning, gradually add the chopped peanut butter candy cups, allowing them to distribute evenly throughout the ice cream.
Step 3: Freeze Until Firm
Transfer the churned ice cream to a freezer-proof airtight container.
Smooth the top, cover, and freeze until firm—about 4 hours or overnight.
The longer you let it chill, the better the texture.
You can store the ice cream in the freezer for up to 2 weeks.

