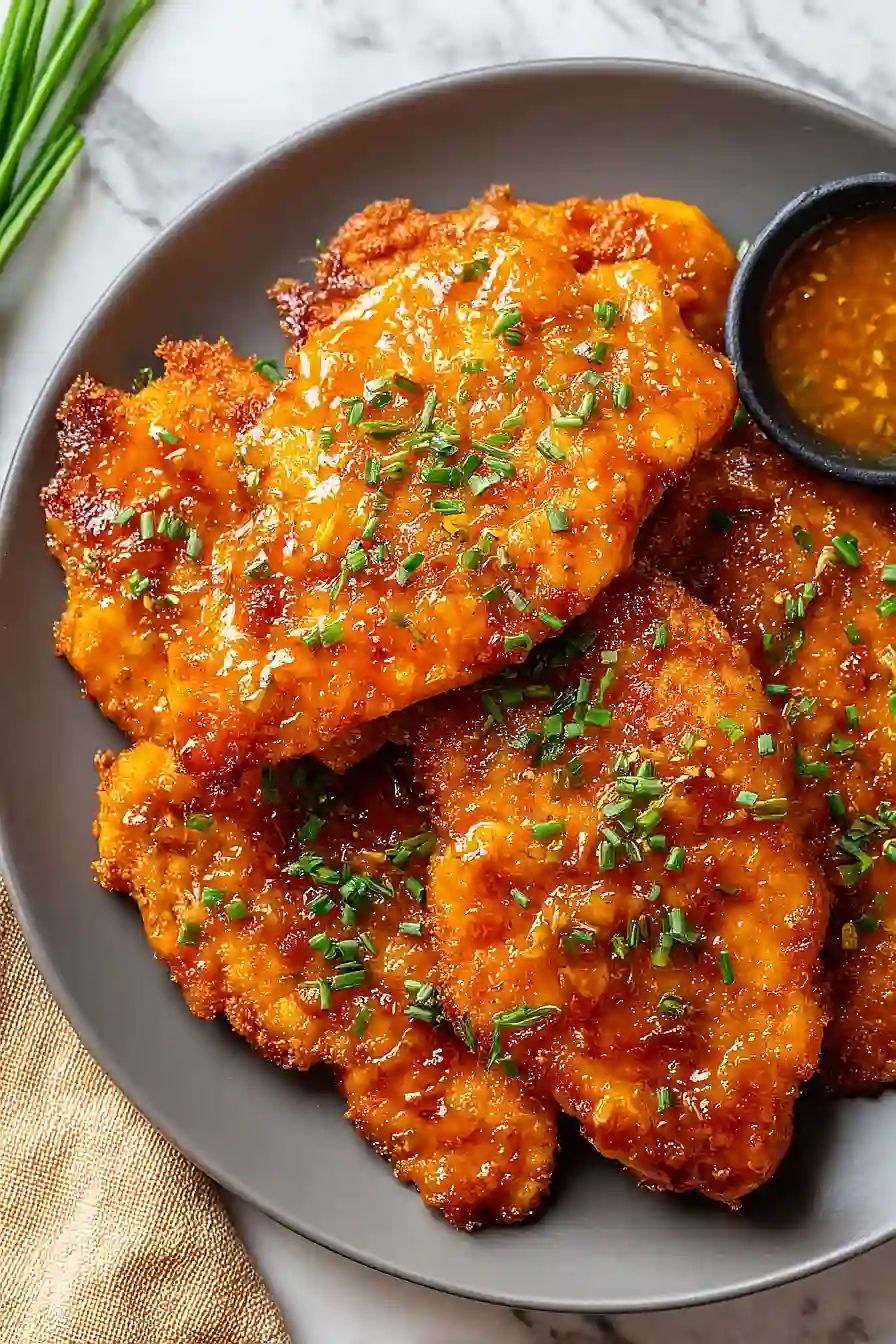
Here is my favorite double crunch honey garlic chicken recipe, with a crispy coating made with warm spices and ginger, pan-fried to a golden crunch, and topped with a sweet and savory honey garlic sauce.
This chicken has been viewed millions of times online, and once you try it, you’ll understand why. The double-dipped breading gives you that extra crunch, and the honey garlic sauce is so good, my family asks for this at least once a week!
Why You’ll Love This Honey Garlic Chicken
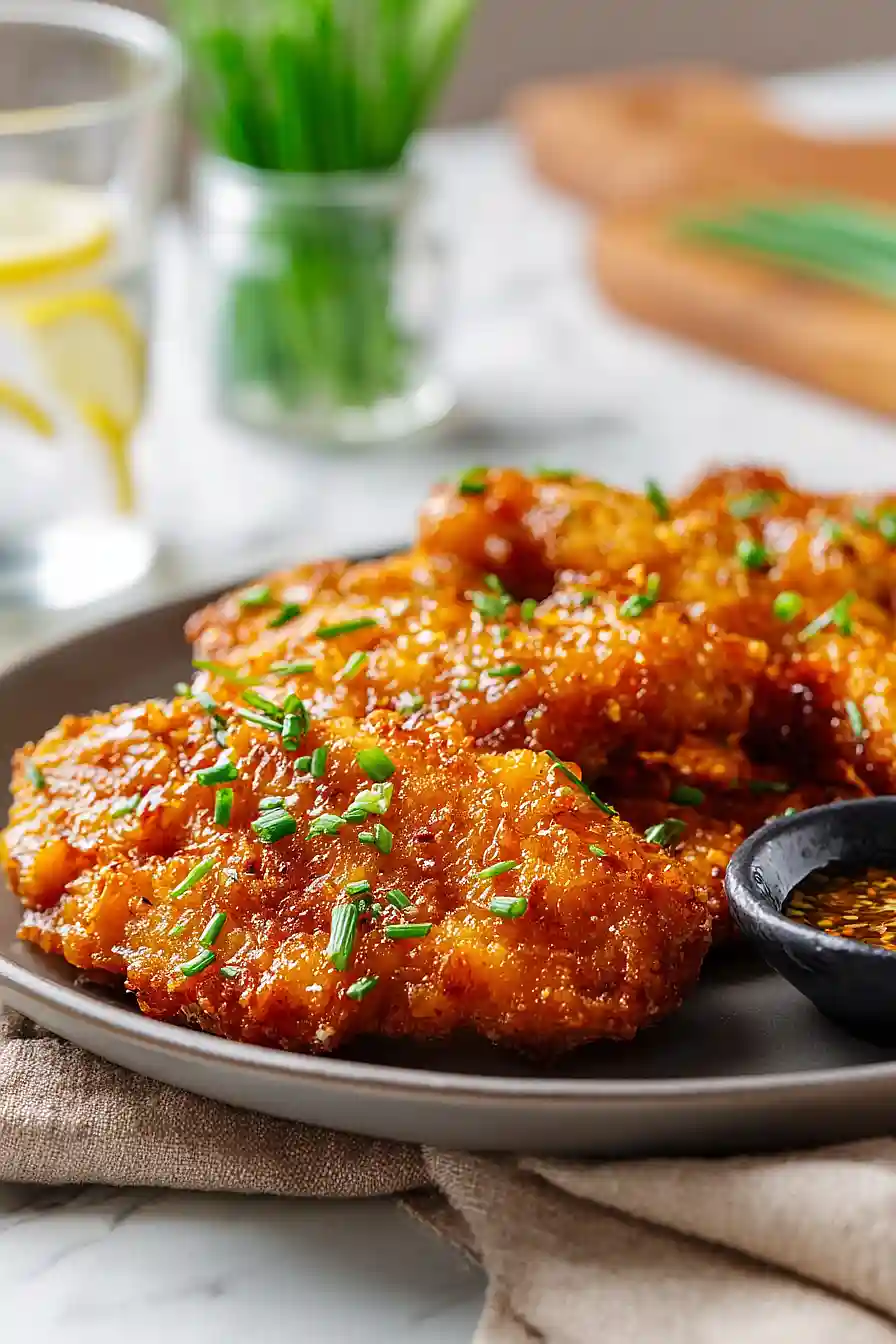
- Extra crispy double coating – The double dredging technique creates an incredibly crunchy exterior that stays crispy even after being coated in the sweet and savory sauce.
- Addictive honey garlic sauce – The combination of sweet honey, savory soy sauce, and fresh garlic creates a sticky glaze that’s so good, you’ll want to lick your plate clean.
- Restaurant-quality at home – This recipe tastes like something you’d order at your favorite Asian restaurant, but you can make it in your own kitchen for a fraction of the price.
- Perfect for meal prep – Make a big batch and enjoy it throughout the week with rice and veggies, or pack it for lunch the next day.
- Ready in under an hour – From start to finish, you can have this crispy, flavorful chicken on the table in about 45 minutes, making it doable for busy weeknights.
What Kind of Chicken Breasts Should I Use?
For this recipe, you’ll want to use boneless, skinless chicken breasts that are relatively even in thickness. If your chicken breasts are on the thicker side (more than about an inch thick), consider pounding them out to an even thickness so they cook through properly without burning the coating. You can use fresh or frozen chicken breasts – just make sure frozen ones are completely thawed and patted dry before you start cooking. Whether you go for organic, free-range, or conventional chicken is totally up to your budget and preference, as they’ll all work great with this double crunch coating and sweet honey garlic sauce.
Options for Substitutions
This recipe is pretty forgiving when it comes to swaps, so here are some options if you’re missing an ingredient:
- Chicken breasts: You can use chicken thighs instead, which will give you juicier meat. Just adjust the cooking time slightly as thighs may take a bit longer to cook through.
- Honey: Maple syrup or agave nectar work well as alternatives. Keep in mind that maple syrup will give you a slightly different flavor profile, but it’ll still be delicious.
- Soy sauce: Tamari or coconut aminos are great substitutes, especially if you’re looking for a gluten-free option. Use the same amount as the recipe calls for.
- Fresh garlic: In a pinch, you can use 1 teaspoon of garlic powder for every clove, though fresh garlic will give you better flavor in the sauce.
- Spices: Don’t have all the spices listed? You can simplify by using 3-4 tablespoons of your favorite poultry seasoning blend instead of the individual spices. The coating won’t taste exactly the same, but it’ll still be tasty.
- Canola oil: Any neutral oil with a high smoke point works here – vegetable oil, peanut oil, or even avocado oil are all fine choices for frying.
Watch Out for These Mistakes While Cooking
The biggest mistake when making this double-breaded chicken is letting your oil get too hot, which will burn the coating before the chicken cooks through – keep your heat at medium and use a thermometer to maintain the oil around 325-350°F for perfectly golden results. Another common error is skipping the pounding step, but chicken breasts cook unevenly when they’re thick on one end and thin on the other, so take a few minutes to pound them to an even thickness for consistent cooking. To keep your breading crispy and prevent it from falling off, make sure your chicken is completely dry before you start coating it, and let the coated pieces rest for 5-10 minutes before frying so the layers can stick together. Finally, don’t add the chicken to the honey garlic sauce too early – if you toss it in the sauce while it’s still piping hot from the pan, the coating will get soggy, so let it rest on that wire rack for a couple minutes first.
What to Serve With Honey Garlic Chicken?
This crispy honey garlic chicken pairs perfectly with steamed white rice or fried rice, which soaks up all that sweet and savory sauce. I love serving it alongside some roasted broccoli or green beans to balance out the richness of the dish. For a more filling meal, try adding some garlic mashed potatoes or even simple egg noodles on the side. If you want to keep things fresh, a quick cucumber salad or coleslaw adds a nice crunch that complements the chicken really well.
Storage Instructions
Store: Keep your leftover honey garlic chicken in an airtight container in the fridge for up to 3 days. The chicken will stay tasty, though the coating won’t be quite as crunchy as when it’s fresh. I like to save the extra sauce separately so I can drizzle it on when reheating.
Freeze: You can freeze the cooked chicken for up to 2 months in a freezer-safe container. Just know that the crispy coating will soften when you thaw and reheat it, but the flavor will still be there.
Reheat: For the best results, reheat in the oven at 375°F for about 15 minutes to help crisp up the coating again. You can also use an air fryer at 350°F for 8-10 minutes. The microwave works in a pinch, but your chicken won’t get that nice crunch back.
| Preparation Time | 20-30 minutes |
| Cooking Time | 25-30 minutes |
| Total Time | 45-60 minutes |
| Level of Difficulty | Medium |
| Servings | 4 servings |
Estimated Nutrition
Estimated nutrition for the whole recipe (without optional ingredients):
- Calories: 3200-3600
- Protein: 220-250 g
- Fat: 80-110 g
- Carbohydrates: 330-370 g
Ingredients
For the chicken and coating:
- 4 chicken breasts (pounded to even 1/2-inch thickness)
- 2.25 cups all-purpose flour
- 4.5 tsp salt
- 4.5 tsp black pepper
- 3.5 tbsp ground ginger
- 1.25 tbsp nutmeg
- 2.5 tsp dried thyme
- 2.5 tsp dried sage
- 1.25 tsp cayenne pepper
- 2.5 tbsp paprika
For the egg wash:
- 4 large eggs
- 8 tbsp water
For the honey garlic sauce:
- 2.5 tbsp olive oil
- 5 cloves fresh garlic (minced)
- 1 cup regular honey
- 1/4 cup soy sauce
- 1.25 tsp black pepper
- 1 tsp rice vinegar
For frying:
- canola oil (or any high-heat oil for a crispy crunch)
Step 1: Prepare Mise en Place and Pound Chicken
- 4 chicken breasts
- 5 cloves fresh garlic
- 4 large eggs
- 8 tbsp water
If you haven’t already, pound the chicken breasts to an even 1/2-inch thickness using a meat mallet—this ensures even cooking and helps the coating adhere better.
While the chicken rests, measure out all your ingredients: the dry spice mixture, eggs, water, garlic, honey, soy sauce, rice vinegar, and oils.
Having everything prepped and within reach will make the coating and cooking process smooth and efficient.
Step 2: Create the Dry Coating and Egg Wash
- 2.25 cups all-purpose flour
- 4.5 tsp salt
- 4.5 tsp black pepper
- 3.5 tbsp ground ginger
- 1.25 tbsp nutmeg
- 2.5 tsp dried thyme
- 2.5 tsp dried sage
- 1.25 tsp cayenne pepper
- 2.5 tbsp paprika
- 4 large eggs
- 8 tbsp water
In a shallow bowl or plate, combine the flour with salt, black pepper, ground ginger, nutmeg, dried thyme, dried sage, cayenne pepper, and paprika.
Mix thoroughly so the spices are evenly distributed throughout the flour.
In a separate shallow bowl, whisk together the eggs and water until well combined.
These two components form the base of the crispy double coating.
Step 3: Double-Coat the Chicken for Maximum Crunch
- dry spice flour mixture from Step 2
- egg wash mixture from Step 2
Pat the pounded chicken breasts dry with paper towels.
Working with one breast at a time, coat it thoroughly in the spiced flour mixture, shaking off excess.
Dip the floured chicken into the egg wash, making sure it’s fully covered, then coat it again in the spiced flour mixture—this double coating is what creates the signature crispy crunch.
I like to let the coated chicken rest on a plate for a few minutes before cooking so the coating sets up properly.
Step 4: Pan-Fry the Chicken Until Golden and Cooked Through
- double-coated chicken from Step 3
- 2.5 tbsp olive oil or canola oil
Heat the olive oil in a large skillet over medium-high heat until shimmering.
Working in batches if needed to avoid crowding, place the coated chicken breasts in the hot oil and cook for 4-5 minutes per side until golden brown and the internal temperature reaches 165°F.
Transfer the cooked chicken to a wire rack (this keeps it crispy by allowing air circulation underneath).
If using the oven method instead, preheat to 425°F, place the coated chicken on an oil-coated baking sheet, spray the tops with oil, and bake for 15 minutes, then flip and bake 10-15 minutes more until golden and cooked through.
Step 5: Build the Honey Garlic Sauce
- 2.5 tbsp olive oil
- 5 cloves fresh garlic
- 1 cup regular honey
- 1/4 cup soy sauce
- 1 tsp rice vinegar
- 1.25 tsp black pepper
In a medium pot, heat a small amount of olive oil over medium heat and add the minced garlic, stirring frequently for about 1-2 minutes until fragrant and just beginning to soften—don’t let it brown or it will become bitter.
Pour in the honey, soy sauce, rice vinegar, and the 1.25 tsp black pepper (note: this is a separate measurement from the coating spices).
Stir well to combine and let the sauce simmer gently for 5-10 minutes, allowing the flavors to meld and the sauce to thicken slightly.
I find that simmering the sauce a bit longer than the minimum really deepens the flavor and helps it cling to the chicken better.
Step 6: Finish and Plate the Chicken
- cooked chicken from Step 4
- honey garlic sauce from Step 5
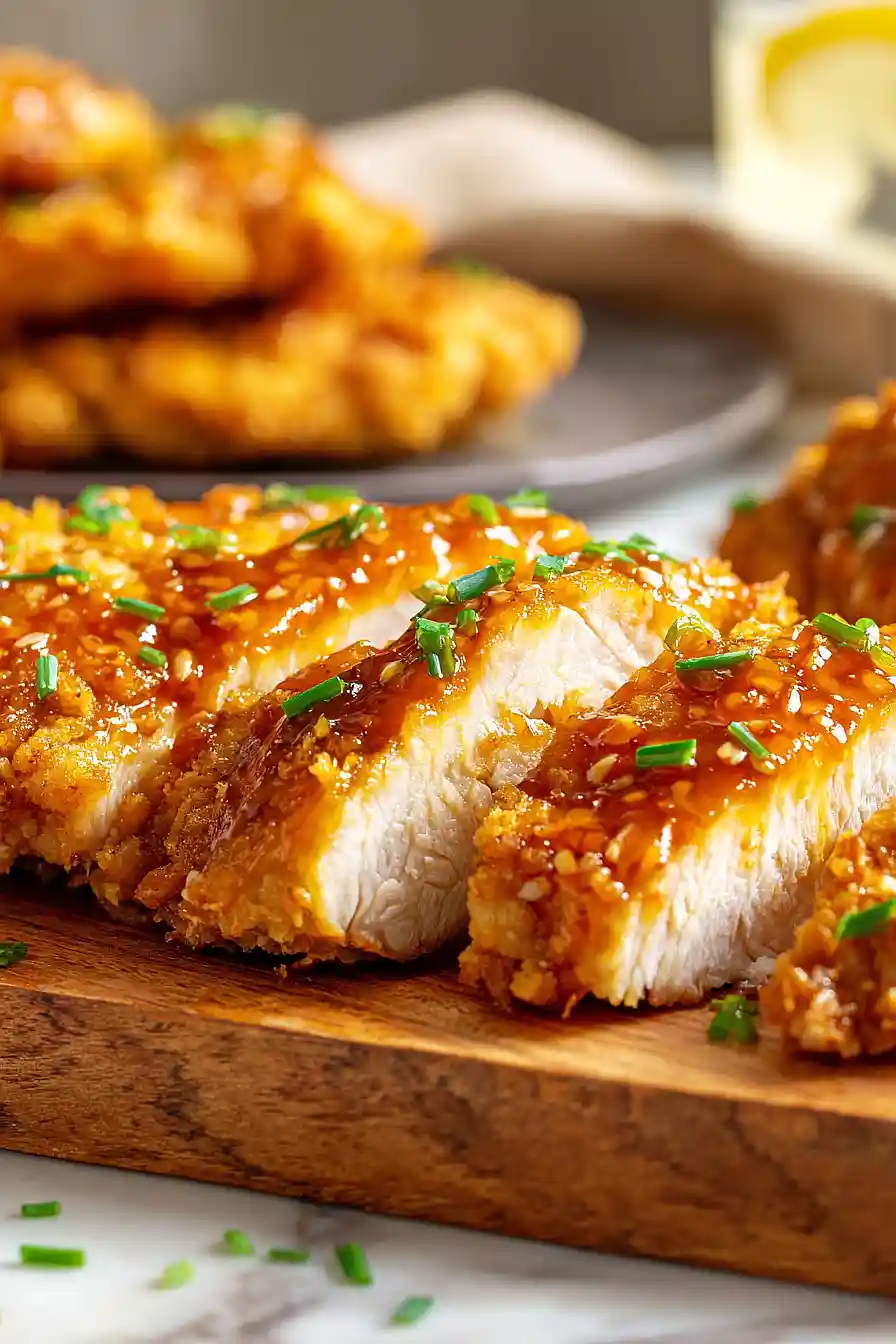
Dip the hot cooked chicken breasts into the warm honey garlic sauce, coating both sides generously.
You can either serve the chicken drizzled with extra sauce or placed in a pool of sauce on the plate.
Serve immediately alongside noodles, rice, or your preferred side dish for a complete meal.
Easy Double Crunch Honey Garlic Chicken Breasts
Ingredients
For the chicken and coating::
- 4 chicken breasts (pounded to even 1/2-inch thickness)
- 2.25 cups all-purpose flour
- 4.5 tsp salt
- 4.5 tsp black pepper
- 3.5 tbsp ground ginger
- 1.25 tbsp nutmeg
- 2.5 tsp dried thyme
- 2.5 tsp dried sage
- 1.25 tsp cayenne pepper
- 2.5 tbsp paprika
For the egg wash::
- 4 large eggs
- 8 tbsp water
For the honey garlic sauce::
- 2.5 tbsp olive oil
- 5 cloves fresh garlic (minced)
- 1 cup regular honey
- 1/4 cup soy sauce
- 1.25 tsp black pepper
- 1 tsp rice vinegar
For frying::
- canola oil (or any high-heat oil for a crispy crunch)
Instructions
- If you haven't already, pound the chicken breasts to an even 1/2-inch thickness using a meat mallet—this ensures even cooking and helps the coating adhere better. While the chicken rests, measure out all your ingredients: the dry spice mixture, eggs, water, garlic, honey, soy sauce, rice vinegar, and oils. Having everything prepped and within reach will make the coating and cooking process smooth and efficient.
- In a shallow bowl or plate, combine the flour with salt, black pepper, ground ginger, nutmeg, dried thyme, dried sage, cayenne pepper, and paprika. Mix thoroughly so the spices are evenly distributed throughout the flour. In a separate shallow bowl, whisk together the eggs and water until well combined. These two components form the base of the crispy double coating.
- Pat the pounded chicken breasts dry with paper towels. Working with one breast at a time, coat it thoroughly in the spiced flour mixture, shaking off excess. Dip the floured chicken into the egg wash, making sure it's fully covered, then coat it again in the spiced flour mixture—this double coating is what creates the signature crispy crunch. I like to let the coated chicken rest on a plate for a few minutes before cooking so the coating sets up properly.
- Heat the olive oil in a large skillet over medium-high heat until shimmering. Working in batches if needed to avoid crowding, place the coated chicken breasts in the hot oil and cook for 4-5 minutes per side until golden brown and the internal temperature reaches 165°F. Transfer the cooked chicken to a wire rack (this keeps it crispy by allowing air circulation underneath). If using the oven method instead, preheat to 425°F, place the coated chicken on an oil-coated baking sheet, spray the tops with oil, and bake for 15 minutes, then flip and bake 10-15 minutes more until golden and cooked through.
- In a medium pot, heat a small amount of olive oil over medium heat and add the minced garlic, stirring frequently for about 1-2 minutes until fragrant and just beginning to soften—don't let it brown or it will become bitter. Pour in the honey, soy sauce, rice vinegar, and the 1.25 tsp black pepper (note: this is a separate measurement from the coating spices). Stir well to combine and let the sauce simmer gently for 5-10 minutes, allowing the flavors to meld and the sauce to thicken slightly. I find that simmering the sauce a bit longer than the minimum really deepens the flavor and helps it cling to the chicken better.
- Dip the hot cooked chicken breasts into the warm honey garlic sauce, coating both sides generously. You can either serve the chicken drizzled with extra sauce or placed in a pool of sauce on the plate. Serve immediately alongside noodles, rice, or your preferred side dish for a complete meal.
