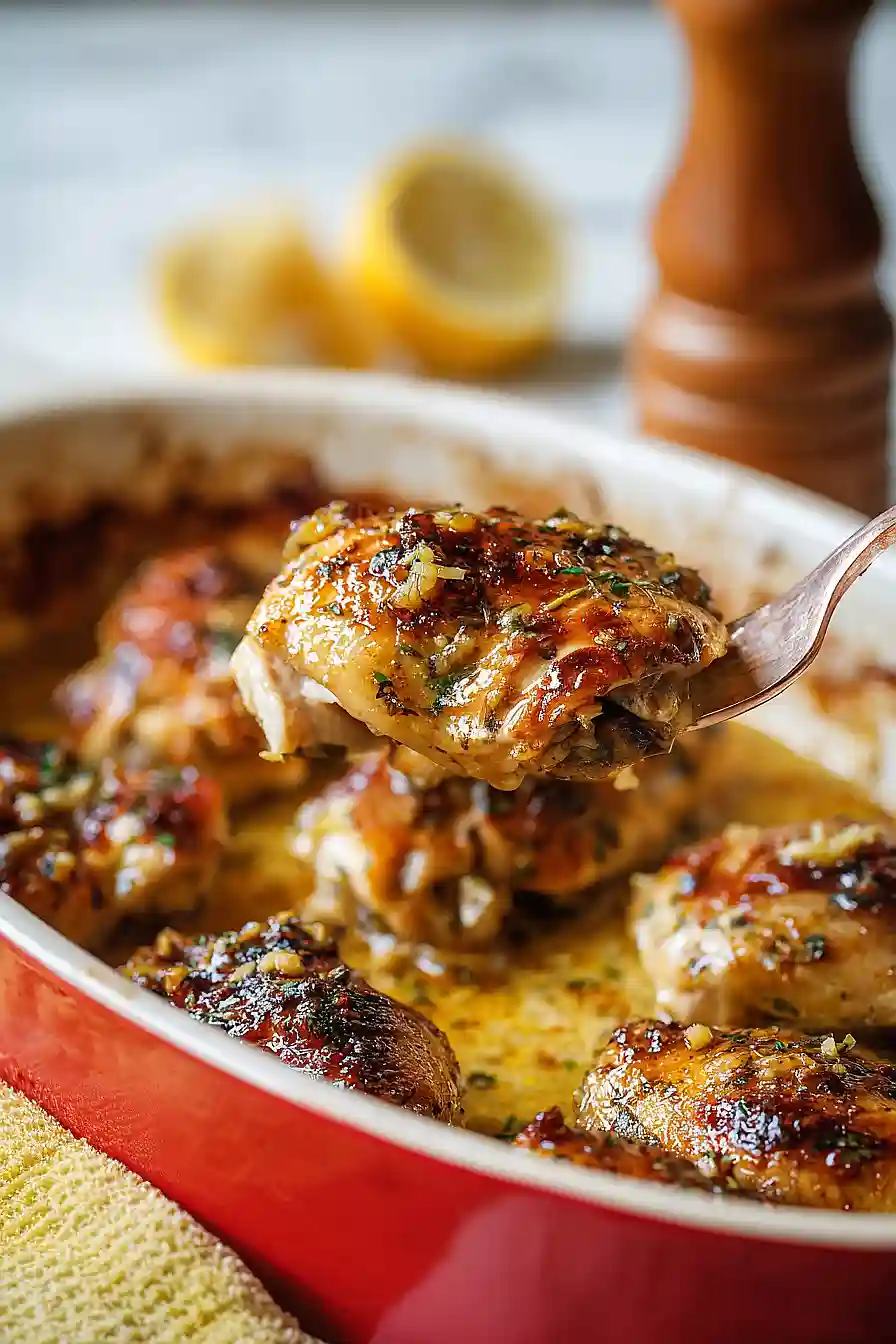
There’s something about lemon and butter together that just works. Add chicken to the mix, and you’ve got yourself a dinner that feels fancy but doesn’t require much effort. I make this on weeknights when I want something that tastes like I spent hours in the kitchen, but really, it’s just tossing everything into a baking dish.
The best part? This recipe uses one pan. The chicken bakes in this sauce made with garlic, parmesan, and cream that’s tangy from the lemon juice. It comes out juicy every time, especially if you use thighs like I do. I serve it over rice or pasta so nothing goes to waste.
My family requests this one a lot. The kids like it because it’s not too spicy, and my husband likes it because there’s plenty of flavor. I like it because I’m not stuck at the stove stirring something for thirty minutes.

Why You’ll Love This Lemon Butter Chicken
- Restaurant-quality flavor at home – The combination of lemon, butter, and Parmesan creates a creamy, tangy sauce that tastes like something you’d order at a fancy restaurant.
- Simple ingredients – You probably have most of these pantry staples on hand already, making this an easy recipe to whip up any night of the week.
- One-pan meal – Everything bakes together in one dish, which means less cleanup and more time to relax after dinner.
- Perfect for meal prep – This chicken reheats beautifully, so you can make it ahead for easy lunches or dinners throughout the week.
- Family-friendly – The mild, creamy sauce appeals to both kids and adults, making it a reliable choice when you need to please everyone at the table.
What Kind of Chicken Should I Use?
For this recipe, you can use whatever chicken pieces you prefer or have on hand – thighs, drumsticks, breasts, or a mix of different cuts all work great. Bone-in, skin-on pieces tend to stay juicier during baking and give you more flavor, but boneless skinless pieces will also work if that’s what you have available. If you’re using chicken breasts, just keep an eye on them since they can dry out faster than dark meat. I’d recommend choosing pieces that are roughly the same size so they cook evenly, and if you’re buying a whole cut-up chicken from the store, that’s perfect for this recipe.
Options for Substitutions
This recipe is pretty forgiving when it comes to swaps, so here are some options if you need them:
- Chicken pieces: You can use any chicken parts you prefer – thighs, drumsticks, breasts, or a mix. Boneless pieces work too, just reduce the cooking time by about 10-15 minutes to avoid drying them out.
- Red onion: Yellow or white onions work just fine here. The flavor difference is minimal once everything’s cooked together.
- Parsley: Fresh basil or cilantro can step in if you don’t have parsley on hand. Dried parsley works in a pinch too – just use about 1 tablespoon instead.
- Parmesan: Grated Pecorino Romano or Asiago cheese make good substitutes. They’ll give you that same salty, sharp flavor that makes this dish work.
- Heavy cream: Half-and-half or whole milk can replace the cream if that’s what you have. The sauce will be slightly thinner, but you can simmer it a bit longer to thicken it up.
- Chicken stock: Vegetable stock or even water with an extra bouillon cube will do the job. You could also use white wine mixed with a little water for extra flavor.
Watch Out for These Mistakes While Cooking
The biggest mistake when making this dish is not letting the sauce cool before pouring it over the raw chicken, which can cause the cream and cheese to separate during the long baking time – give it at least 10 minutes to come together properly.
Overcooking chicken is easy when you’re baking for nearly two hours, so start checking the internal temperature around the 90-minute mark with an instant-read thermometer, aiming for 165°F in the thickest part of the meat.
When you flip the chicken halfway through, make sure to spoon some of the sauce back over the top to keep everything moist, and watch carefully during the broiling step since it only takes a minute or two for golden brown to turn into burnt.
If your sauce looks too thick or starts to dry out during baking, add a splash of chicken stock to loosen it up and keep everything nice and saucy.
What to Serve With Baked Lemon Butter Chicken?
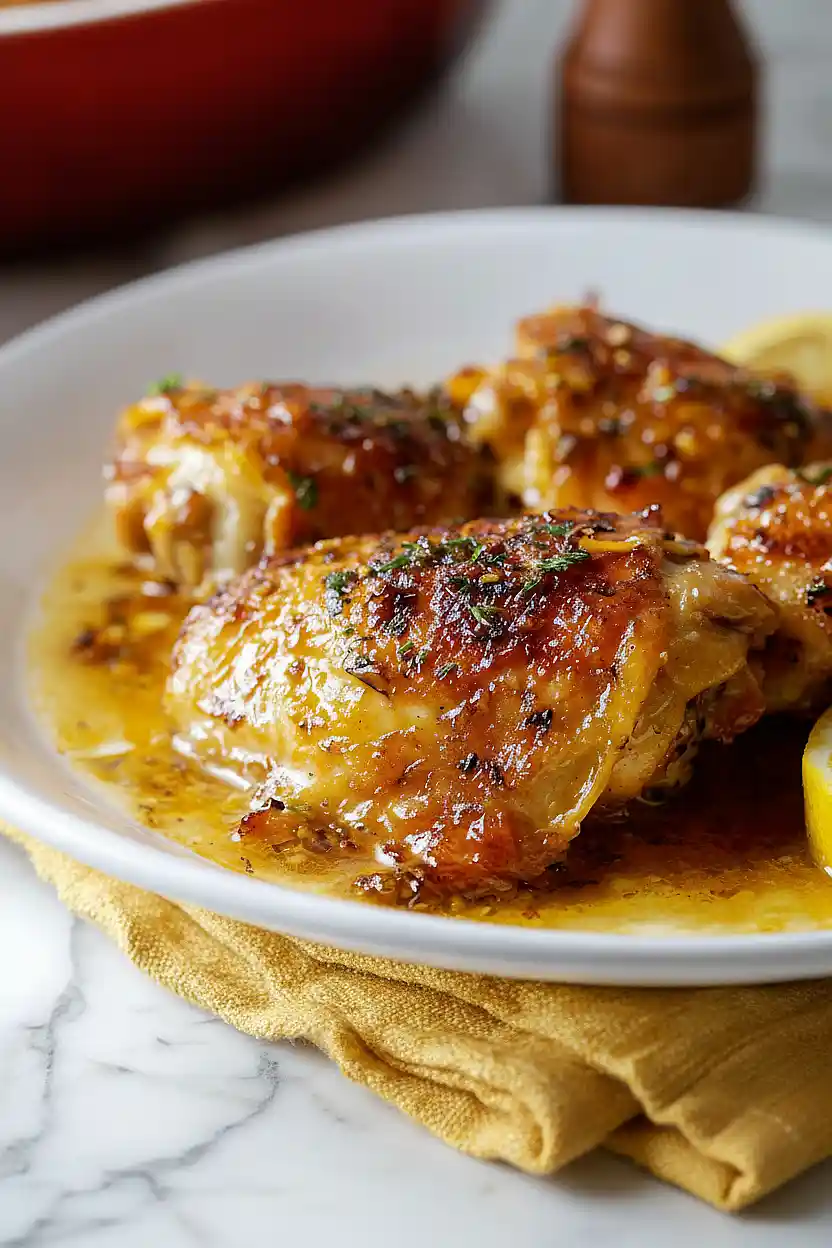
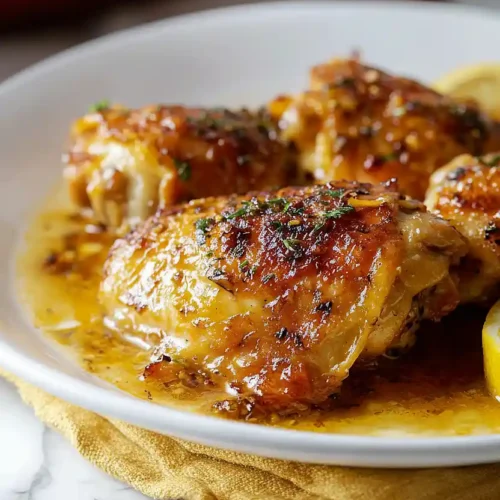
This lemony chicken pairs really well with simple sides that can soak up all that buttery sauce. I love serving it over fluffy white rice or creamy mashed potatoes, which are perfect for catching every bit of the flavorful pan sauce. A side of roasted vegetables like green beans, asparagus, or broccoli adds a nice freshness that balances out the richness of the dish. If you want something a bit heartier, crusty bread or dinner rolls are great for mopping up the sauce, and a light Caesar salad on the side rounds out the meal nicely.
Storage Instructions
Store: Keep your leftover lemon butter chicken in an airtight container in the fridge for up to 4 days. The sauce stays creamy and the chicken remains tender, making it perfect for easy weeknight dinners. I like to store the chicken and sauce together so the flavors keep soaking in.
Freeze: This chicken freezes really well for up to 3 months. Let it cool completely, then transfer to a freezer-safe container with all that delicious sauce. When you’re ready to eat it, thaw it overnight in the fridge before reheating.
Reheat: Warm it up in the oven at 350°F for about 15-20 minutes, covered with foil to keep it from drying out. You can also reheat individual portions in the microwave on medium power for 2-3 minutes. If the sauce seems thick, just add a splash of chicken stock or cream to loosen it up.
| Preparation Time | 15-20 minutes |
| Cooking Time | 105-120 minutes |
| Total Time | 120-140 minutes |
| Level of Difficulty | Medium |
| Servings | 10 servings |
Estimated Nutrition
Estimated nutrition for the whole recipe (without optional ingredients):
- Calories: 2000-2300
- Protein: 180-210 g
- Fat: 130-150 g
- Carbohydrates: 20-30 g
Ingredients
For the chicken:
- 10 chicken pieces (I prefer Perdue thighs for better juiciness)
- 2.5 tsp salt
- 1.5 tbsp paprika
- 1 tbsp chicken seasoning
For the sauce:
- 3 tbsp butter (I use Kerrygold unsalted for a richer flavor)
- 1/2 cup red onion (finely diced into 1/4-inch pieces)
- 1/2 cup parsley
- 1.5 tbsp garlic
- 1/2 tsp red pepper flakes
- 1 cup chicken stock (I always use Swanson for the best base)
- 1 tbsp lemon juice
- 1 cup parmesan (freshly grated for a better melt)
- 1/3 cup cream
- 1/2 tsp dried thyme
Step 1: Prepare the Mise en Place and Season the Chicken
- 10 chicken pieces
- 2.5 tsp salt
- 1.5 tbsp paprika
- 1 tbsp chicken seasoning
- 1/2 cup red onion, finely diced
- 1/2 cup parsley, chopped
- 1.5 tbsp garlic, minced
- 1 cup parmesan, freshly grated
Finely dice the red onion into 1/4-inch pieces, mince the garlic, chop the parsley, and grate the parmesan cheese fresh if possible—this ensures the best texture and flavor.
Pat the chicken pieces dry with paper towels, then season them generously on all sides with salt, paprika, and chicken seasoning.
Set the seasoned chicken aside on a plate while you prepare the sauce.
Step 2: Build the Lemon Butter Sauce Base
- 3 tbsp butter
- 1/2 cup red onion, finely diced
- 1.5 tbsp garlic, minced
- 1/2 cup parsley, chopped
- 1 tbsp lemon juice
- 1/2 tsp red pepper flakes
- 1/2 tsp dried thyme
Melt the butter in a large skillet over medium heat.
Once melted, add the diced red onion and cook for 2 minutes, stirring occasionally, until it begins to soften.
Stir in the minced garlic, chopped parsley, lemon juice, red pepper flakes, and dried thyme, cooking for another 30 seconds until fragrant.
This brief cooking time allows the aromatics to release their flavors while keeping the herbs vibrant.
Step 3: Complete and Cool the Sauce
- 1 cup chicken stock
- 1 cup parmesan, freshly grated
- 1/3 cup cream
Pour the chicken stock into the skillet and bring to a gentle simmer.
Remove from heat and stir in the freshly grated parmesan and cream until fully combined and smooth.
Let the sauce cool for a few minutes—this prevents it from partially cooking the chicken before it goes in the oven.
I like to let the sauce cool slightly because it helps distribute more evenly over the chicken during baking.
Step 4: Assemble and Bake the Chicken
- seasoned chicken from Step 1
- sauce from Step 3
Preheat your oven to 375°F.
Arrange the seasoned chicken pieces in a single layer in a 9×13-inch baking dish or similar size, skin-side up.
Pour the cooled sauce from Step 3 evenly over the chicken, making sure each piece is well coated.
Bake for 1 hour and 45 minutes, flipping the chicken pieces halfway through (around the 50-minute mark) to ensure even cooking and browning.
Step 5: Finish with a Golden Broil
Once the chicken has finished baking and is cooked through, carefully transfer the baking dish to the broiler on high heat for 2-4 minutes, watching carefully to avoid burning.
The broiler will caramelize the top of the sauce and give the chicken a beautiful golden-brown finish.
Remove from the broiler as soon as the sauce develops light brown spots on top.
Step 6: Plate and Serve
Let the chicken rest in the dish for 2-3 minutes before serving.
Transfer each piece to a serving plate and spoon any remaining sauce from the bottom of the dish generously over the top.
The extra sauce adds moisture and flavor to every bite.
Easy Baked Lemon Butter Chicken
Ingredients
For the chicken::
- 10 chicken pieces (I prefer Perdue thighs for better juiciness)
- 2.5 tsp salt
- 1.5 tbsp paprika
- 1 tbsp chicken seasoning
For the sauce::
- 3 tbsp butter (I use Kerrygold unsalted for a richer flavor)
- 1/2 cup red onion (finely diced into 1/4-inch pieces)
- 1/2 cup parsley
- 1.5 tbsp garlic
- 1/2 tsp red pepper flakes
- 1 cup chicken stock (I always use Swanson for the best base)
- 1 tbsp lemon juice
- 1 cup parmesan (freshly grated for a better melt)
- 1/3 cup cream
- 1/2 tsp dried thyme
Instructions
- Finely dice the red onion into 1/4-inch pieces, mince the garlic, chop the parsley, and grate the parmesan cheese fresh if possible—this ensures the best texture and flavor. Pat the chicken pieces dry with paper towels, then season them generously on all sides with salt, paprika, and chicken seasoning. Set the seasoned chicken aside on a plate while you prepare the sauce.
- Melt the butter in a large skillet over medium heat. Once melted, add the diced red onion and cook for 2 minutes, stirring occasionally, until it begins to soften. Stir in the minced garlic, chopped parsley, lemon juice, red pepper flakes, and dried thyme, cooking for another 30 seconds until fragrant. This brief cooking time allows the aromatics to release their flavors while keeping the herbs vibrant.
- Pour the chicken stock into the skillet and bring to a gentle simmer. Remove from heat and stir in the freshly grated parmesan and cream until fully combined and smooth. Let the sauce cool for a few minutes—this prevents it from partially cooking the chicken before it goes in the oven. I like to let the sauce cool slightly because it helps distribute more evenly over the chicken during baking.
- Preheat your oven to 375°F. Arrange the seasoned chicken pieces in a single layer in a 9x13-inch baking dish or similar size, skin-side up. Pour the cooled sauce from Step 3 evenly over the chicken, making sure each piece is well coated. Bake for 1 hour and 45 minutes, flipping the chicken pieces halfway through (around the 50-minute mark) to ensure even cooking and browning.
- Once the chicken has finished baking and is cooked through, carefully transfer the baking dish to the broiler on high heat for 2-4 minutes, watching carefully to avoid burning. The broiler will caramelize the top of the sauce and give the chicken a beautiful golden-brown finish. Remove from the broiler as soon as the sauce develops light brown spots on top.
- Let the chicken rest in the dish for 2-3 minutes before serving. Transfer each piece to a serving plate and spoon any remaining sauce from the bottom of the dish generously over the top. The extra sauce adds moisture and flavor to every bite.
