Snack time at my house can get pretty competitive. My kids will raid the fridge looking for anything interesting, and regular hard boiled eggs just don’t cut it anymore. They want something with more flavor, more punch. That’s when I discovered dill pickle hard boiled eggs.
These aren’t your typical picnic eggs. They’re tangy, salty, and have that pickle bite that makes them actually exciting to eat. I make a batch on Sunday and they’re gone by Tuesday. Even my husband, who usually skips my “healthy snacks,” will grab a couple from the fridge.
The best part? They’re just as easy as regular hard boiled eggs. You just add one extra step that turns them from boring to bold. Perfect for lunch boxes, afternoon snacks, or when you want to bring something different to a potluck.
Why You’ll Love These Dill Pickle Hard Boiled Eggs
- Minimal ingredients – You only need four simple ingredients to make these tangy, flavorful eggs that pack a serious pickle punch.
- Easy preparation – Just boil your eggs, drop them in pickle juice, and let time do all the work – no complicated steps or special techniques required.
- Perfect protein snack – These pickled eggs are a great grab-and-go option that keeps you satisfied between meals while adding some fun flavor to your routine.
- Great for meal prep – Make a batch and keep them in the fridge for up to two weeks, giving you a quick snack or salad topper whenever you need it.
- Crowd-pleasing appetizer – These tangy eggs are always a hit at parties, potlucks, or barbecues – people love the unexpected pickle flavor twist.
What Kind of Eggs Should I Use?
For this recipe, you’ll want to use large eggs since they’re the standard size that works best for pickling. Fresh eggs from the store work perfectly fine, but if you have access to farm-fresh eggs, those will taste even better. The age of your eggs actually matters here – eggs that are about a week old are easier to peel after hard boiling than super fresh ones. When you’re hard boiling them, make sure to start with eggs at room temperature to prevent cracking, and don’t skip the ice bath after cooking to stop the cooking process and make peeling easier.
Options for Substitutions
This simple recipe is pretty straightforward, but here are a few swaps you can make:
- Dill pickle juice: This is really the star of the show, so I wouldn’t recommend substituting it. However, if you’re out of dill pickle juice, you can try bread and butter pickle juice for a sweeter version, or even jalapeño pickle juice if you like some heat.
- Fresh dill: If you don’t have fresh dill sprigs, you can use 1-2 tablespoons of dried dill instead. Fresh is better for flavor, but dried will still give you that herby taste.
- Black peppercorns: Whole peppercorns add the best flavor, but if you only have ground black pepper, use about 1/2 teaspoon instead. You could also try white peppercorns for a milder bite.
- Hard boiled eggs: The eggs are essential for this recipe – there’s no real substitute here! Just make sure they’re completely cooled before adding them to the pickle juice so they absorb the flavors properly.
Watch Out for These Mistakes While Cooking
The biggest mistake when making pickled eggs is using eggs that are too fresh – eggs that are at least a week old will peel much easier after boiling, saving you from the frustration of torn egg whites.
Another common error is not cooling the eggs properly in an ice bath immediately after boiling, which can lead to that gray-green ring around the yolk and makes peeling more difficult.
Make sure your pickle juice completely covers all the eggs in your jar, as any exposed parts won’t pickle properly and could spoil faster.
For the best flavor, resist the urge to eat them right away – these eggs need at least 24 hours in the fridge to develop that tangy pickle taste, though 3-4 days will give you even better results.
What to Serve With Dill Pickle Hard Boiled Eggs?
These tangy pickled eggs are perfect for snacking on their own, but they really shine as part of a casual spread or picnic setup. I love serving them alongside other pickled goodies like pickled beets, pickled onions, or a classic charcuterie board with crackers, cheese, and sliced meats. They make a great addition to potato salad or egg salad sandwiches too – just chop them up and mix them in for an extra punch of flavor. For a simple lunch, try slicing them over a green salad with some crusty bread on the side, or pack them in lunch boxes with some crackers and cheese for an easy protein-packed snack.
Storage Instructions
Refrigerate: Keep your dill pickle eggs in the same jar or container with the pickle juice in the fridge. They’ll stay fresh for up to one week, and honestly, they get more flavorful the longer they sit. I usually start eating them after 24 hours, but they’re even better after 2-3 days of marinating.
Make Ahead: These are perfect for meal prep since they actually need time to develop that tangy pickle flavor. Make them on Sunday and you’ll have protein-packed snacks ready for the whole week. They’re great for lunch boxes, quick breakfasts, or when you need a satisfying snack.
Serve: No reheating needed – just grab them straight from the fridge when you’re ready to eat. They taste best cold and make a great addition to salads, or you can slice them up for deviled eggs with a pickle twist. The pickle juice can even be reused for another batch if you want!
| Preparation Time | 10-15 minutes |
| Cooking Time | 10-15 minutes |
| Total Time | 10-15 minutes (plus 14 days for pickling) |
| Level of Difficulty | Easy |
Estimated Nutrition
Estimated nutrition for the whole recipe (without optional ingredients):
- Calories: 840-900
- Protein: 72-78 g
- Fat: 60-72 g
- Carbohydrates: 6-8 g
We'll Pay You $5 to Try This Recipe!
Cook our recipe, snap some photos, and earn a $5 Amazon Gift Card. It's that simple!
Here's how:
- Make the recipe
- Take nice pictures of your final dish
- Fill out our quick form (2 minutes max!)
- Your $5 reward is on the way!
Ingredients
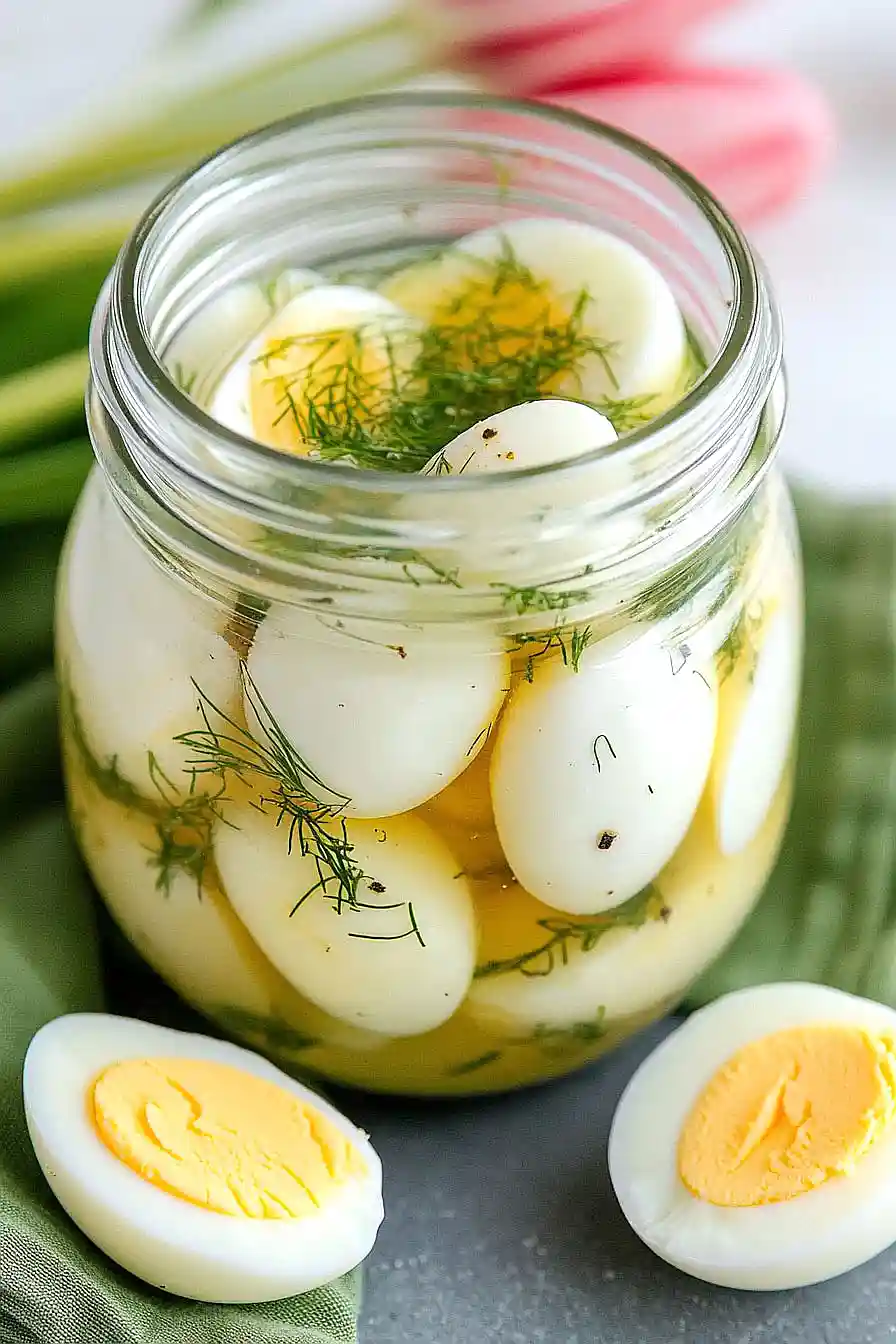
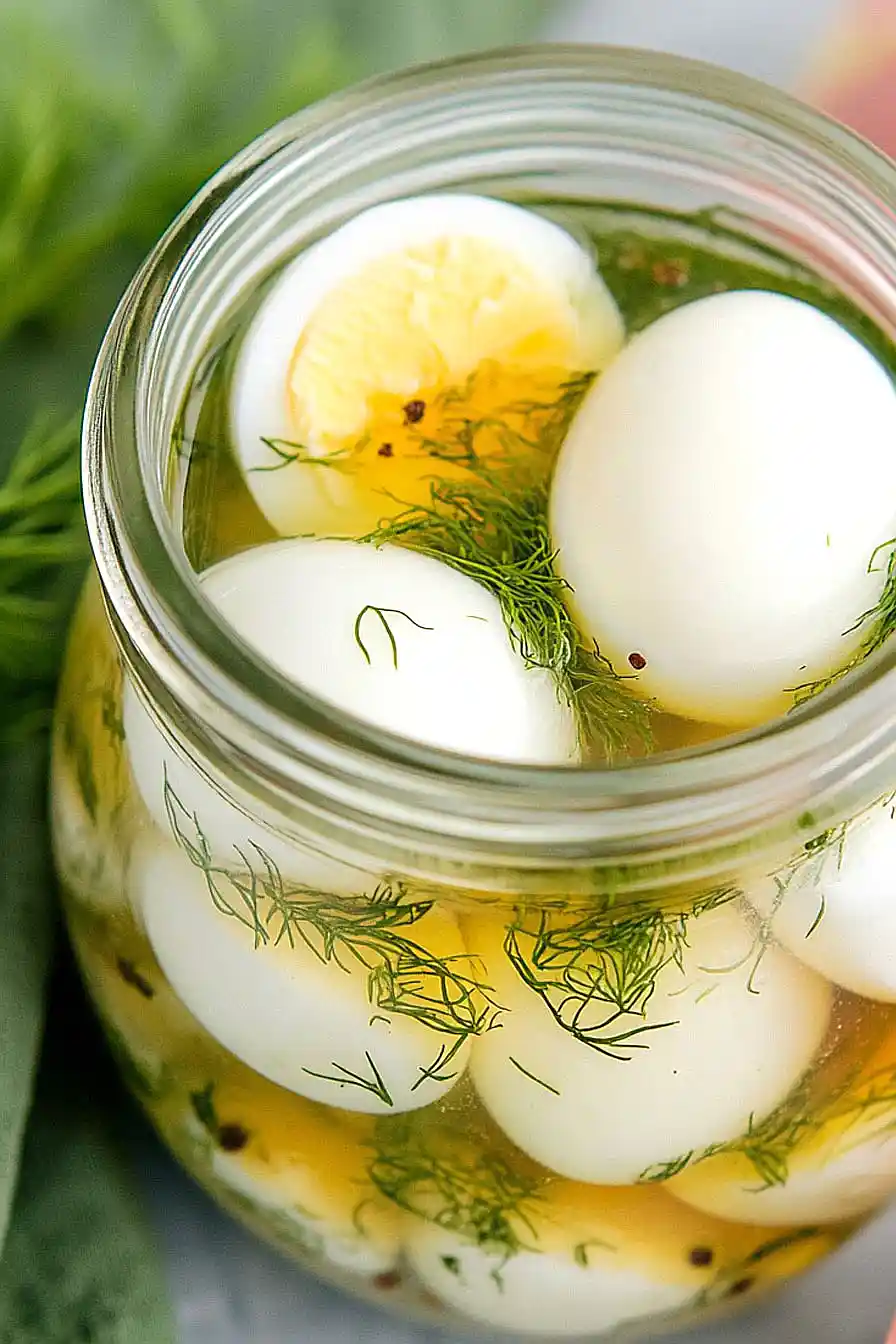
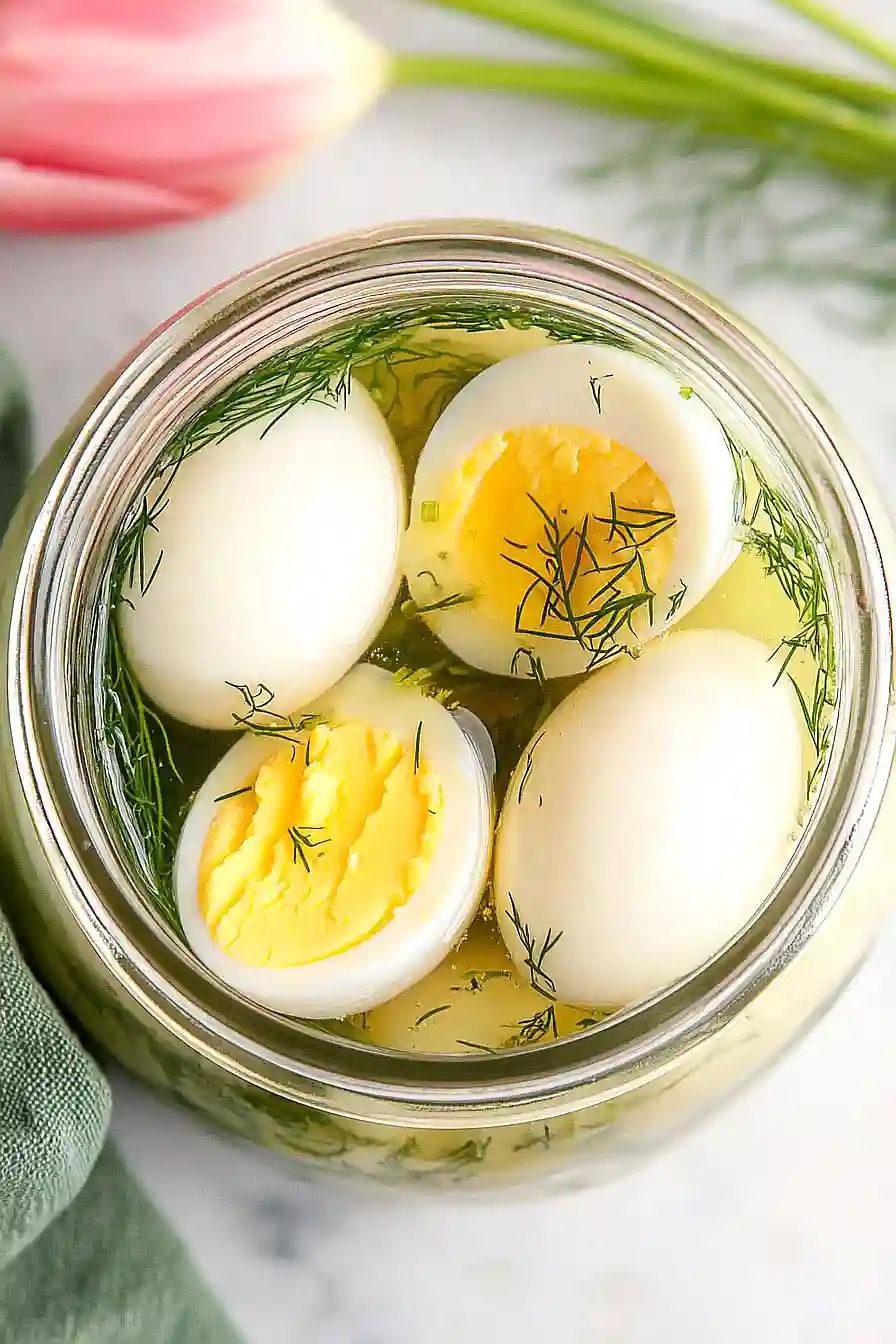
- 12 peeled hard-boiled large eggs
- 12 whole black peppercorns
- 1/4 cup fresh dill sprigs (optional)
- 2 cups pickle brine (dill variety)
Step 1: Arrange Eggs in Jar
- 12 peeled hard-boiled large eggs
Transfer the peeled hard-boiled eggs to a clean, food-safe jar with a tight-fitting lid.
Make sure the eggs are arranged so there’s a bit of room for the brine to circulate around them.
Step 2: Add Seasonings
- 12 whole black peppercorns
- 1/4 cup fresh dill sprigs (optional)
Add the whole black peppercorns to the jar, scattering them between the eggs.
If using, tuck the fresh dill sprigs between the eggs and along the sides of the jar.
This helps infuse the eggs with subtle spice and herbal notes.
Step 3: Cover Eggs with Pickle Brine
- 2 cups pickle brine (dill variety)
Pour the dill pickle brine into the jar with the eggs and seasonings, making sure all the eggs are completely submerged.
If needed, gently press down on the eggs to remove any air pockets.
I like to save brine from my favorite store-bought dill pickles for this step—it adds great flavor!
Step 4: Refrigerate and Pickle the Eggs
Seal the jar with its lid and place it in the refrigerator.
Let the eggs pickle for at least two weeks before eating to ensure they fully absorb the flavors.
Dill Pickled Eggs will keep safely refrigerated for at least four weeks—enjoy them as a snack or sliced onto salads.
