If you ask me, baked chicken wraps are a total game-changer.
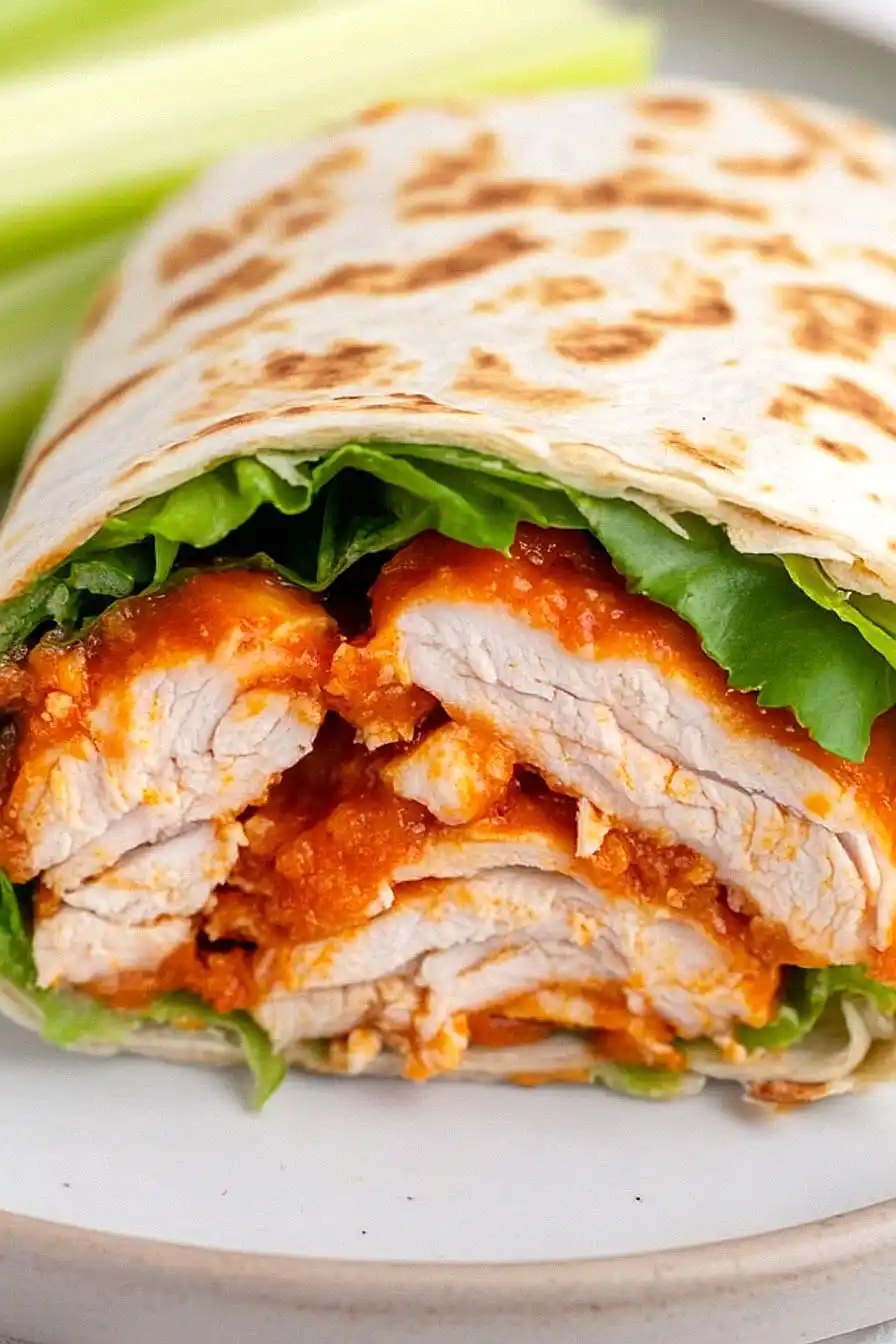
These crispy, golden bundles take the usual wrap and turn it into something even better by spending a few minutes in the oven. Melted cheese hugs seasoned chicken and fresh vegetables, while the tortilla gets just the right amount of crunch.
I love how the edges get slightly toasted, and everything inside stays warm and cozy. A sprinkle of Mexican spices and a dollop of sour cream make each bite feel like a mini fiesta.
It’s the kind of no-fuss meal that works perfectly for busy weeknights, and my family always cleans their plates when these are on the menu.
Why You’ll Love These Baked Chicken Wraps
- Quick meal solution – Ready in just 30-40 minutes, these wraps are perfect for busy weeknight dinners when you want something satisfying without spending hours in the kitchen.
- Crispy texture – The panko coating gives these wraps an amazing crunch that you don’t usually get with regular wraps – it’s like having chicken tenders and a wrap in one delicious meal.
- Basic ingredients – You’ll only need a few common ingredients that you probably already have in your kitchen, making this an easy go-to recipe when you’re short on groceries.
- Customizable – Switch up the sauce, change the cheese, or add different vegetables – this recipe works as a basic template that you can adapt to your taste preferences.
What Kind of Chicken Should I Use?
For these baked chicken wraps, boneless, skinless chicken breast is your best bet since it’s lean and easy to work with. Regular chicken breasts from the grocery store are perfect, but if you find them too thick, you can butterfly them or pound them to an even thickness – this helps them cook more evenly and makes them easier to wrap. Fresh chicken is great, but if you’re using frozen, just make sure it’s completely thawed and patted dry before breading. If you’re looking to save some prep time, you can even use chicken cutlets, which are basically pre-sliced thin chicken breasts that cook up quickly and evenly.
Options for Substitutions
Need to switch things up with these chicken wraps? Here are some easy swaps you can try:
- Panko breadcrumbs: Regular breadcrumbs work fine here, or try crushed cornflakes or crushed crackers for extra crunch. Just make sure they’re finely crushed.
- Chicken breast: You can use chicken tenders or chicken thighs – just adjust cooking time accordingly. Thighs might need an extra few minutes in the oven.
- Romaine lettuce: Any crispy lettuce works well – try iceberg, green leaf, or even spring mix. Just avoid softer lettuces that might get too wilted.
- Flour tortillas: Whole wheat tortillas are a good swap, or try spinach wraps for a different flavor. Just make sure they’re large enough to wrap everything up!
- Buffalo sauce: Not into buffalo? Try BBQ sauce, honey mustard, or even teriyaki sauce. Each will give you a totally different but tasty wrap.
- Cheddar cheese: Feel free to use any melting cheese – monterey jack, pepper jack for extra heat, or mozzarella all work great here.
- Ranch dressing: Blue cheese dressing is a classic alternative, or try chipotle mayo or garlic aioli for something different.
Watch Out for These Mistakes While Baking
The biggest challenge when making baked chicken wraps is preventing them from becoming soggy – to avoid this, make sure to pat your lettuce completely dry and don’t overload the wraps with sauce, as excess moisture will make the tortillas lose their crispy texture.
Another common mistake is overcooking the breaded chicken, which can lead to a dry and tough filling – instead, cook the chicken just until it reaches 165°F and let it rest for 5 minutes before slicing, allowing the juices to redistribute.
To get the perfect crispy exterior, brush the wrapped tortillas lightly with oil before baking, and place them seam-side down on the baking sheet – this helps seal the wraps and prevents them from unfolding during baking.
For the best results, let the wraps cool for 2-3 minutes after baking, which allows the cheese to set slightly and makes them easier to cut without the filling spilling out.
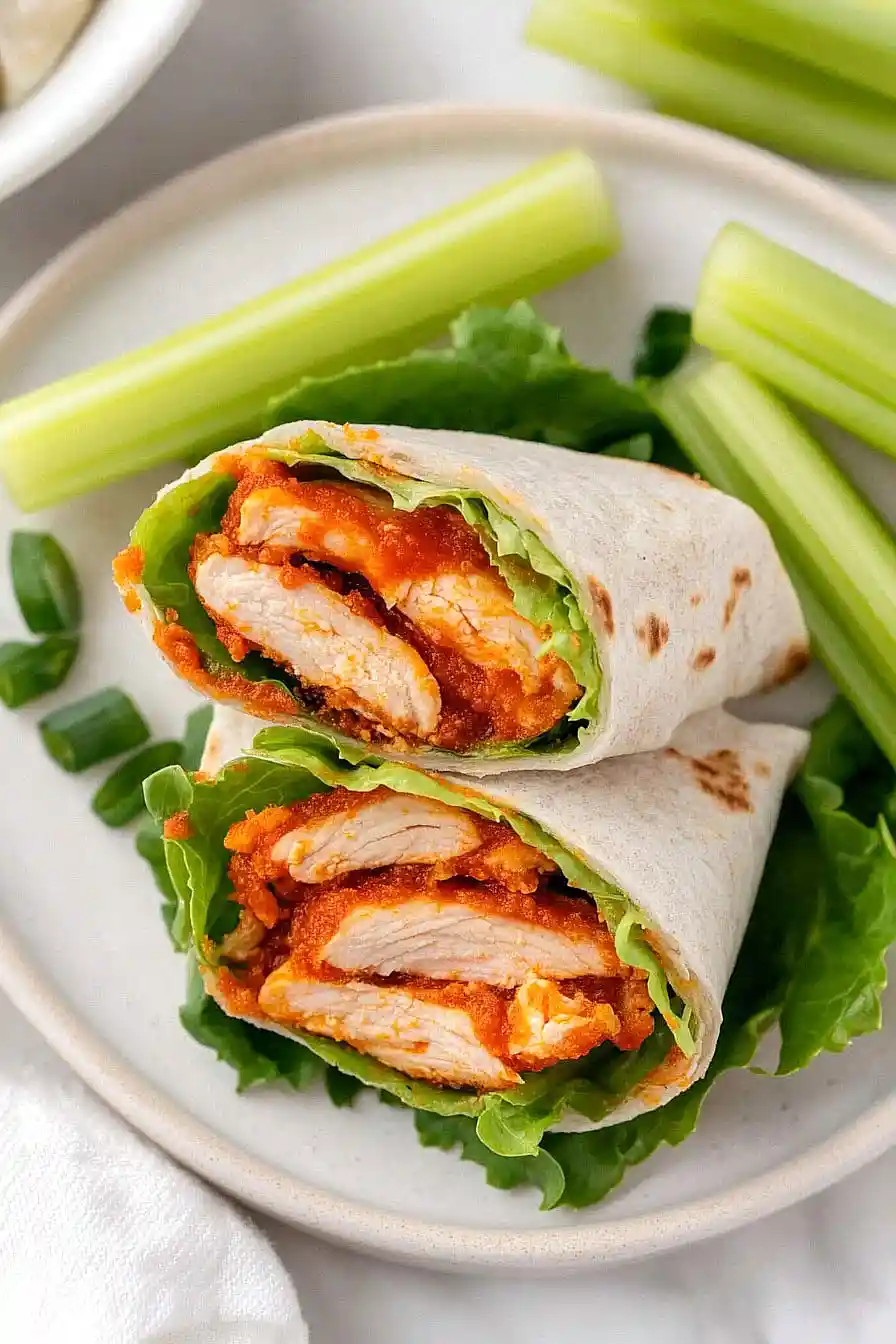
What to Serve With Baked Chicken Wraps?
These crispy baked chicken wraps are super filling on their own, but they’re even better with some tasty sides! A simple coleslaw adds a nice crunch and coolness that balances out the buffalo sauce’s heat. Since these wraps have a bit of kick to them, I like serving them with sweet potato fries or regular french fries – plus extra ranch dressing for dipping both the wraps and fries. For a lighter option, a mixed green salad with cucumber and tomatoes works great, or try some corn on the cob during summer months for a fun cookout vibe.
Storage Instructions
Keep Fresh: These baked chicken wraps are best enjoyed right away, but if you have leftovers, wrap them tightly in aluminum foil or place in an airtight container. They’ll stay good in the fridge for up to 2 days. Just keep in mind that the lettuce might get a bit wilted over time.
Make Ahead: Want to prep these for later? You can cook the breaded chicken ahead of time and store it in the fridge for up to 3 days. When you’re ready to eat, just assemble your wrap with fresh lettuce and warm up the chicken for a few minutes in the oven to keep it crispy.
Warm Up: To enjoy a leftover wrap, take it out of the foil and pop it in a preheated oven at 350°F for about 5-7 minutes. This helps crisp up the tortilla again and warms everything through. I don’t recommend microwaving as it can make the breading soggy.
| Preparation Time | 15-20 minutes |
| Cooking Time | 15-20 minutes |
| Total Time | 30-40 minutes |
| Level of Difficulty | Easy |
Estimated Nutrition
Estimated nutrition for the whole recipe (without optional ingredients):
- Calories: 1000-1200
- Protein: 60-70 g
- Fat: 50-60 g
- Carbohydrates: 80-90 g
Ingredients
- 1/4 cup plain flour
- 1 large egg
- 3/4 cup panko-style breadcrumbs
- 1 boneless chicken breast
- 2 leaves romaine lettuce
- 2 large flour tortillas
- 1/2 cup buffalo wing sauce
- 2 tbsp grated cheddar cheese
- 2 tbsp ranch salad dressing
Step 1: Prepare Ingredients and Breading Stations
- 1/4 cup plain flour
- 1 large egg
- 3/4 cup panko-style breadcrumbs
- 1 boneless chicken breast
Preheat your oven to 400°F (200°C).
Set up a breading station by placing the plain flour on a plate, beating the egg in a bowl, and spreading the panko breadcrumbs on another plate.
This will make the breading process quick and efficient.
Slice the chicken breast into tenders for even cooking.
Step 2: Bread the Chicken Tenders
- sliced chicken breast from Step 1
- 1/4 cup plain flour (from Step 1)
- 1 large egg (from Step 1)
- 3/4 cup panko-style breadcrumbs (from Step 1)
Dredge the chicken tenders in the flour, pressing down with the palm of your hand to help flatten them out for even cooking.
Next, dip the floured chicken tenders into the beaten egg, allowing any excess egg to drip off.
Finally, coat the tenders thoroughly with the panko breadcrumbs, ensuring each piece is completely covered.
Step 3: Bake the Chicken Tenders
- breaded chicken tenders from Step 2
Place the breaded chicken tenders into a baking dish.
Bake in the preheated oven for about 15 minutes, flipping the tenders halfway through the cooking time to ensure they brown evenly.
The chicken is ready when it is golden brown and no longer pink inside.
Step 4: Coat Chicken with Buffalo Sauce
- chicken tenders from Step 3
- 1/2 cup buffalo wing sauce
Transfer the freshly baked chicken tenders to a medium bowl.
Pour the buffalo wing sauce over them and toss with tongs until the chicken is thoroughly coated.
I like to let the tenders sit a minute in the sauce so they really soak up all the flavor.
Step 5: Prepare Cheese and Warm Tortillas
- 2 tbsp grated cheddar cheese
- 2 large flour tortillas
While the chicken is soaking up the sauce, shred the cheddar cheese if not already done.
Warm the flour tortillas in a skillet for about one minute per side to make them more pliable and easier to fold.
For a more authentic flavor, I like to use a lightly toasted tortilla.
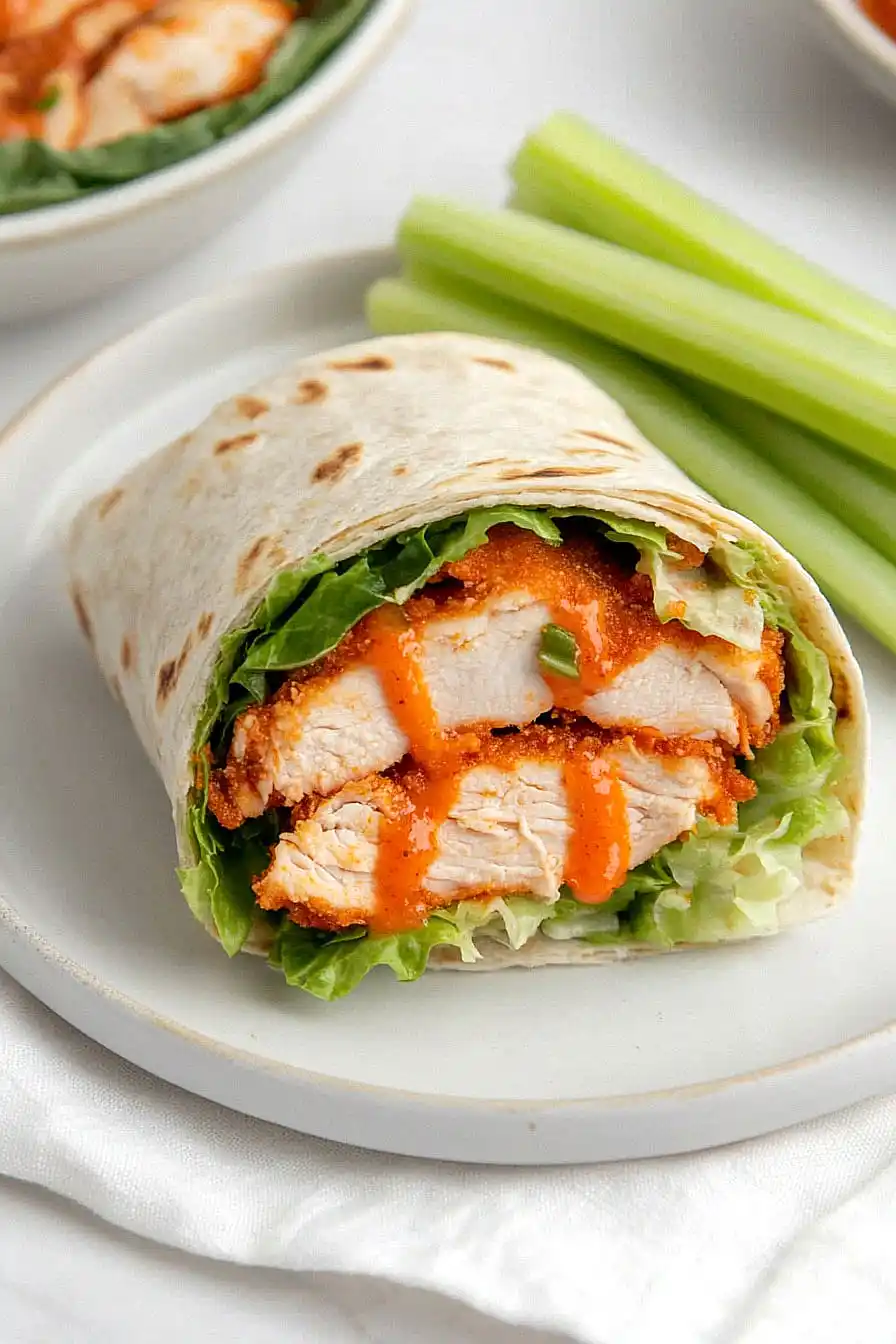
Step 6: Assemble the Buffalo Chicken Wraps
- 2 leaves romaine lettuce
- buffalo chicken tenders from Step 4
- shredded cheddar cheese from Step 5
- 2 tbsp ranch salad dressing
- warmed tortillas from Step 5
Place a warmed tortilla on a flat surface.
Top with a leaf of romaine lettuce, half of the buffalo-coated chicken tenders (from Step 4), half the shredded cheddar cheese, and half the ranch dressing.
Roll up tightly into a wrap.
Repeat with the second tortilla and remaining ingredients.
Cut each wrap in half and enjoy your delicious buffalo chicken wraps!
")
")