Finding new ways to use up all those summer zucchini can feel like a never-ending puzzle, especially when your garden is producing more than you know what to do with. Between work lunches and family dinners, it’s easy to fall into a rut of the same old grilled or roasted vegetable sides.
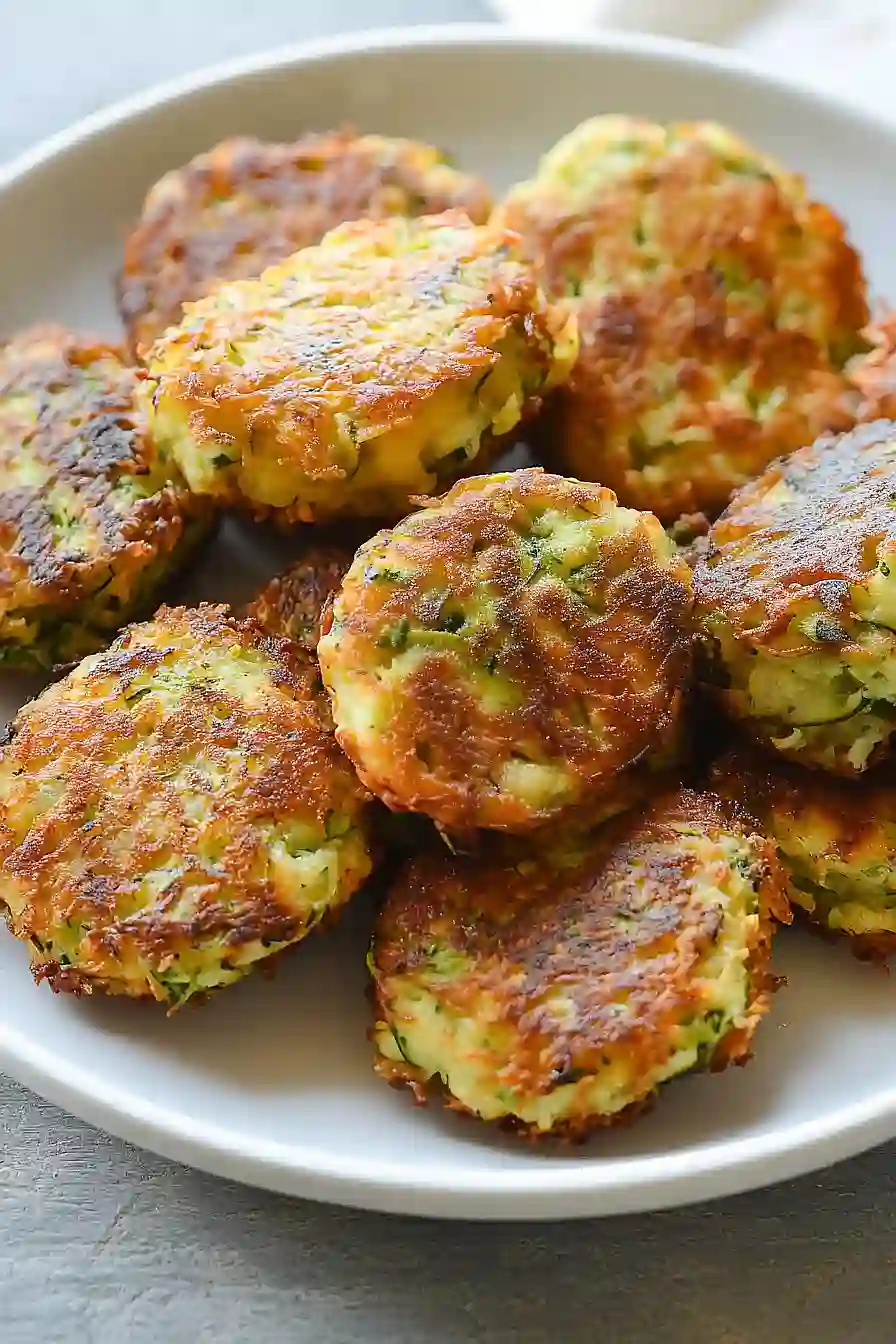
These zucchini pancakes with feta are the perfect solution: they’re quick to whip up, filling enough for a main dish, and so tasty that even picky eaters won’t mind getting an extra serving of vegetables. Plus, they’re great for using up those slightly larger zucchini that might be hiding under the leaves in your garden.

Why You’ll Love These Zucchini Pancakes
- Quick and easy – These savory pancakes come together in just 25 minutes, making them perfect for busy weeknight dinners or a quick lunch.
- Great way to use up zucchini – If your garden is overflowing with summer zucchini, this recipe is the perfect solution. Plus, it’s a clever way to get more vegetables into your meals.
- Budget-friendly ingredients – Using simple pantry staples and seasonal zucchini, these pancakes are easy on your wallet while still tasting like something from a fancy brunch spot.
- Customizable recipe – You can easily adjust the herbs and cheese to your taste, and they’re just as good with different types of cheese or fresh herbs you have on hand.
- Perfect for meal prep – These pancakes reheat well, making them great for make-ahead meals or packed lunches. Just warm them up quickly in a skillet or microwave.
What Kind of Zucchini Should I Use?
For these pancakes, medium-sized zucchini are your best bet – look for ones that are about 6-8 inches long and feel heavy for their size. Try to pick zucchini that are firm and free from blemishes, with a dark green skin that’s slightly glossy. Smaller zucchini tend to be more tender and have fewer seeds, which makes them perfect for these pancakes, while really large ones can be watery and have tough seeds. Before using them in your recipe, make sure to give them a good pat dry after grating – this helps remove excess moisture and ensures you’ll get nice, crispy pancakes instead of soggy ones.
Options for Substitutions
This recipe is pretty flexible and you can make several swaps based on what you have in your kitchen:
- Zucchini: You can swap zucchini with yellow summer squash, or try a mix of both. You could also use grated carrots or patty pan squash, just make sure to squeeze out excess moisture the same way.
- Feta cheese: Not a fan of feta or don’t have any? Try using crumbled goat cheese, ricotta, or even grated parmesan. Each will give a different but tasty flavor profile.
- Fresh dill: If fresh dill isn’t available, use 2 teaspoons dried dill instead. You could also try fresh mint, parsley, or a mix of herbs. Just adjust quantities since dried herbs are more concentrated.
- Scallions: Feel free to replace scallions with finely chopped chives, red onion, or leeks. If using regular onion, use about 1/4 cup finely diced.
- Flour: Regular flour can be swapped with cornstarch for a gluten-free option, or try chickpea flour for extra protein. Just note that chickpea flour might make the pancakes slightly denser.
- Olive oil: Any neutral cooking oil will work here – try avocado oil, vegetable oil, or even coconut oil if you don’t mind a slight coconut taste.
Watch Out for These Mistakes While Cooking
The biggest challenge when making zucchini pancakes is dealing with excess moisture – failing to properly drain your grated zucchini will result in soggy pancakes that won’t crisp up properly. After salting your grated zucchini, let it sit for at least 10 minutes, then squeeze out as much liquid as possible using a clean kitchen towel or cheesecloth. Another common mistake is making the pancakes too thick, which leads to uneven cooking – keep them thin (about 1/4 inch) and use about 2-3 tablespoons of mixture per pancake for the perfect crispy exterior and tender interior. The temperature of your pan is crucial too – if it’s not hot enough, the pancakes will absorb too much oil and become greasy, but if it’s too hot, they’ll burn before cooking through, so maintain a medium heat and look for the edges to turn golden brown before flipping.
What to Serve With Zucchini Pancakes?
These savory zucchini pancakes are super flexible when it comes to serving options! For a Mediterranean-style meal, try them with a dollop of cool tzatziki sauce or plain Greek yogurt on top, and a simple tomato cucumber salad on the side. They make a great breakfast when paired with a fried egg on top and some crispy bacon, or serve them as a light lunch alongside a bowl of lemony Greek soup (avgolemono). If you’re serving these as an appetizer, they’re perfect with just a squeeze of lemon and maybe some extra crumbled feta on top – no need to overthink it!
Storage Instructions
Keep Fresh: These zucchini pancakes stay good in the fridge for up to 3 days when stored in an airtight container. I like to place a paper towel underneath them to absorb any extra moisture that might make them lose their crispiness.
Make Ahead: You can prep the zucchini mixture up to 4 hours ahead – just keep it covered in the fridge. But remember, the longer it sits, the more liquid the zucchini might release, so you might need to drain it again before cooking.
Warm Up: To get back that nice crispy texture, pop the pancakes in a skillet over medium heat for a minute or two on each side. You can also use the oven – just arrange them on a baking sheet and warm at 350°F for about 5-7 minutes. They’ll crisp right up!
| Preparation Time | 15-20 minutes |
| Cooking Time | 10-15 minutes |
| Total Time | 25-35 minutes |
| Level of Difficulty | Easy |
Estimated Nutrition
Estimated nutrition for the whole recipe (without optional ingredients):
- Calories: 500-600
- Protein: 20-25 g
- Fat: 35-40 g
- Carbohydrates: 40-50 g
We'll Pay You $5 to Try This Recipe!
Cook our recipe, snap some photos, and earn a $5 Amazon Gift Card. It's that simple!
Here's how:
- Make the recipe
- Take nice pictures of your final dish
- Fill out our quick form (2 minutes max!)
- Your $5 reward is on the way!
Ingredients
- 1 pound zucchini (around 2 medium-sized), ends removed
- 1 teaspoon salt
- 2 large eggs
- 2 minced scallions
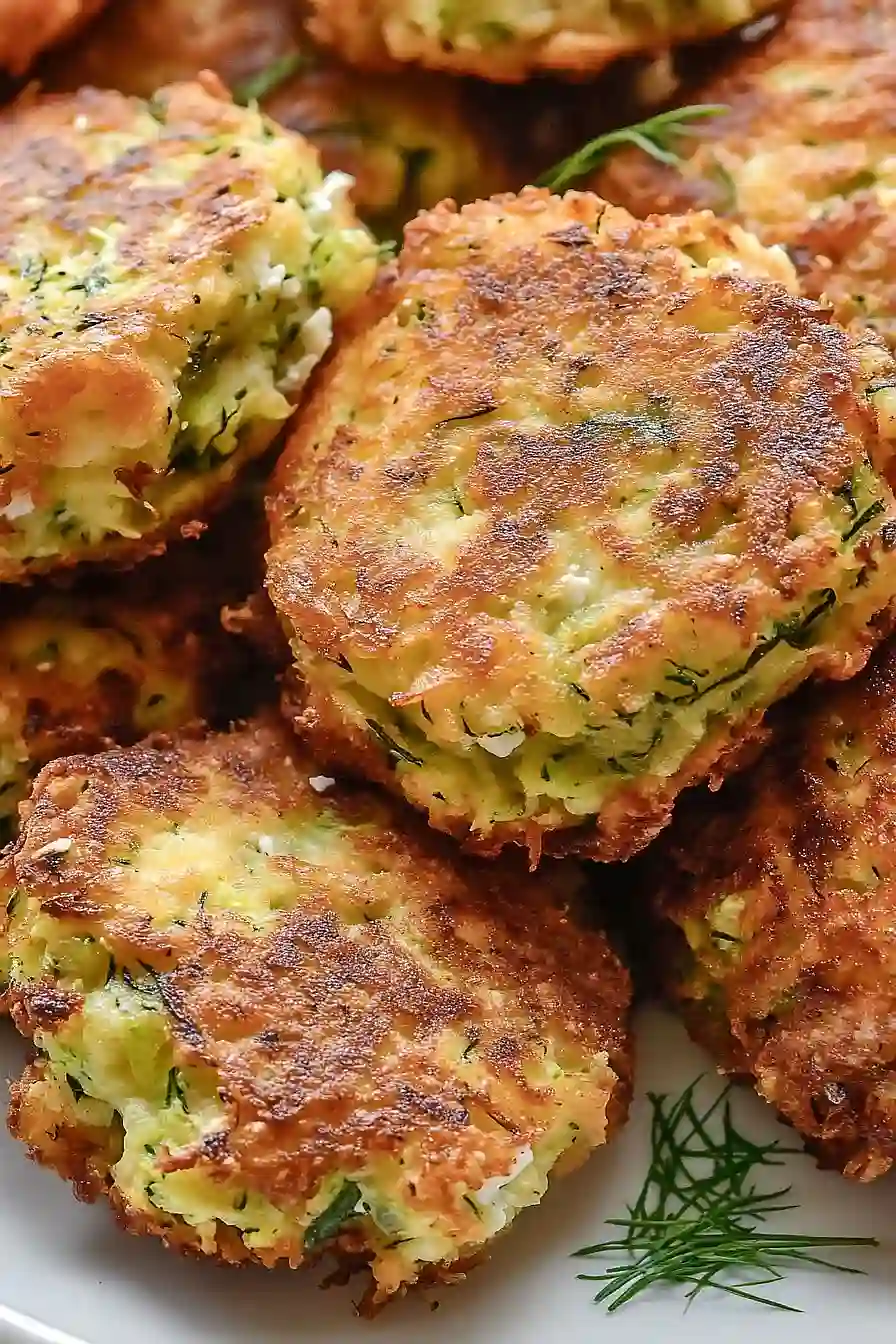
- 2 tablespoons fresh dill, chopped
- 1/2 cup feta cheese, crumbled
- 1 garlic clove, minced or crushed
- 1/4 teaspoon ground black pepper
- 1/4 cup plain flour (or cornstarch)
- 1/2 teaspoon baking powder
- 3 tablespoons olive oil, with extra if needed
- Lemon wedges, to serve
Step 1: Prepare the Zucchini
Using the large holes of a box grater or a food processor fitted with a shredding disk, shred the zucchini.
Transfer the shredded zucchini to a fine mesh strainer set over a bowl.
Toss the zucchini with a little salt and let it sit for 10 minutes.
This will help draw out moisture.
Once time is up, use your hands to wring all of the excess liquid from the zucchini and set it aside.
Step 2: Mix the Fritter Ingredients
In a large bowl, beat the eggs.
Add the dried zucchini, chopped scallions, fresh dill, crumbled feta cheese, minced garlic, and black pepper.
Sprinkle flour (or corn starch) and baking powder over the mixture, then stir until everything is uniformly incorporated into a cohesive batter.
Step 3: Cook the Fritters
Heat 3 tablespoons of olive oil in a large non-stick skillet over medium heat.
Drop 2-tablespoon-sized portions of the batter into the pan.
Use the back of a spoon to gently press the batter down into 2-inch-wide fritters.
Cook for 2-3 minutes per side, or until the fritters are golden brown.
Transfer the cooked fritters to a plate lined with paper towels to soak up any excess oil.
Add a bit more oil to the pan if necessary and repeat with the remaining batter until all fritters are cooked.
Step 4: Serve the Fritters
Once all the fritters are cooked, they can be served warm or at room temperature.
Accompany them with lemon wedges for a fresh citrus flavor.
Freezer-Friendly Instructions
The cooked fritters can be stored in the freezer for up to 3 months.
To reheat, place them on a cookie sheet and warm them in a 200°F oven until heated through.
