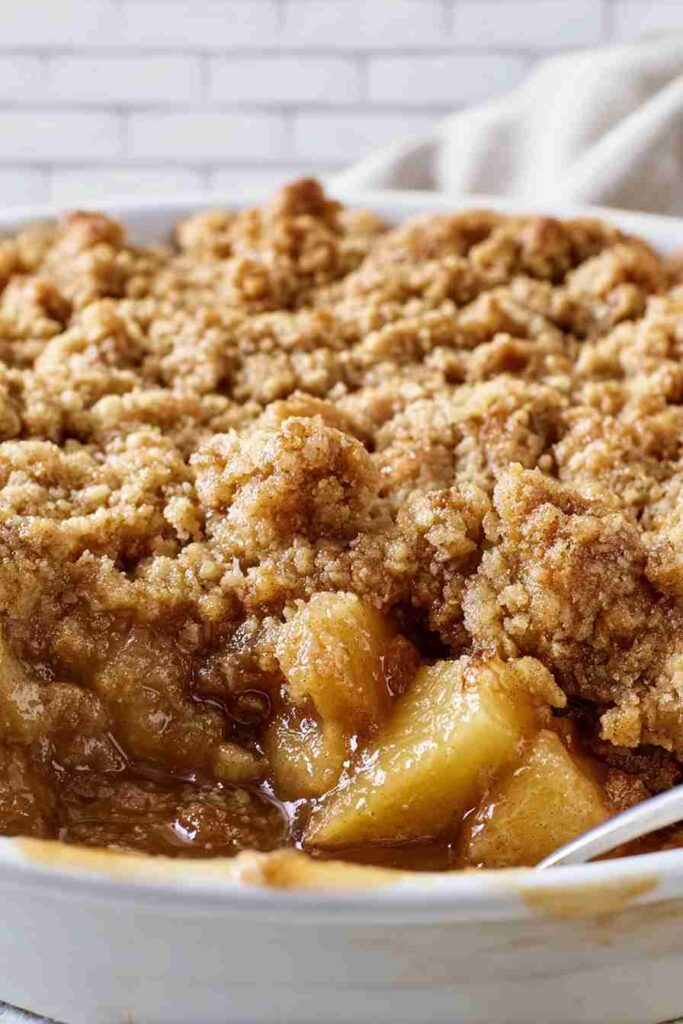
I didn’t try apple crumble until I was in college. My mom was always more of a pie person, and when we had apples, they went straight into a classic apple pie with a full crust on top and bottom.
But my roommate’s grandmother made this incredible apple crumble one weekend, and I couldn’t believe how much easier it was than pie. No rolling out dough or worrying about soggy bottoms. Just tender baked apples topped with a simple mixture of butter, flour, and sugar that turns golden and crispy in the oven. It’s all the comfort of apple pie with half the work.
Real Results: From Our Readers
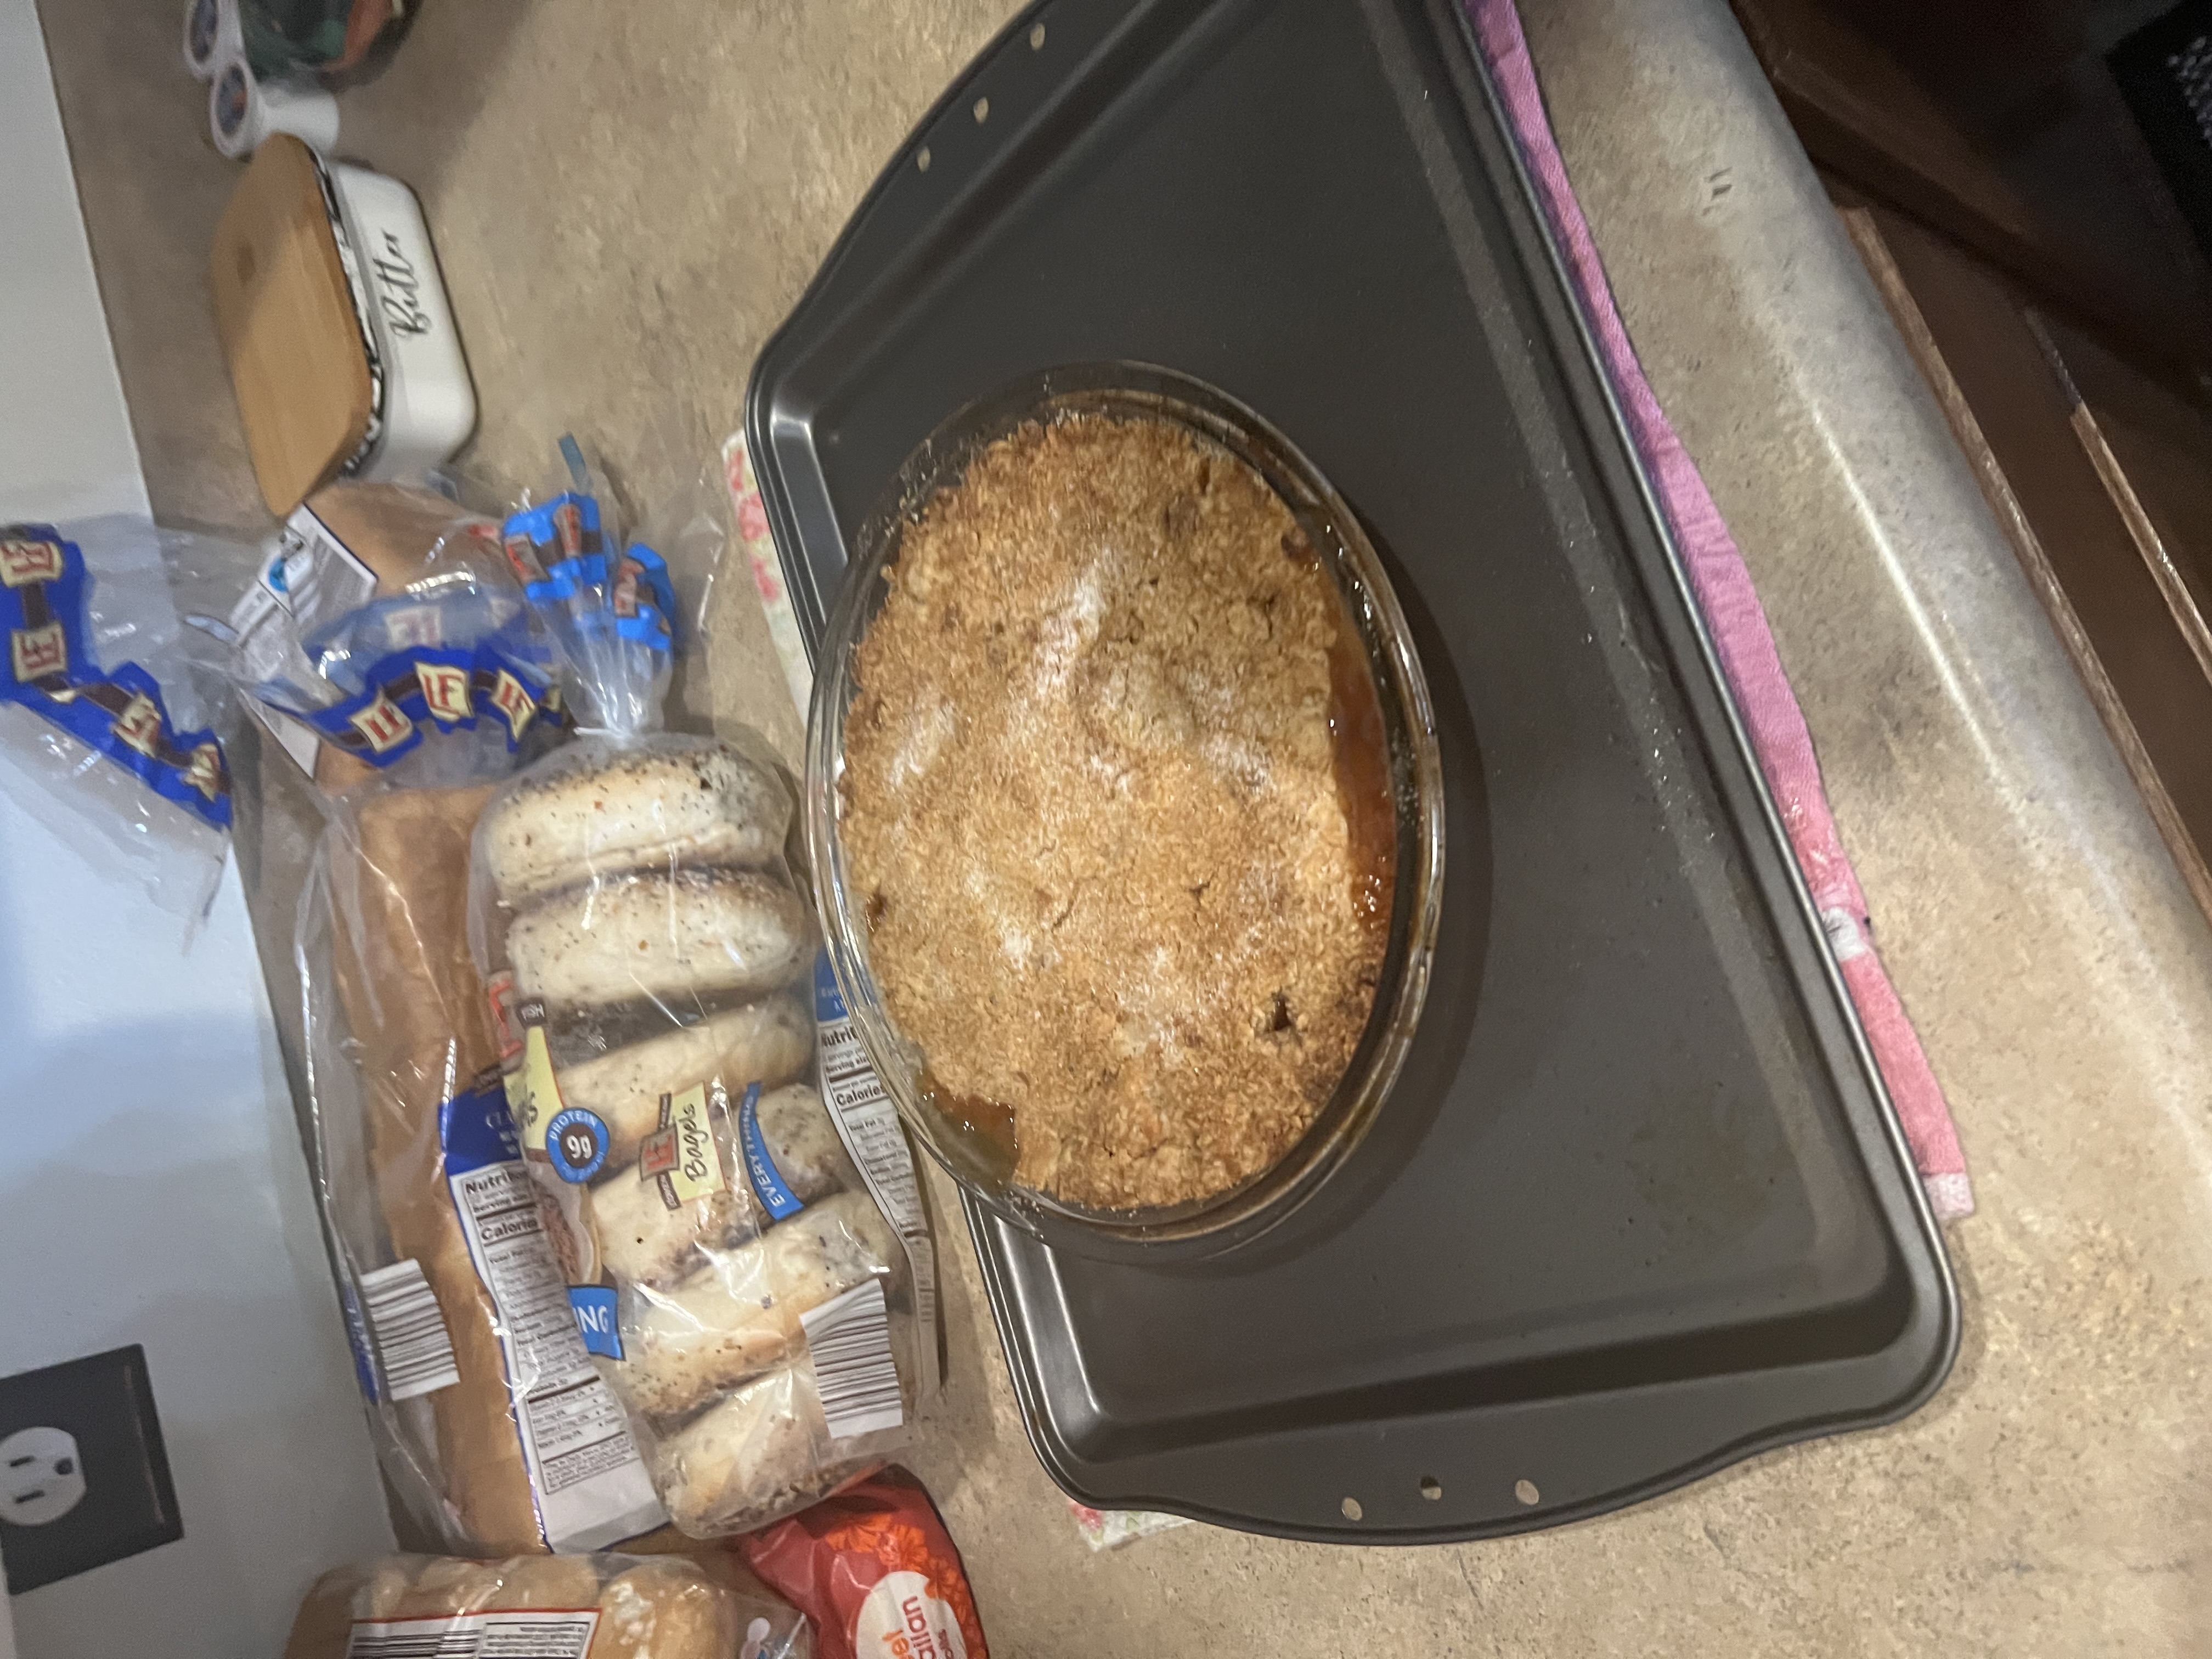
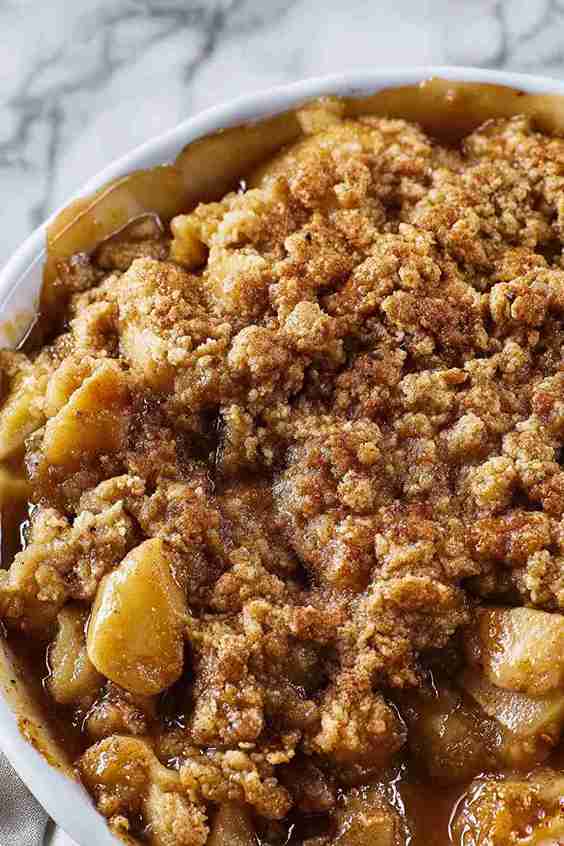
Photo by Karoline • April 14, 2026
"Me and my fiancé made!!!! Absolutely AMAZING!! try with butter pecan ice cream— to die for!!"
Why You’ll Love This Apple Crumble
- Simple ingredients – You probably already have most of these pantry staples at home, making this an easy dessert to whip up anytime.
- Perfect balance of flavors – The tart Granny Smith apples paired with sweet cinnamon and that buttery crumble topping create the ideal comfort dessert.
- Quick and easy – With just about an hour from start to finish, this apple crumble is much faster than making a traditional apple pie but just as satisfying.
- Great for any occasion – Whether it’s a weeknight treat or a holiday gathering, this dessert works perfectly on its own or with a scoop of vanilla ice cream.
- Beginner-friendly – No fancy techniques or rolling out dough required – just mix, layer, and bake for foolproof results every time.
What Kind of Apples Should I Use?
While this recipe calls for Granny Smith apples, you have plenty of options when it comes to choosing your apples for crumble. Granny Smith are popular because they hold their shape well during baking and have that nice tart flavor that balances the sweet crumble topping. But you can also use Honeycrisp, Braeburn, or even a mix of different varieties for more complex flavor. Just avoid really soft apples like Red Delicious, as they tend to turn mushy when baked. Whatever apples you choose, make sure they’re firm and fresh, and cut them into similar-sized pieces so they cook evenly.
Options for Substitutions
This classic apple crumble is pretty forgiving when it comes to swaps and substitutions:
- Granny Smith apples: While Granny Smiths hold their shape beautifully, you can use Honeycrisp, Braeburn, or even a mix of different apples. Just avoid super soft varieties like Red Delicious that might turn mushy.
- All purpose flour: For the crumble topping, you can substitute half the flour with rolled oats for extra texture, or use whole wheat flour for a nuttier flavor. The cornstarch in the filling can be swapped with an equal amount of all purpose flour.
- Brown sugar: Light and dark brown sugar work equally well in both the topping and filling. You can even use all granulated sugar if that’s what you have on hand, though you’ll lose some of that rich molasses flavor.
- Unsalted butter: If you only have salted butter, just reduce the added salt in the recipe by half. Cold butter works too – just cut it into small pieces and mix it in until you get a crumbly texture.
- Lemon juice: Fresh lemon juice is best, but bottled will work in a pinch. You can also use apple cider vinegar if you’re out of lemons entirely.
- Ground cinnamon: Feel free to add other warm spices like nutmeg, allspice, or even a pinch of cardamom to make it your own.
Watch Out for These Mistakes While Baking
The biggest mistake people make with apple crumble is cutting their apples too thick, which leads to undercooked fruit that’s still crunchy when the topping is perfectly golden – aim for slices about ¼ inch thick so they cook evenly. Don’t skip tossing your apples with cornstarch and letting them sit for a few minutes, as this prevents a watery bottom that can make your crumble soggy instead of crisp. Another common error is making the crumble topping too fine – you want it to look like coarse breadcrumbs with some larger chunks, not like sand, so don’t overmix once you add the melted butter. Finally, resist the urge to dig in right away – letting your crumble cool for at least 15 minutes allows the juices to thicken properly and makes serving much neater.
What to Serve With Apple Crumble?
Apple crumble is absolutely perfect on its own, but a scoop of vanilla ice cream on top takes it to the next level – the cold, creamy ice cream melting into the warm, spiced apples is pure magic. You can also serve it with a dollop of freshly whipped cream or even some thick Greek yogurt if you want something a little less sweet. For a cozy breakfast twist, try serving leftover apple crumble with a splash of cold milk, just like you would with cereal. A hot cup of coffee or black tea pairs beautifully with the cinnamon and brown sugar flavors too.
Storage Instructions
Keep Fresh: Your apple crumble will stay delicious covered with foil or plastic wrap at room temperature for up to 2 days. If you want to keep it longer, pop it in the fridge where it’ll be good for up to 5 days. The crumble topping might soften a bit, but it still tastes amazing!
Freeze: This dessert freezes really well for up to 3 months. You can freeze it either before or after baking – just wrap it tightly in plastic wrap and then foil. If freezing unbaked, add about 15 extra minutes to the baking time when you’re ready to cook it.
Warm Up: To bring back that fresh-from-the-oven taste, warm individual portions in the microwave for 30-45 seconds, or reheat the whole dish in a 350°F oven for about 15-20 minutes. I love serving it warm with a scoop of vanilla ice cream – it’s the perfect comfort food combo!
| Preparation Time | 15-20 minutes |
| Cooking Time | 35-45 minutes |
| Total Time | 50-65 minutes |
| Level of Difficulty | Easy |
Estimated Nutrition
Estimated nutrition for the whole recipe (without optional ingredients):
- Calories: 1850-2000
- Protein: 8-12 g
- Fat: 45-55 g
- Carbohydrates: 370-400 g
Ingredients
For the crumb topping:
- 1 cup all-purpose flour
- 3/4 cup packed brown sugar (light or dark)
- 1 tsp baking powder
- 1/2 tsp salt
- 1/2 tsp ground cinnamon
- 8 tbsp unsalted butter, melted
For the apple filling:
- 2 1/2 lb granny smith apples, peeled, cored, and chopped (about 6 to 7 cups)
- 1/2 cup granulated sugar or brown sugar
- 1 tbsp lemon juice
- 2 tbsp cornstarch or all-purpose flour
- 1/2 tsp salt
- 1 tsp ground cinnamon
Step 1: Prepare Baking Dish and Preheat Oven
Preheat your oven to 375°F (190°C).
Lightly spray an 8 or 9-inch baking dish with nonstick cooking spray to prevent sticking, and set it aside while you prepare the filling and topping.
Step 2: Make the Crumble Topping
- 1 cup all-purpose flour
- 3/4 cup packed brown sugar (light or dark)
- 1 tsp baking powder
- 1/2 tsp salt
- 1/2 tsp ground cinnamon
- 8 tbsp unsalted butter, melted
In a medium bowl, whisk together the all-purpose flour, packed brown sugar, baking powder, salt, and ground cinnamon until well combined.
Pour in the melted unsalted butter and stir with a fork until the mixture forms coarse, crumbly clumps.
I like to use my hands toward the end for perfectly sized crumbs.
Step 3: Prepare the Apple Filling
- 2 1/2 lb Granny Smith apples, peeled, cored, and chopped (about 6 to 7 cups)
- 1/2 cup granulated sugar or brown sugar
- 1 tbsp lemon juice
- 2 tbsp cornstarch or all-purpose flour
- 1/2 tsp salt
- 1 tsp ground cinnamon
In a large bowl, combine the peeled, cored, and chopped Granny Smith apples with granulated sugar (or brown sugar), lemon juice, cornstarch (or flour, as preferred), salt, and ground cinnamon.
Stir everything together so the apples are well coated.
For a brighter flavor, I always use fresh lemon juice here.
Step 4: Assemble the Apple Crisp
- apple filling from Step 3
- crumble topping from Step 2
Spread the apple filling from Step 3 into an even layer in the prepared baking dish.
Sprinkle the crumble topping from Step 2 evenly over the apples to fully cover the fruit.
Step 5: Bake the Apple Crisp
Place the assembled apple crisp in the preheated oven.
Bake for 35 to 45 minutes, or until the topping is golden brown and the fruit is bubbling.
I sometimes place a baking sheet underneath in case any juices bubble over.
Step 6: Cool and Serve
Allow the apple crisp to cool for about 15 minutes before serving.
This rest time helps the filling set slightly, so each serving holds together nicely.
For an extra treat, I love serving it warm with a scoop of vanilla ice cream on top!
Classic Apple Crumble
Ingredients
Crumb topping
- 1 cup all-purpose flour
- 3/4 cup packed brown sugar (light or dark)
- 1 tsp baking powder
- 1/2 tsp salt
- 1/2 tsp ground cinnamon
- 8 tbsp unsalted butter, melted
Apple filling
- 2 1/2 lb granny smith apples, peeled, cored, and chopped (about 6 to 7 cups)
- 1/2 cup granulated sugar or brown sugar
- 1 tbsp lemon juice
- 2 tbsp cornstarch or all-purpose flour
- 1/2 tsp salt
- 1 tsp ground cinnamon
Instructions
- Preheat your oven to 375°F (190°C). Lightly spray an 8 or 9-inch baking dish with nonstick cooking spray to prevent sticking, and set it aside while you prepare the filling and topping.
- In a medium bowl, whisk together the all-purpose flour, packed brown sugar, baking powder, salt, and ground cinnamon until well combined. Pour in the melted unsalted butter and stir with a fork until the mixture forms coarse, crumbly clumps. I like to use my hands toward the end for perfectly sized crumbs.
- In a large bowl, combine the peeled, cored, and chopped Granny Smith apples with granulated sugar (or brown sugar), lemon juice, cornstarch (or flour, as preferred), salt, and ground cinnamon. Stir everything together so the apples are well coated. For a brighter flavor, I always use fresh lemon juice here.
- Spread the apple filling from Step 3 into an even layer in the prepared baking dish. Sprinkle the crumble topping from Step 2 evenly over the apples to fully cover the fruit.
- Place the assembled apple crisp in the preheated oven. Bake for 35 to 45 minutes, or until the topping is golden brown and the fruit is bubbling. I sometimes place a baking sheet underneath in case any juices bubble over.
- Allow the apple crisp to cool for about 15 minutes before serving. This rest time helps the filling set slightly, so each serving holds together nicely. For an extra treat, I love serving it warm with a scoop of vanilla ice cream on top!

If I freeze this before baking, should I thaw it before baking?
yes. <—- this guy is a chef.
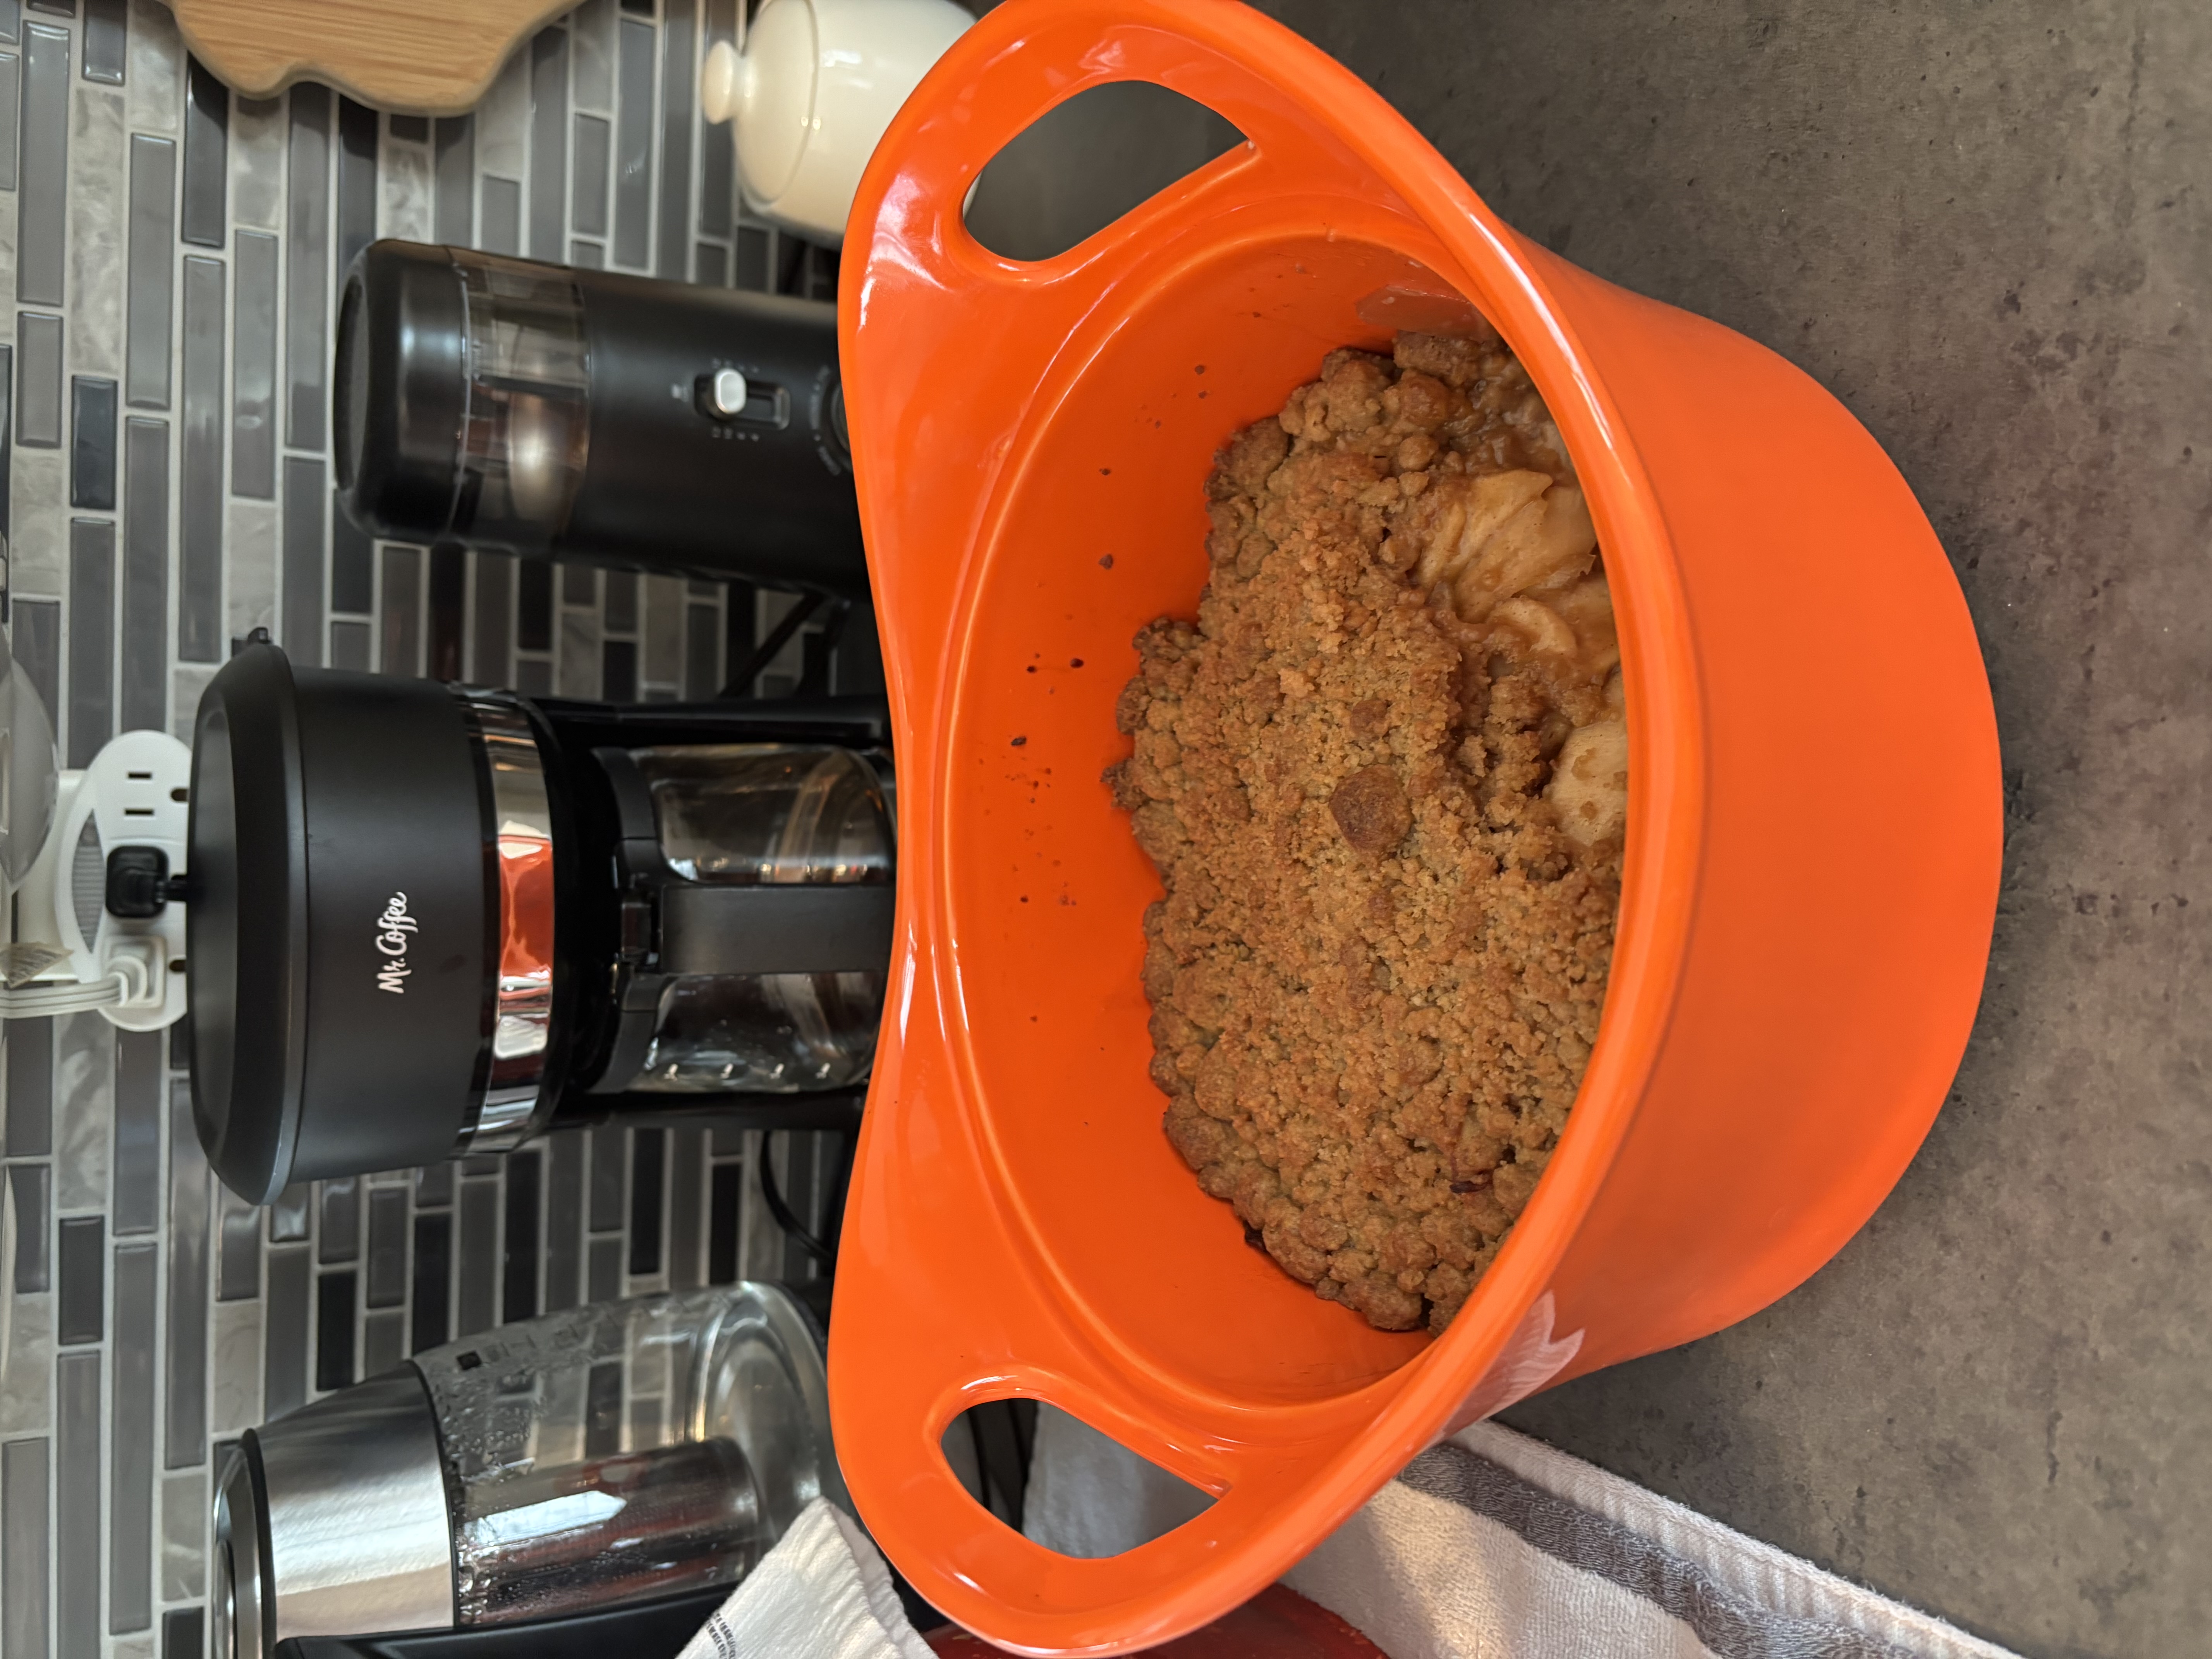
Apple crumble was delicious! Mine was a little watery at the bottom. I did everything according to the recipe. I’m wondering if it’s because I weighed the apples after they were peeled and cut. I bought a 3lb bag of pink ladies and used the whole bag. It came to about 2.5lbs when weighed. Even alittle less. I also put the crumble in a round 2.75 quart container. Maybe I should have spread it out in a 9×13? Maybe more corn starch?
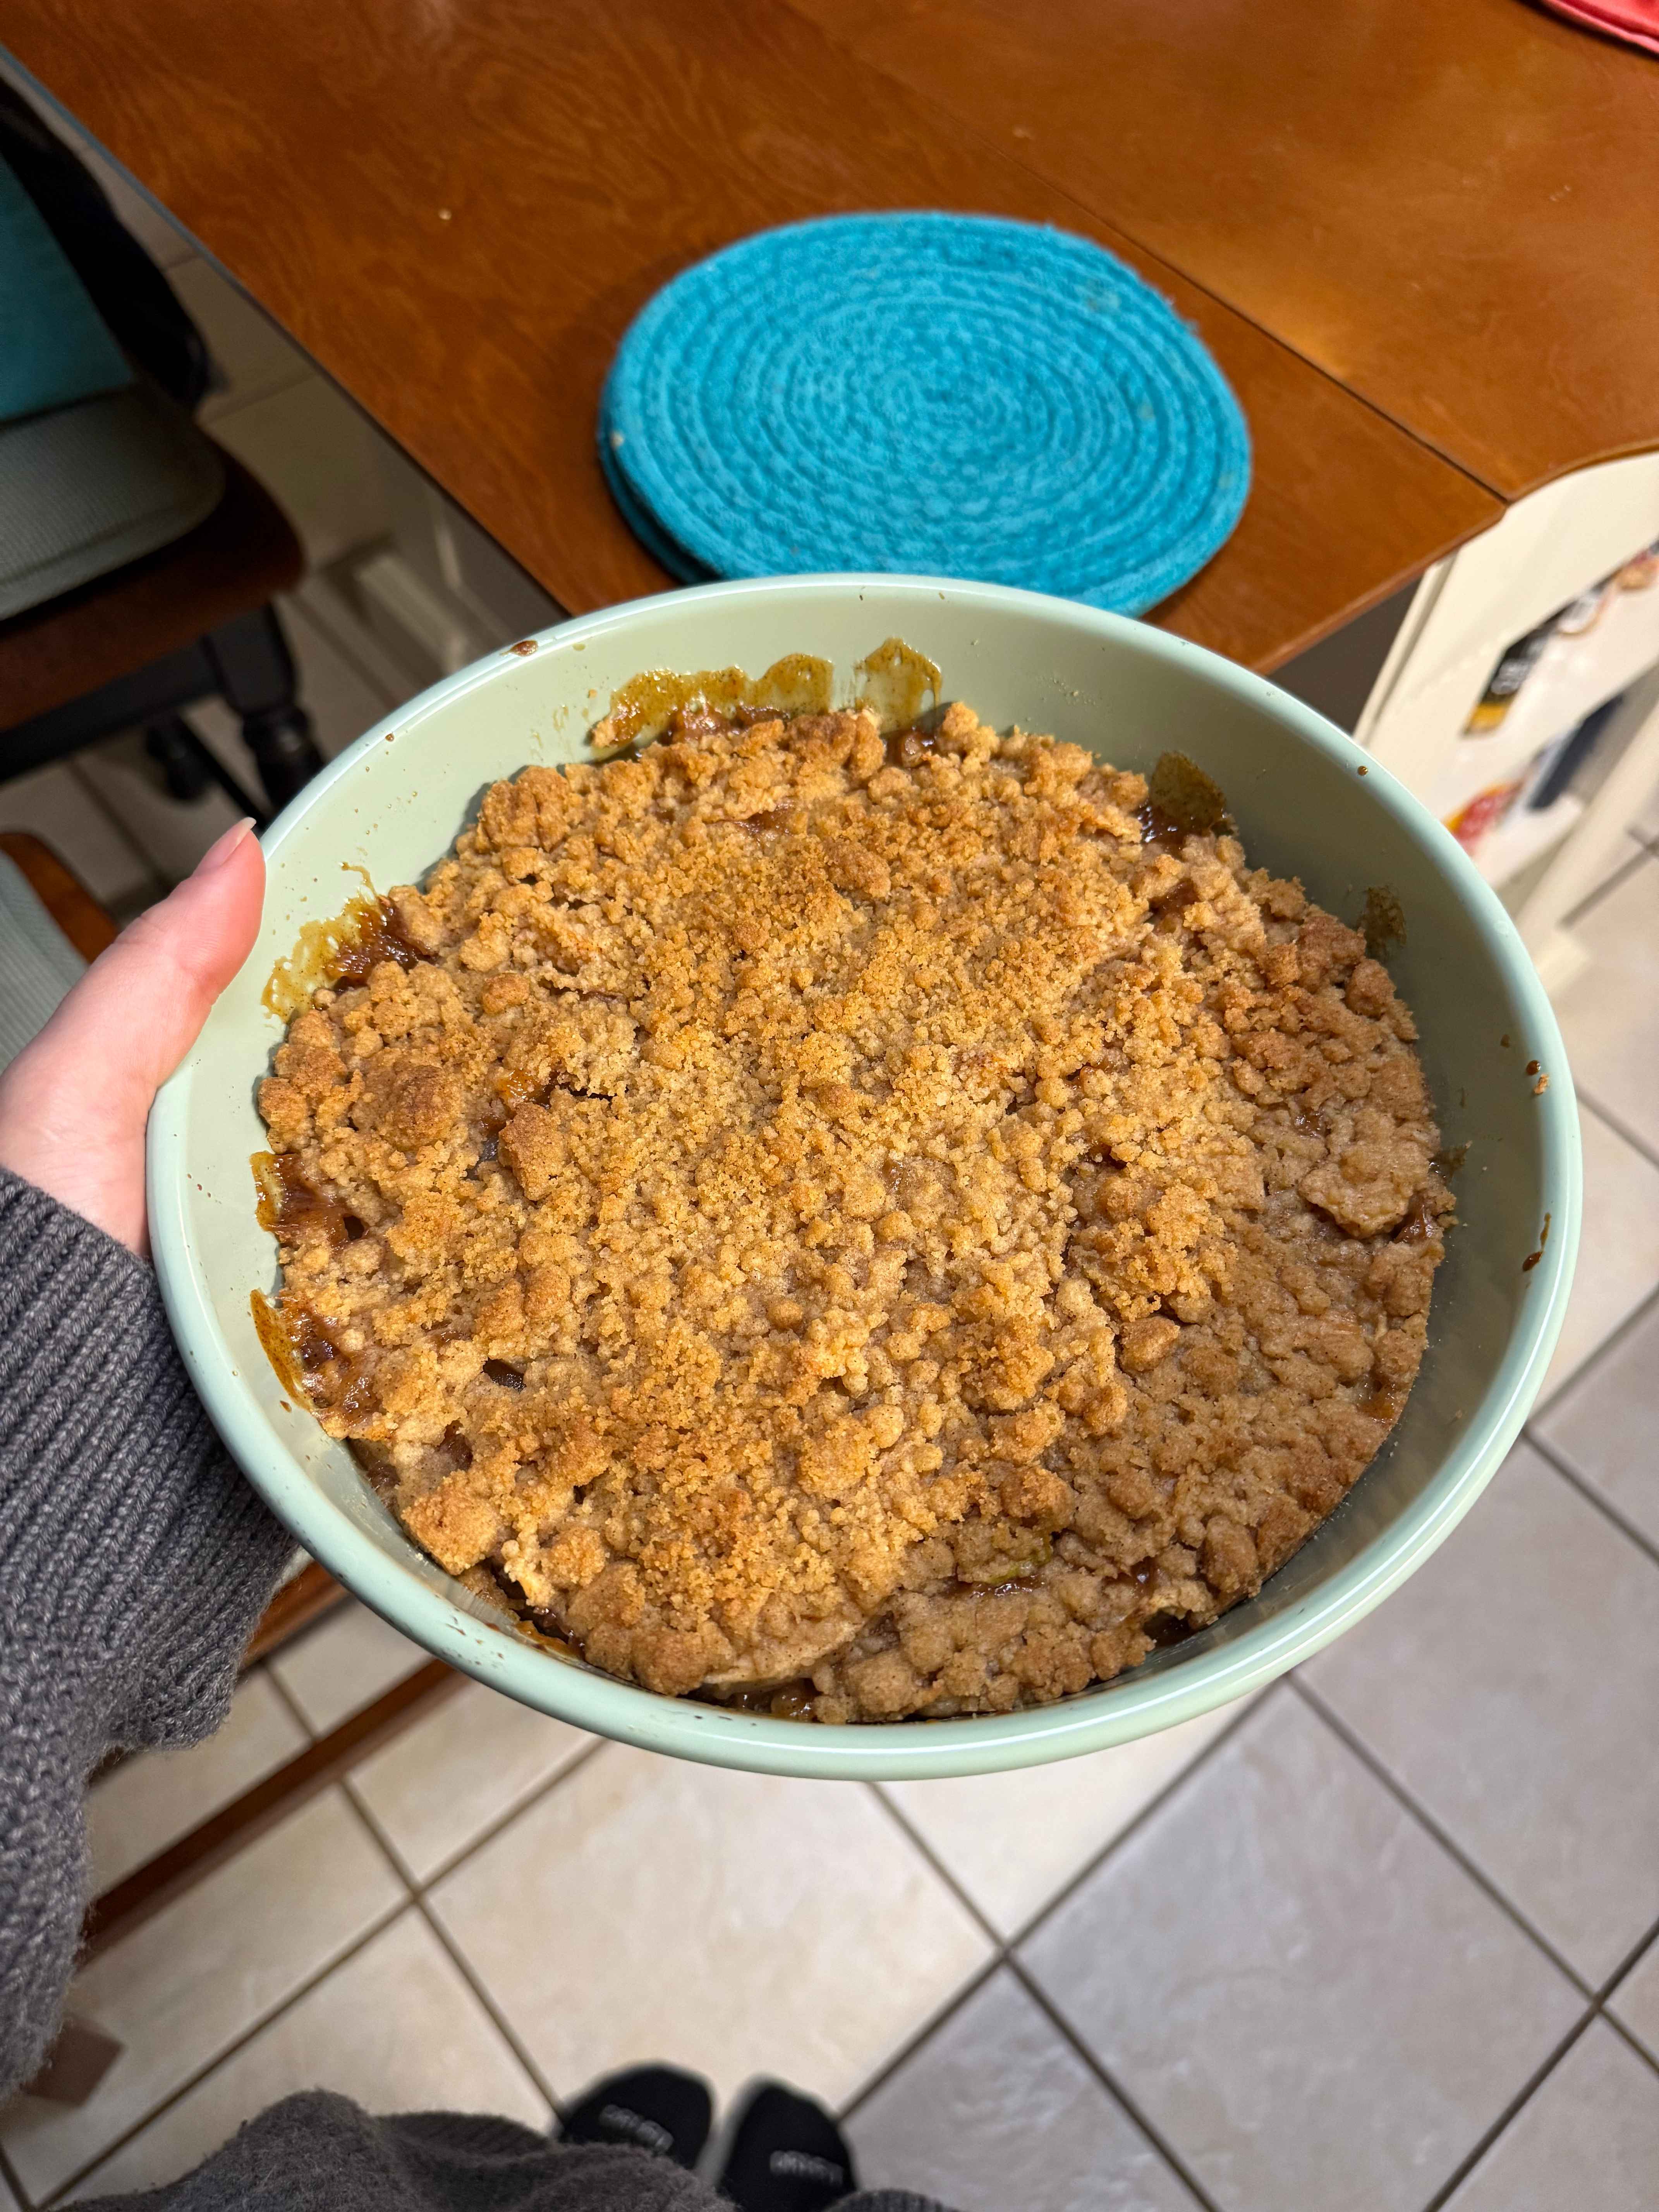
Photo of the cooked recipe
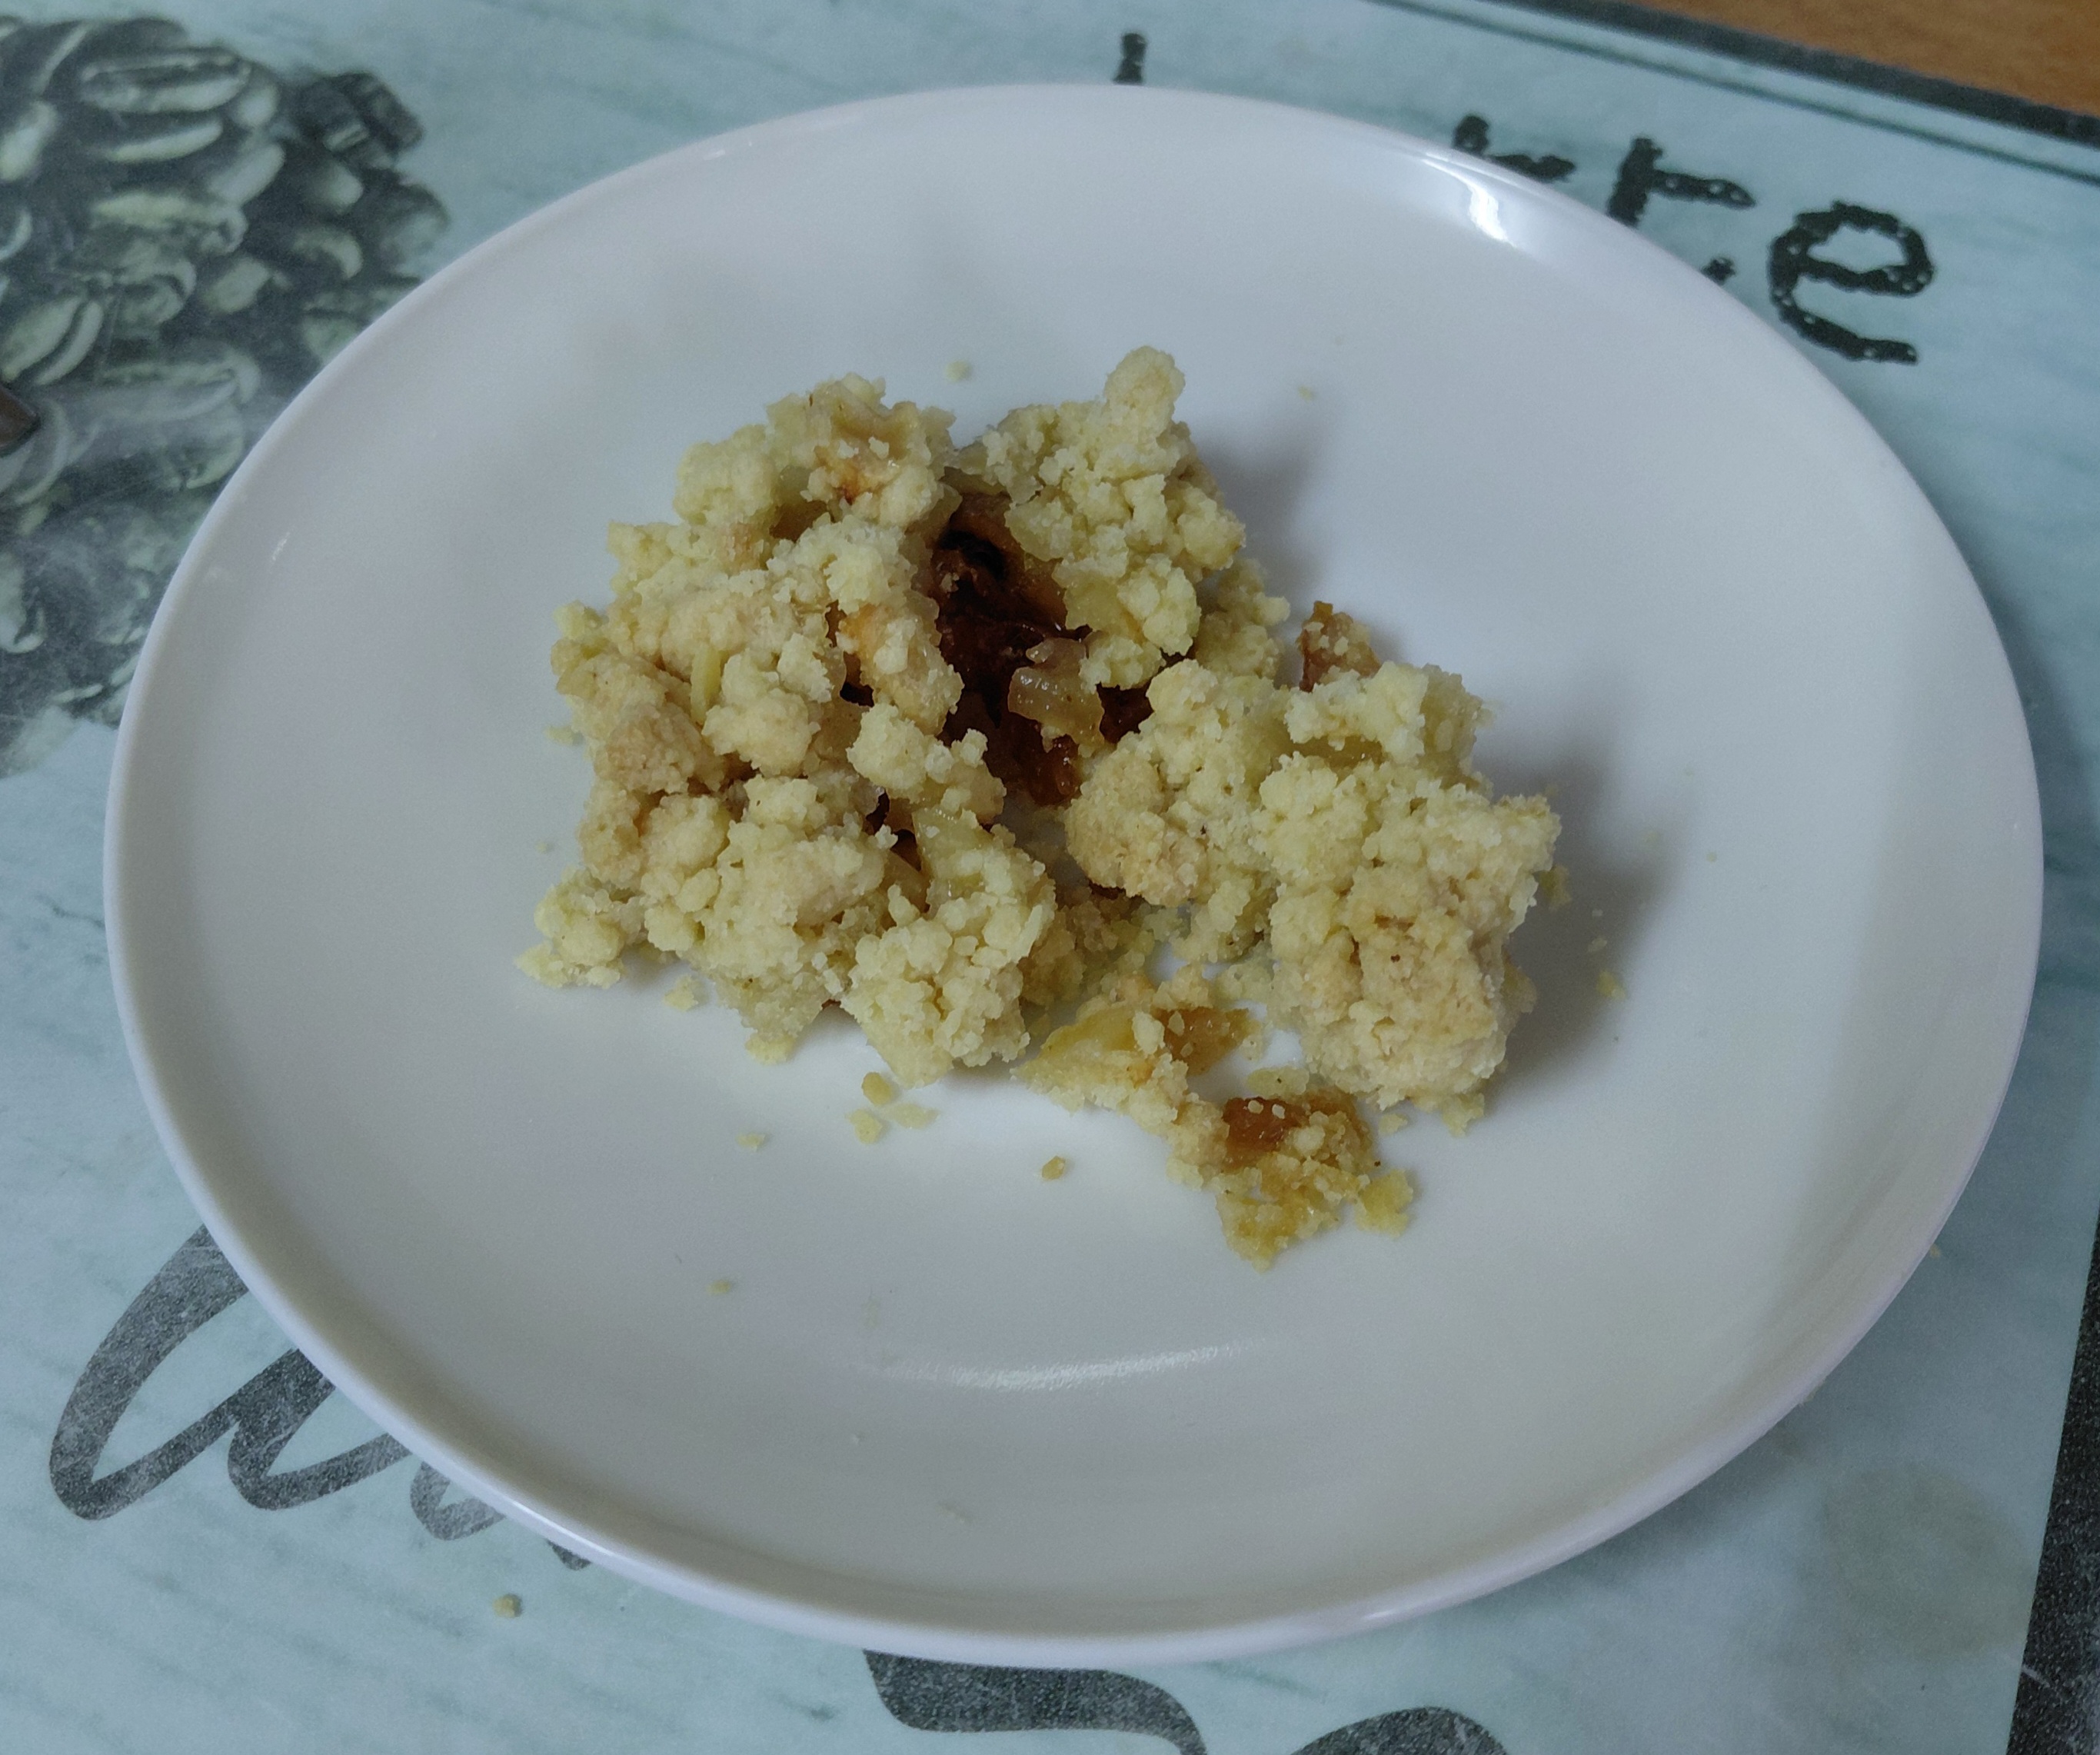
Tastes good but i would consider reducing the baking time and cutting your apples 1/2in thick. They went total mush.
Also, i think you should include this in the instructions:
“Don’t skip tossing your apples with cornstarch and letting them sit for a few minutes, as this prevents a watery bottom that can make your crumble soggy instead of crisp.”
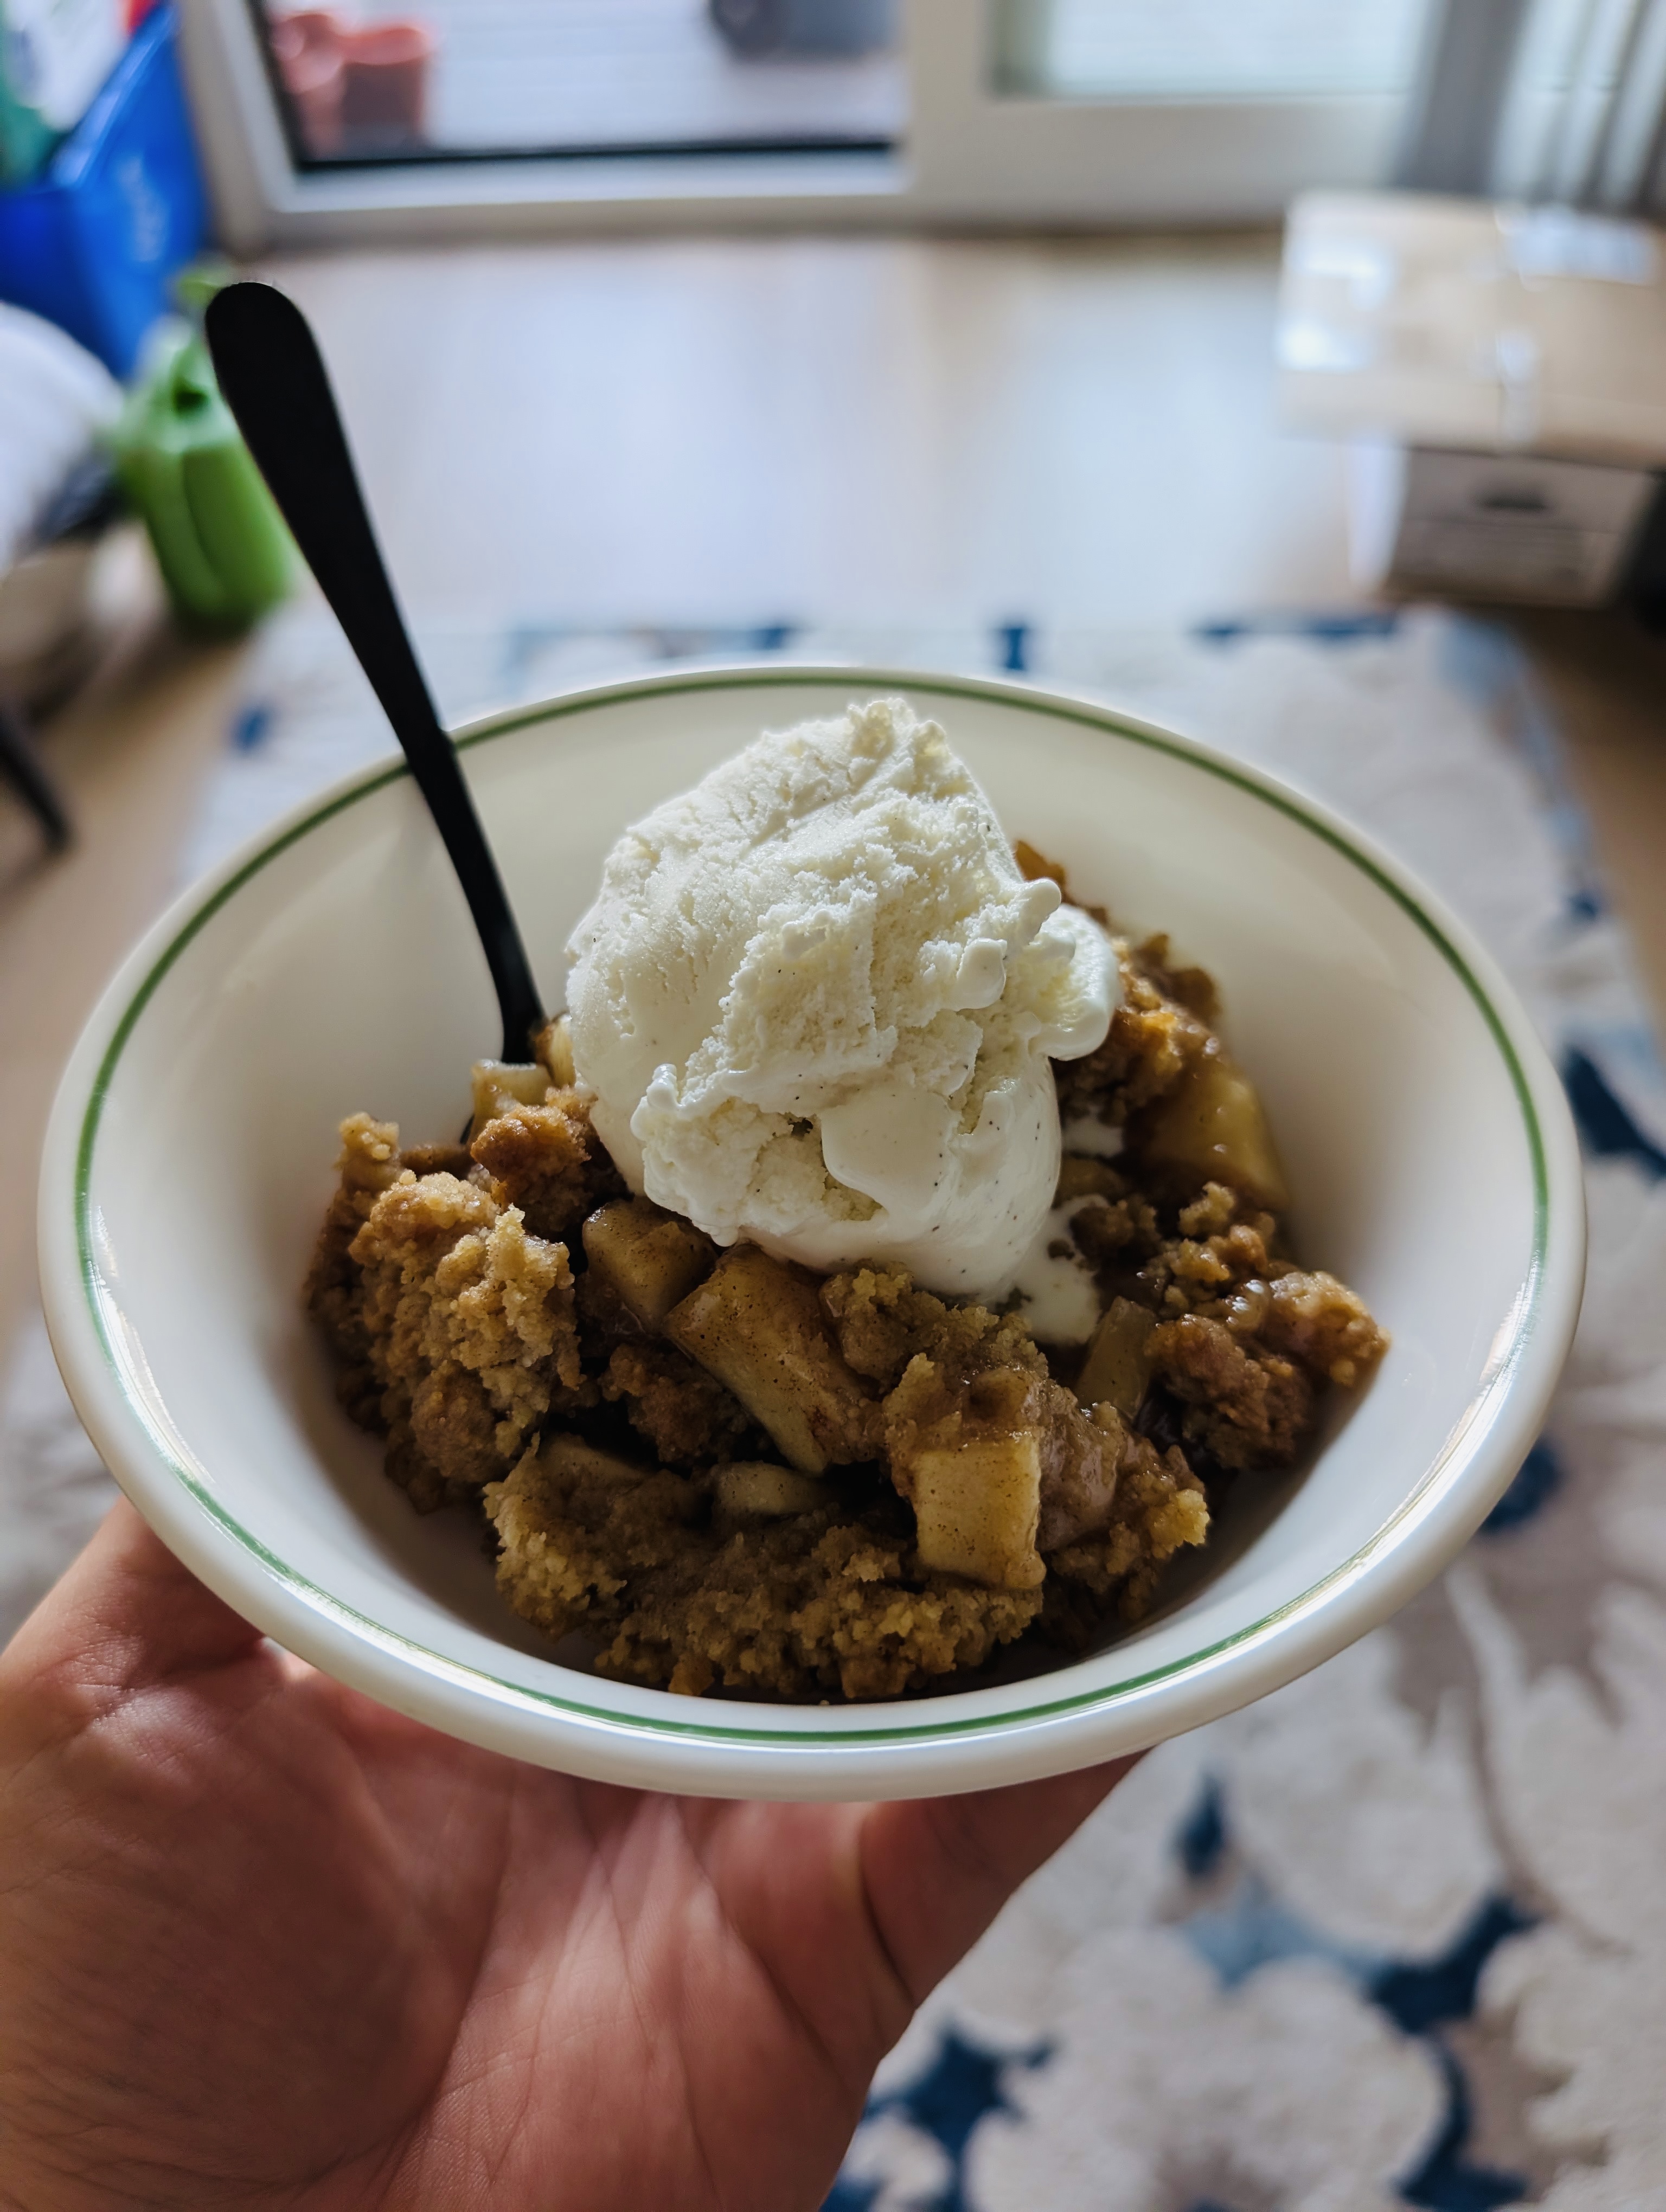
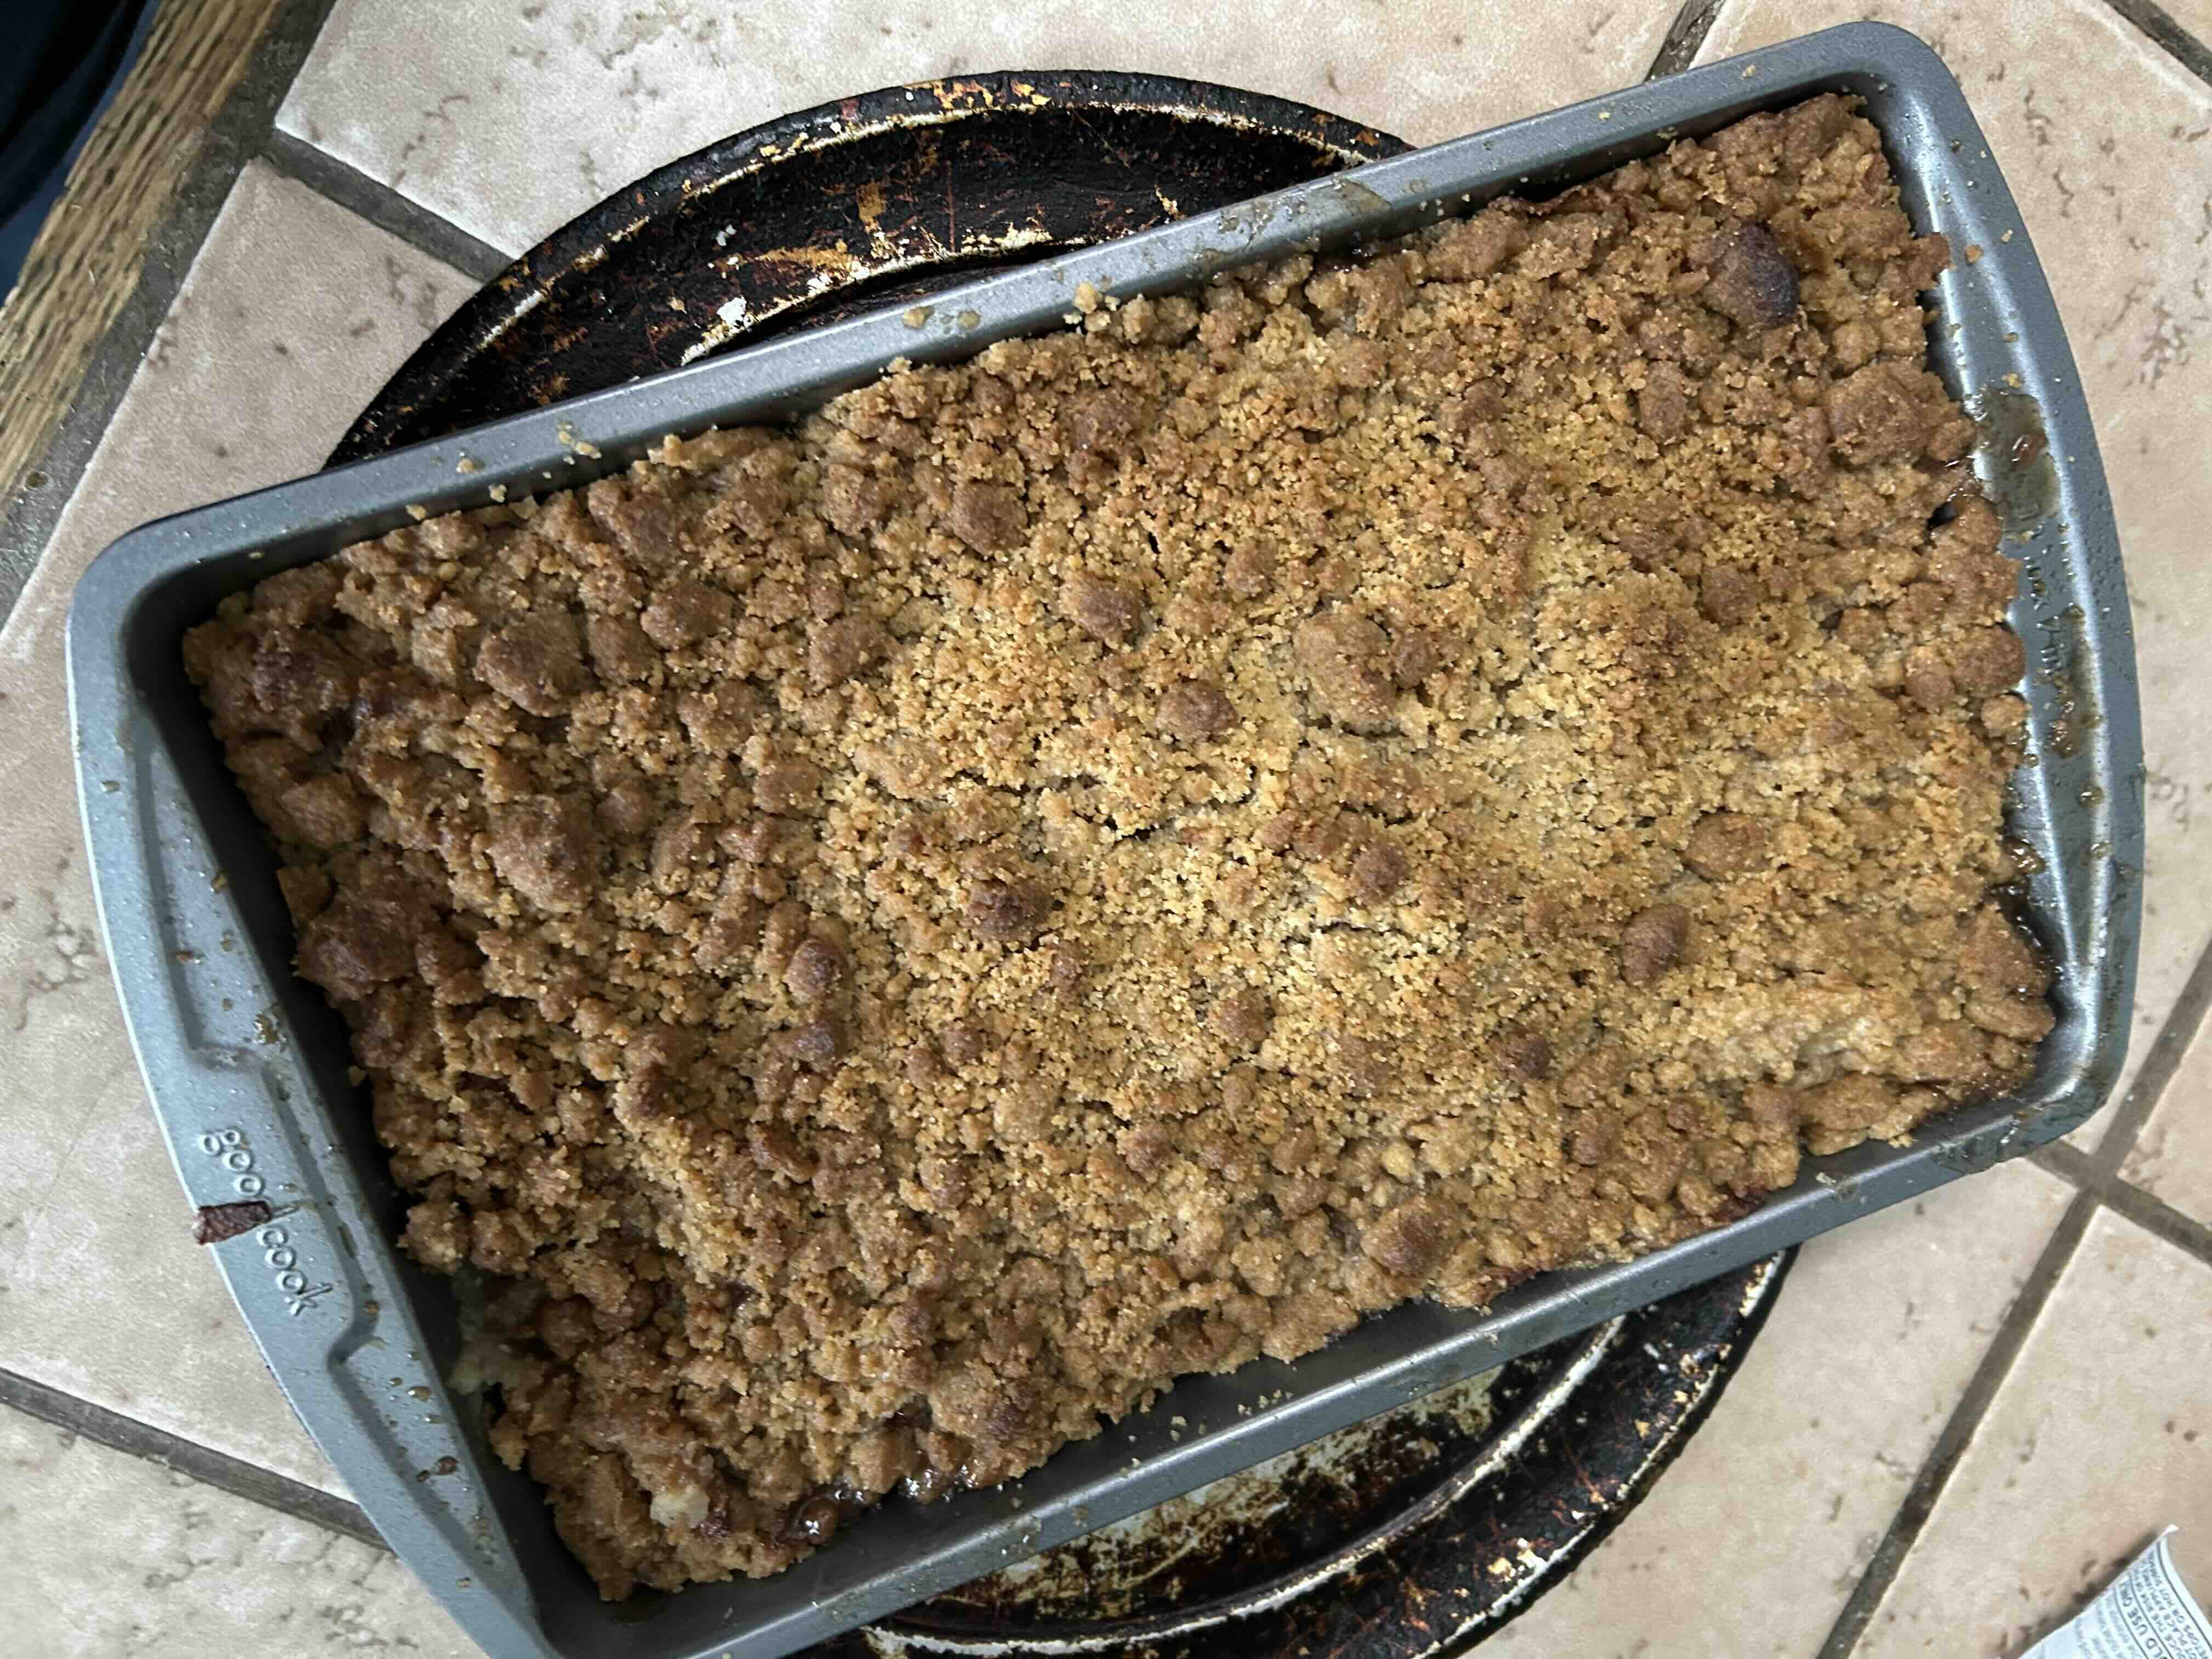
Making this was super easy! It came out so tasty especially warmed up with vanilla ice cream on top!
Photo of the cooked recipe
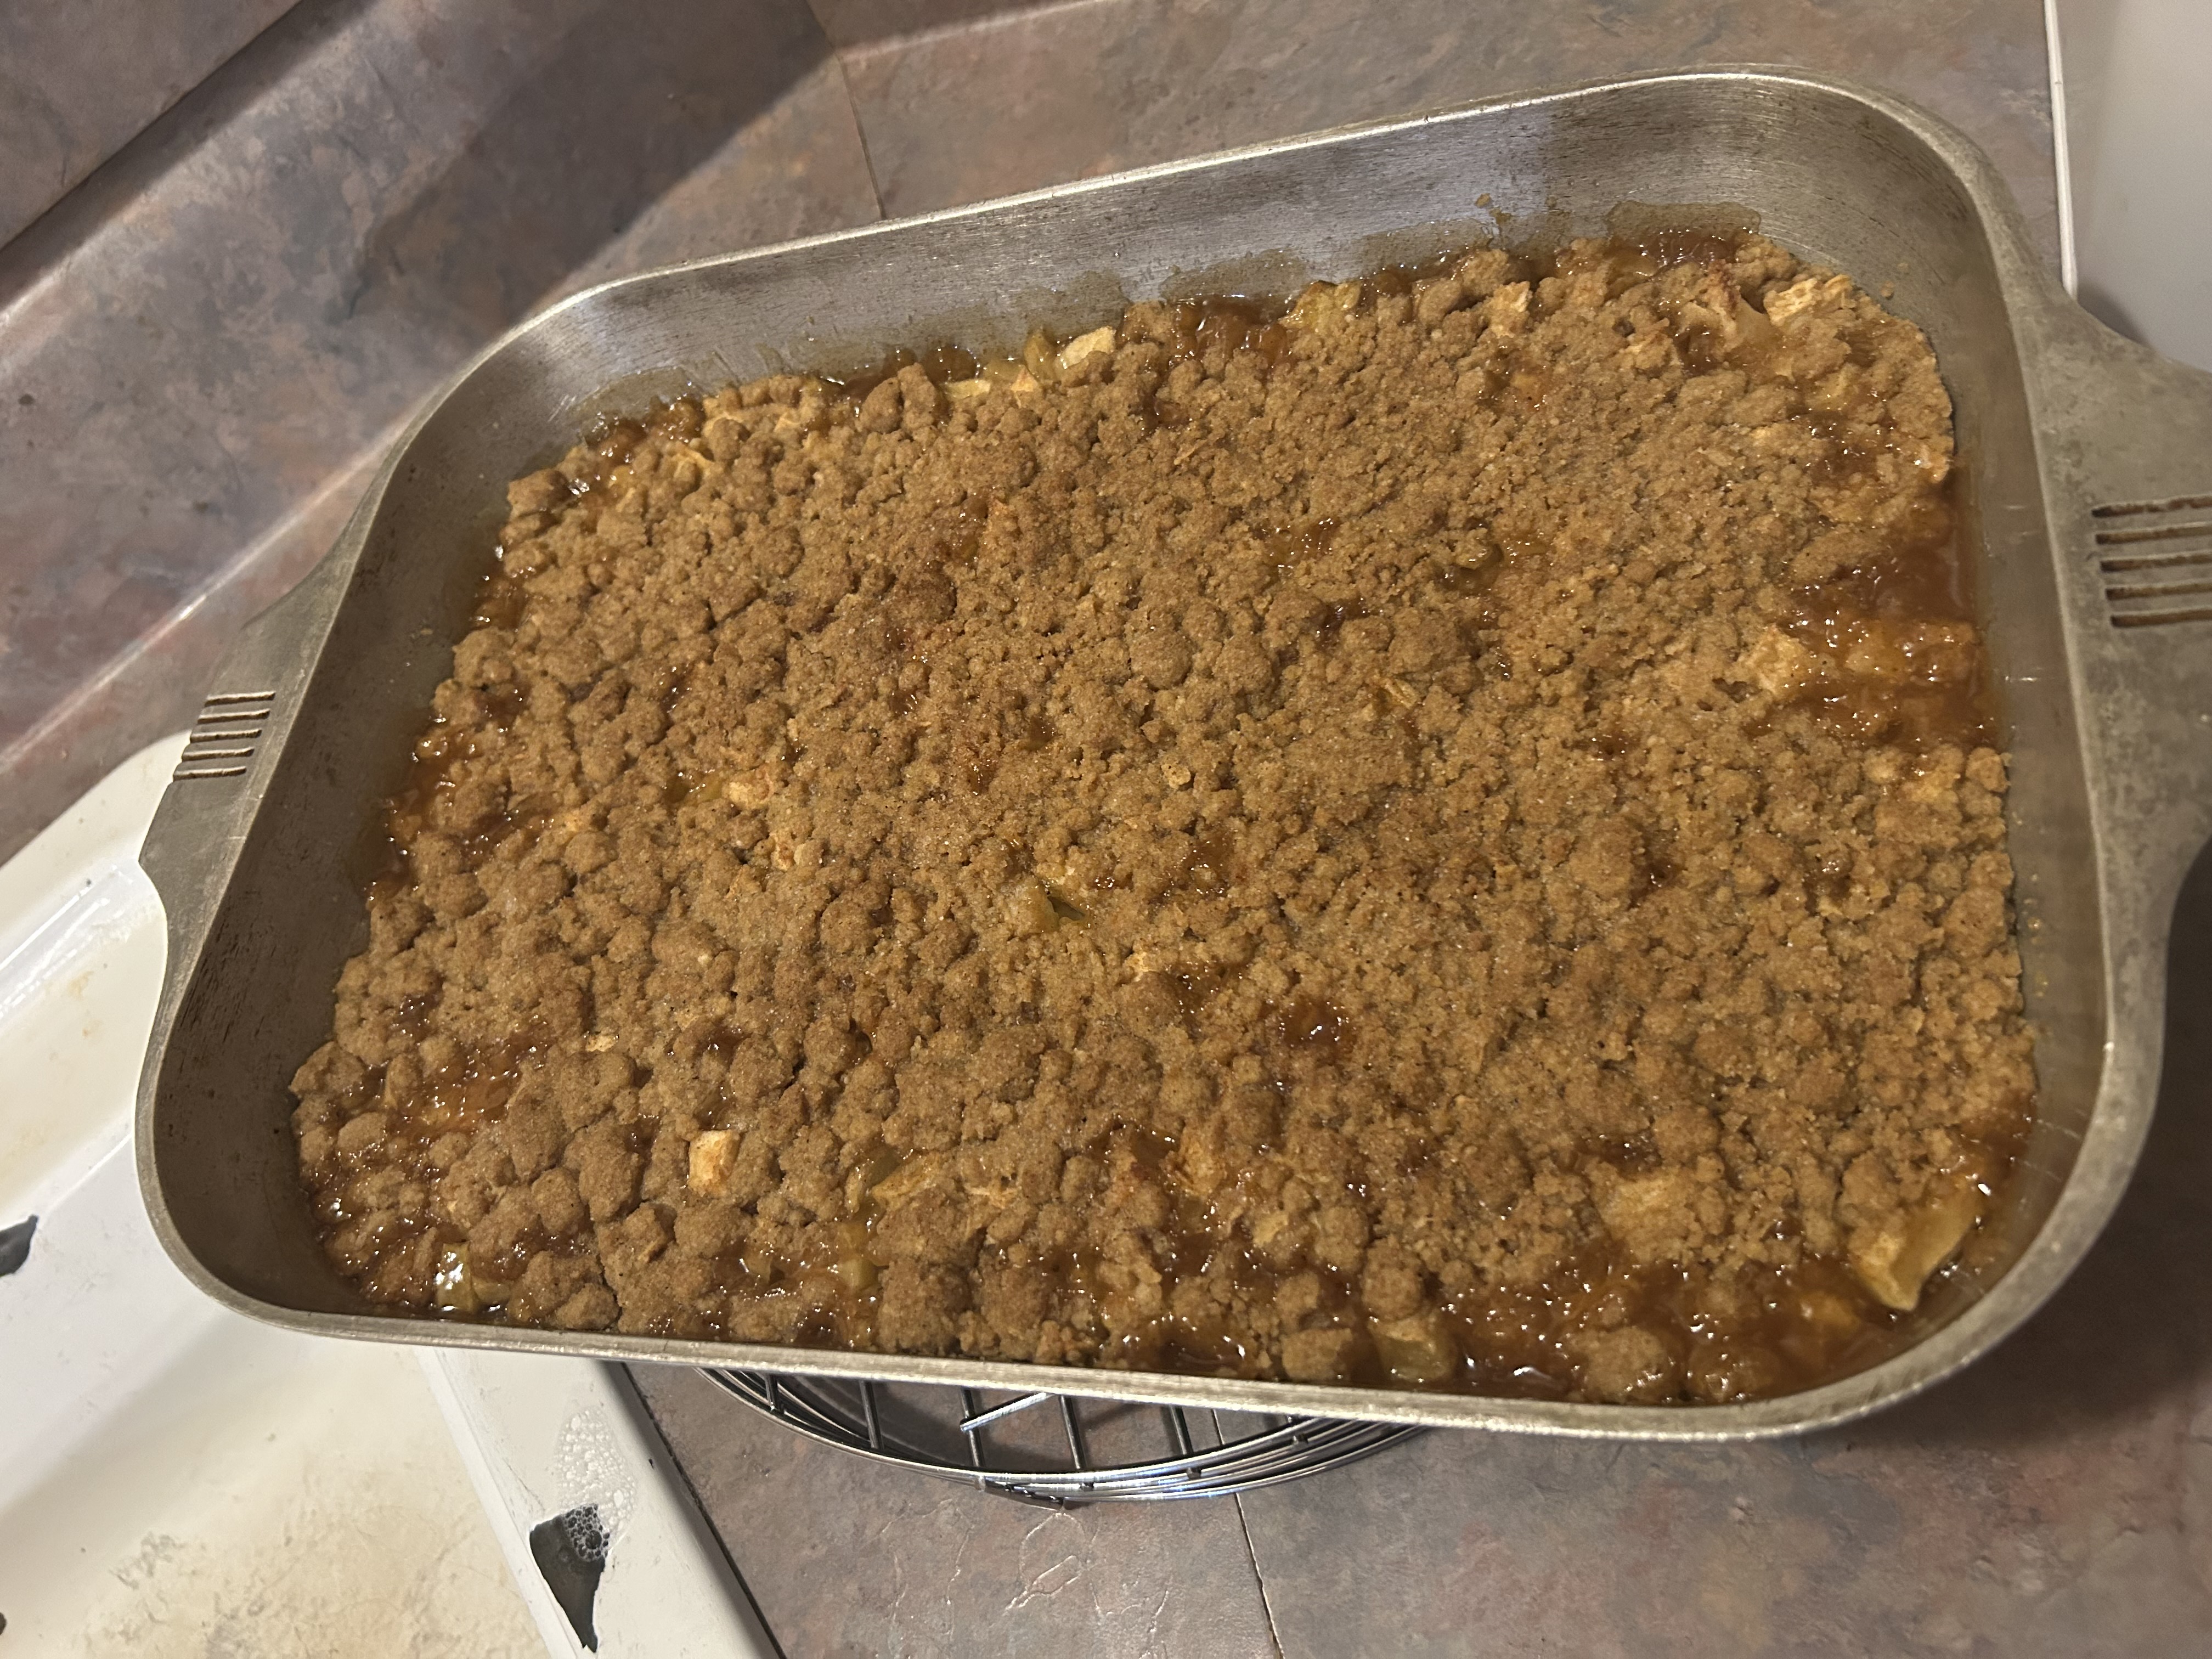
a family favorite! very easy to follow, and pretty basic ingredients- making this recipe available for most to complete with the things they have in their kitchen.
Photo of the cooked recipe
It was delicious 😋 the family loved it.
I decreased the amount of sugar though.
I’ll do it again.
Photo of the cooked recipe
It was good
Photo of the cooked recipe
This recipe was awesome.. easy to follow. Simple ingredients. This is 100% not a 4 servings kind of dessert.. especially if you add a dollop of icecream to the top.
Photo of the cooked recipe
Me and my fiancé made!!!! Absolutely AMAZING!! try with butter pecan ice cream— to die for!!
Photo of the cooked recipe