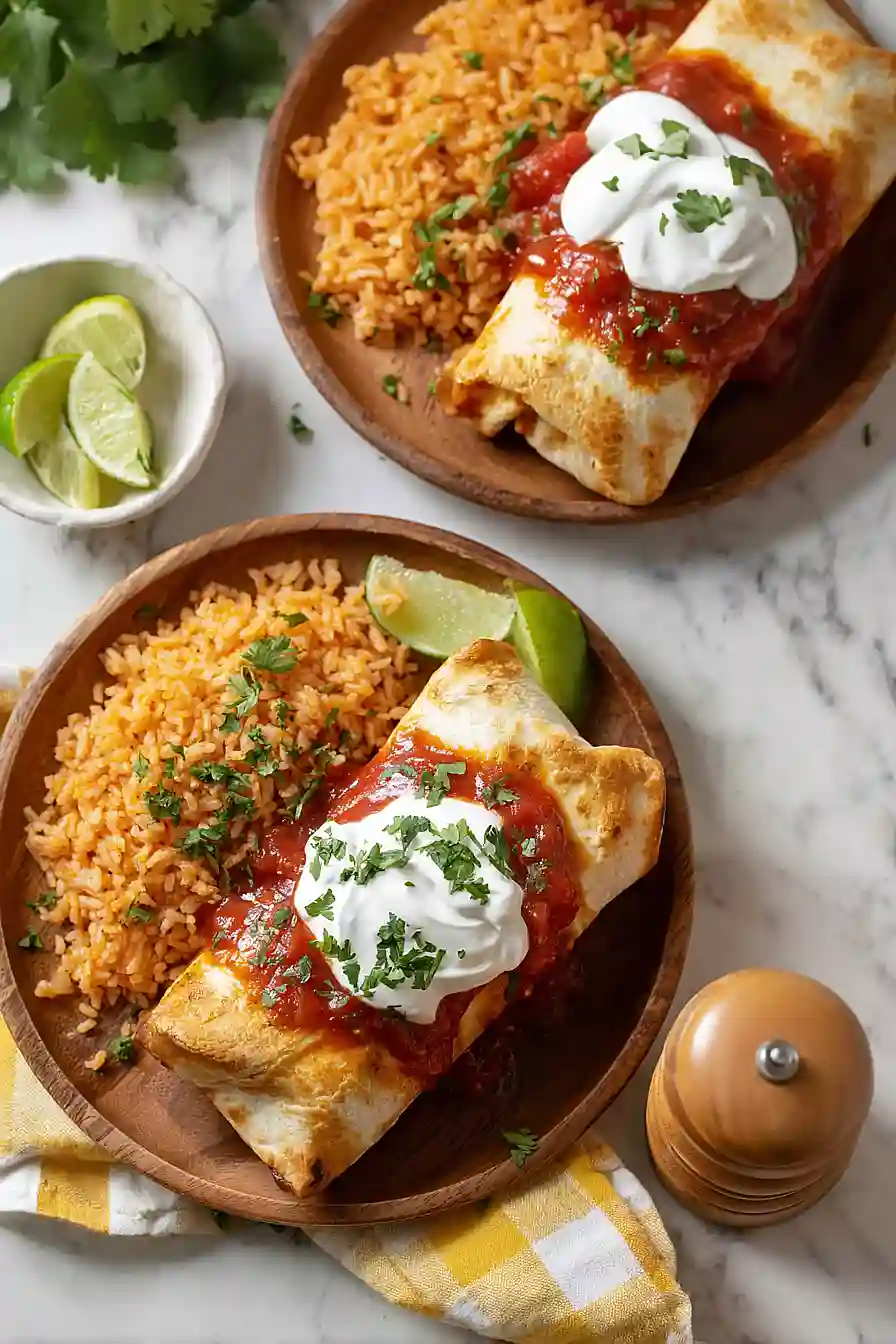
Here is my favorite chicken chimichanga recipe, with tender shredded chicken, refried beans, melted cheese, and the perfect blend of spices, all wrapped in a flour tortilla and fried until golden and crispy.
These chimichangas are a weeknight dinner staple at our house. I love that I can get them on the table in about 30 minutes, and my kids actually eat them without complaining. Serve them with salsa, sour cream, and guacamole, and you’ve got yourself a meal that feels like restaurant quality but costs way less.
Why You’ll Love These Chicken Chimichangas
- Ready in under 45 minutes – This recipe comes together quickly, making it perfect for busy weeknights when you need dinner on the table fast.
- Kid-friendly meal – The crispy tortilla shells filled with seasoned chicken and melted cheese are always a hit with children and adults alike.
- Simple ingredients – You probably have most of these pantry staples on hand already, and the ingredient list is short and straightforward.
- Customizable toppings – Everyone can dress their chimichanga exactly how they like it with salsa, sour cream, and guacamole.
- Great for meal prep – You can make a big batch and freeze the extras before frying, so you’ll have homemade chimichangas ready whenever a craving hits.
What Kind of Chicken Should I Use?
The great thing about chimichangas is that they’re pretty forgiving when it comes to the chicken you use. Rotisserie chicken from the store is honestly one of the easiest options – just shred it up and you’re ready to go. If you want to cook your own, poached or baked chicken breasts work perfectly, or you can even use leftover chicken thighs if that’s what you have on hand. Dark meat will give you a juicier filling, while white meat keeps things a bit leaner, but either way you’ll end up with a delicious chimichanga. Just make sure your chicken is already cooked and shredded before you start assembling, since it only gets reheated when you fry the chimichangas.
Options for Substitutions
This recipe is pretty forgiving, so feel free to make these swaps based on what you have:
- Chicken: Rotisserie chicken works great here, but you can also use leftover turkey, shredded pork, or even ground beef. If using ground beef, cook it first with the spices before adding to the filling.
- Refried beans: Black beans or pinto beans work just fine. If using whole beans instead of refried, mash them slightly with a fork for a similar texture.
- Flour tortillas: Don’t substitute these with corn tortillas – flour tortillas are needed here because they’re sturdy enough to hold the filling and won’t crack when rolled and fried.
- Cheese: Any melty cheese works well. Try cheddar, Monterey Jack, pepper jack for extra kick, or a Mexican cheese blend.
- Green onions: Regular yellow or white onions can replace green onions. Just dice them finely and maybe use a bit less since they have a stronger flavor.
- Oil for frying: Vegetable oil, canola oil, or even avocado oil all work for frying. You can also bake these instead – brush with oil and bake at 400°F for about 20 minutes, flipping halfway through.
Watch Out for These Mistakes While Cooking
The biggest mistake when making chimichangas is overfilling the tortillas, which causes them to burst open during cooking – stick to about 1/2 cup of filling and leave at least an inch of space on all sides for proper folding.
Cold tortillas are your enemy here since they crack and tear easily, so warm them in the microwave for 15-20 seconds wrapped in a damp paper towel to make them flexible and easy to roll.
If you’re frying, don’t skip the toothpicks to secure the seams, and make sure your oil is hot enough (around 350°F) before adding the chimichangas – oil that’s too cool will make them greasy instead of crispy.
For baked chimichangas, brush oil on all sides generously and flip them halfway through baking to get an even golden color on both sides.
What to Serve With Chicken Chimichangas?
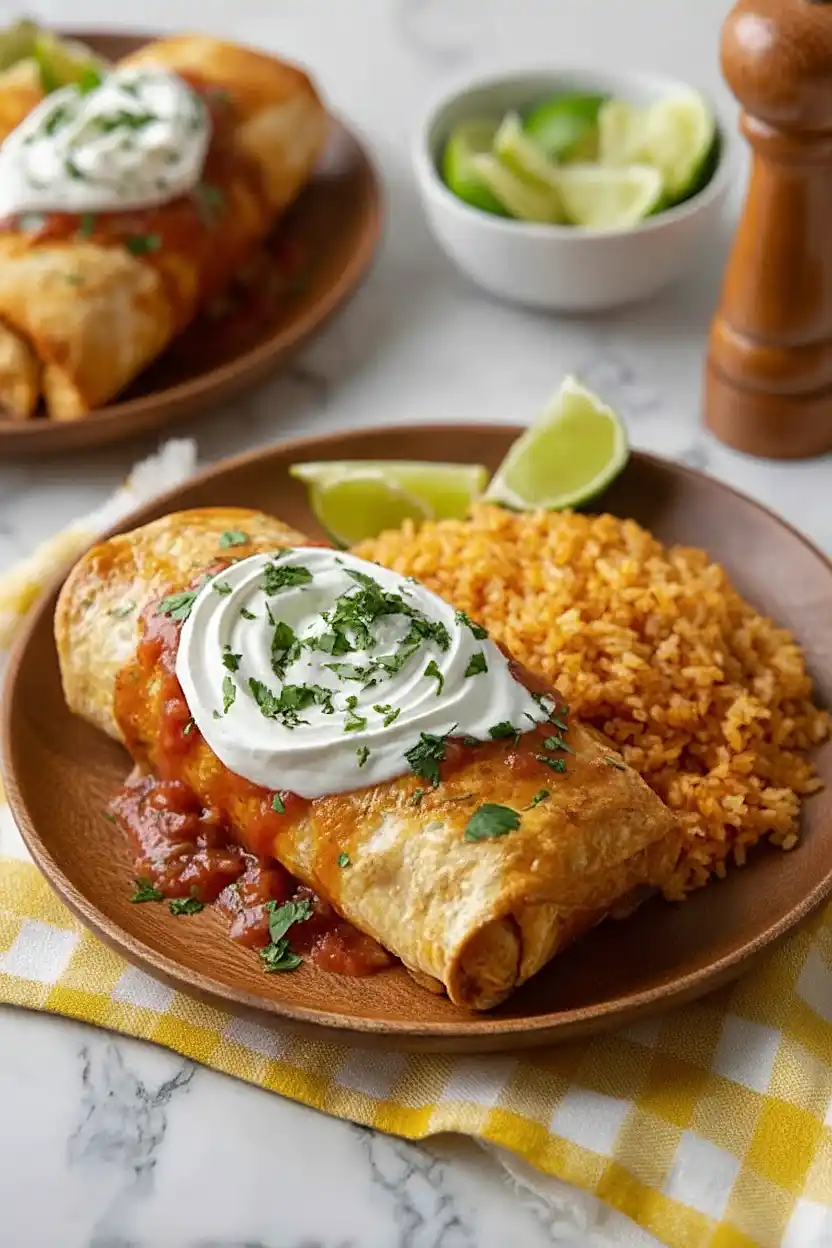
Chimichangas are pretty filling on their own, but I love serving them with classic Mexican sides to round out the meal. Spanish rice and refried beans are always a good call – they soak up any extra salsa or sour cream that drips off the chimichangas. A simple side salad with shredded lettuce, tomatoes, and a squeeze of lime adds a fresh crunch that balances out the fried tortilla. You could also set out chips and queso or a corn salad on the side for people to munch on while everything’s being plated.
Storage Instructions
Store: Leftover chimichangas keep well in the fridge for about 3 days. Wrap them individually in foil or store in an airtight container. They’ll lose some of their crispiness, but they’re still really good and make for easy lunches throughout the week.
Freeze: These are perfect for freezing! You can freeze them either before or after frying. If freezing unfried, just wrap them tightly in plastic wrap and then foil for up to 3 months. Already fried ones should be cooled completely first, then wrapped the same way.
Reheat: For the best results, reheat chimichangas in the oven at 350°F for about 15-20 minutes until heated through and crispy again. You can also use an air fryer at 375°F for about 8-10 minutes. The microwave works in a pinch, but they won’t be as crispy.
| Preparation Time | 10-15 minutes |
| Cooking Time | 25-30 minutes |
| Total Time | 35-45 minutes |
| Level of Difficulty | Easy |
| Servings | 6 servings |
Estimated Nutrition
Estimated nutrition for the whole recipe (without optional ingredients):
- Calories: 2200-2500
- Protein: 100-120 g
- Fat: 95-110 g
- Carbohydrates: 220-250 g
Ingredients
For the filling:
- 2.5 cups chicken (shredded into 1-inch strips for better texture)
- 16 oz refried beans (I use Rosarita smooth traditional beans)
- 1/2 cup salsa
- 1 tsp cumin
- 1/2 tsp oregano
- 1 tsp chili powder (I prefer McCormick for a consistent mild heat)
- 1/2 tsp garlic powder
- 1/2 tsp onion powder
- 1 cup cheese (shredded Monterey Jack or Mexican blend)
- 2 green onions
For assembly:
- 6 flour tortillas (8-inch soft burrito size)
- 3 tbsp oil (use a high smoke point oil like Wesson)
For the garnish:
- salsa
- sour cream (thick and cold to contrast the hot filling)
- guacamole
Step 1: Prepare the Filling Base with Spices
- 16 oz refried beans
- 1/2 cup salsa
- 1 tsp cumin
- 1/2 tsp oregano
- 1 tsp chili powder
- 1/2 tsp garlic powder
- 1/2 tsp onion powder
In a medium bowl, combine the refried beans, salsa, cumin, oregano, chili powder, garlic powder, and onion powder.
Stir until the spices are evenly distributed throughout the beans—this creates a flavorful base that will coat every ingredient in your filling.
The spices bloom better when mixed with the beans early rather than added last, which deepens the overall flavor of the chimichangas.
Step 2: Cook and Shred the Chicken
- 2.5 cups chicken
While the filling base sits, heat a large skillet over medium-high heat and cook the chicken until fully cooked through (if using raw chicken, about 12-15 minutes; if using rotisserie chicken, just warm it briefly).
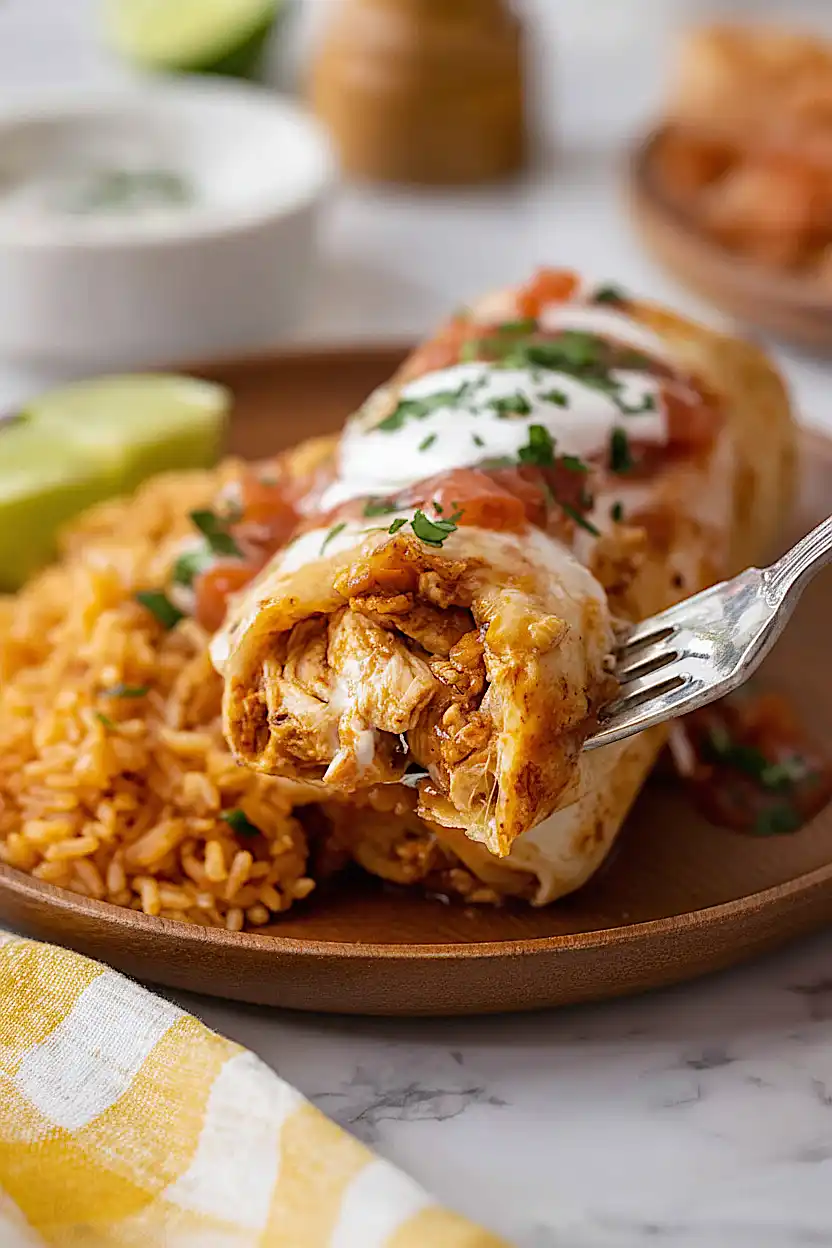
Once cooked, transfer to a cutting board and shred into 1-inch pieces.
The 1-inch size holds its texture better during frying or baking than finely shredded chicken, giving you a more satisfying bite in each chimichanga.
Step 3: Assemble the Complete Filling
- spiced bean mixture from Step 1
- shredded chicken from Step 2
- 1 cup cheese
- 2 green onions, chopped
Add the shredded chicken from Step 2 to the spiced bean mixture from Step 1, then stir in the shredded cheese and chopped green onions.
Mix thoroughly until all ingredients are evenly distributed.
The filling should be moist but not wet—if it seems too loose, let it rest for a minute for the beans to absorb any excess moisture.
Step 4: Fill and Roll the Tortillas
- 6 flour tortillas
- complete filling from Step 3
Warm the flour tortillas briefly (about 15-20 seconds in a dry skillet or microwave for 30 seconds) to make them pliable and prevent cracking.
Place each tortilla on a flat surface and spoon about 1/2 cup of filling from Step 3 slightly below the center.
Fold the bottom edge up and over the filling, then fold in the sides and roll tightly toward the top to create a sealed package.
The tighter the roll, the better it holds together during cooking.
Step 5: Cook the Chimichangas (Choose Your Method)
- 3 tbsp oil
- rolled chimichangas from Step 4
For baking: Preheat oven to 400°F.
Brush the rolled chimichangas with oil on all sides and place seam-side down on a baking sheet.
Bake for 25 minutes until golden and crispy.
For frying: Heat 3 tablespoons of high smoke-point oil in a large skillet over medium-high heat until shimmering.
Working in batches if needed, carefully place chimichangas seam-side down in the hot oil and pan-fry, turning every 30 seconds, for about 6-8 minutes total until golden brown on all sides.
I prefer the baking method for a lighter result, but frying gives you that restaurant-style crispness if that’s what you’re after.
Step 6: Plate and Serve
- salsa
- sour cream
- guacamole
- cooked chimichangas from Step 5
Transfer the hot chimichangas to serving plates.
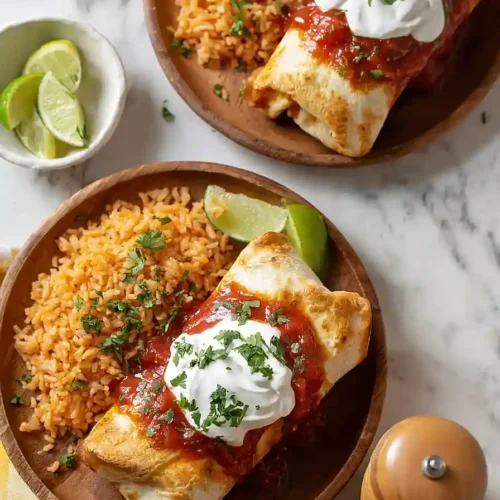
Serve immediately with salsa, cold sour cream, and guacamole on the side for guests to add as desired.
The contrast of the hot, crispy chimichangas with cold, creamy sour cream and guacamole is essential to the dish.
Cheesy Chicken Chimichangas
Ingredients
For the filling::
- 2.5 cups chicken (shredded into 1-inch strips for better texture)
- 16 oz refried beans (I use Rosarita smooth traditional beans)
- 1/2 cup salsa
- 1 tsp cumin
- 1/2 tsp oregano
- 1 tsp chili powder (I prefer McCormick for a consistent mild heat)
- 1/2 tsp garlic powder
- 1/2 tsp onion powder
- 1 cup cheese (shredded Monterey Jack or Mexican blend)
- 2 green onions
For assembly::
- 6 flour tortillas (8-inch soft burrito size)
- 3 tbsp oil (use a high smoke point oil like Wesson)
For the garnish::
- salsa
- sour cream (thick and cold to contrast the hot filling)
- guacamole
Instructions
- In a medium bowl, combine the refried beans, salsa, cumin, oregano, chili powder, garlic powder, and onion powder. Stir until the spices are evenly distributed throughout the beans—this creates a flavorful base that will coat every ingredient in your filling. The spices bloom better when mixed with the beans early rather than added last, which deepens the overall flavor of the chimichangas.
- While the filling base sits, heat a large skillet over medium-high heat and cook the chicken until fully cooked through (if using raw chicken, about 12-15 minutes; if using rotisserie chicken, just warm it briefly). Once cooked, transfer to a cutting board and shred into 1-inch pieces. The 1-inch size holds its texture better during frying or baking than finely shredded chicken, giving you a more satisfying bite in each chimichanga.
- Add the shredded chicken from Step 2 to the spiced bean mixture from Step 1, then stir in the shredded cheese and chopped green onions. Mix thoroughly until all ingredients are evenly distributed. The filling should be moist but not wet—if it seems too loose, let it rest for a minute for the beans to absorb any excess moisture.
- Warm the flour tortillas briefly (about 15-20 seconds in a dry skillet or microwave for 30 seconds) to make them pliable and prevent cracking. Place each tortilla on a flat surface and spoon about 1/2 cup of filling from Step 3 slightly below the center. Fold the bottom edge up and over the filling, then fold in the sides and roll tightly toward the top to create a sealed package. The tighter the roll, the better it holds together during cooking.
- For baking: Preheat oven to 400°F. Brush the rolled chimichangas with oil on all sides and place seam-side down on a baking sheet. Bake for 25 minutes until golden and crispy. For frying: Heat 3 tablespoons of high smoke-point oil in a large skillet over medium-high heat until shimmering. Working in batches if needed, carefully place chimichangas seam-side down in the hot oil and pan-fry, turning every 30 seconds, for about 6-8 minutes total until golden brown on all sides. I prefer the baking method for a lighter result, but frying gives you that restaurant-style crispness if that's what you're after.
- Transfer the hot chimichangas to serving plates. Serve immediately with salsa, cold sour cream, and guacamole on the side for guests to add as desired. The contrast of the hot, crispy chimichangas with cold, creamy sour cream and guacamole is essential to the dish.
