If you ask me, brookies are one of the best dessert mash-ups ever created.
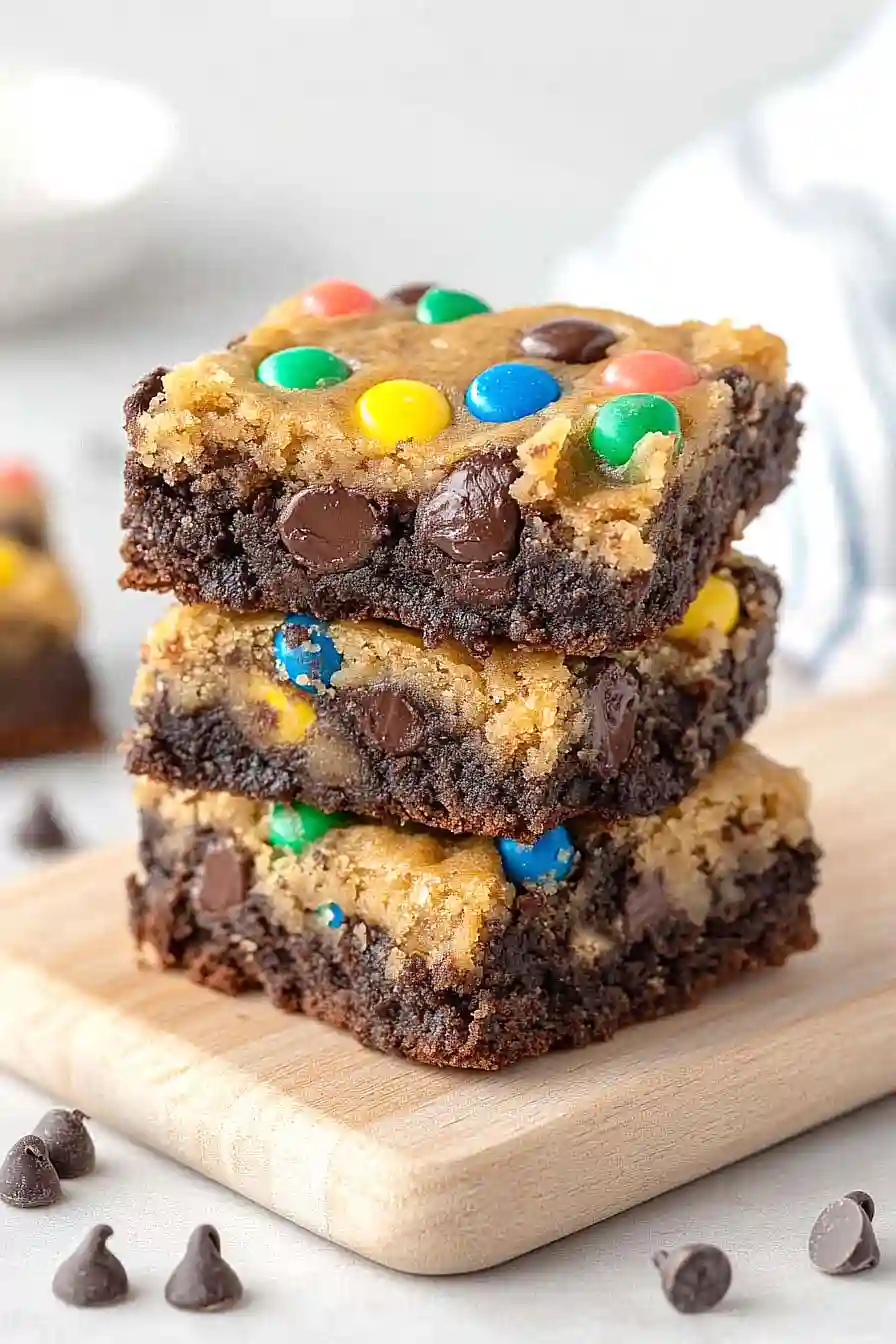
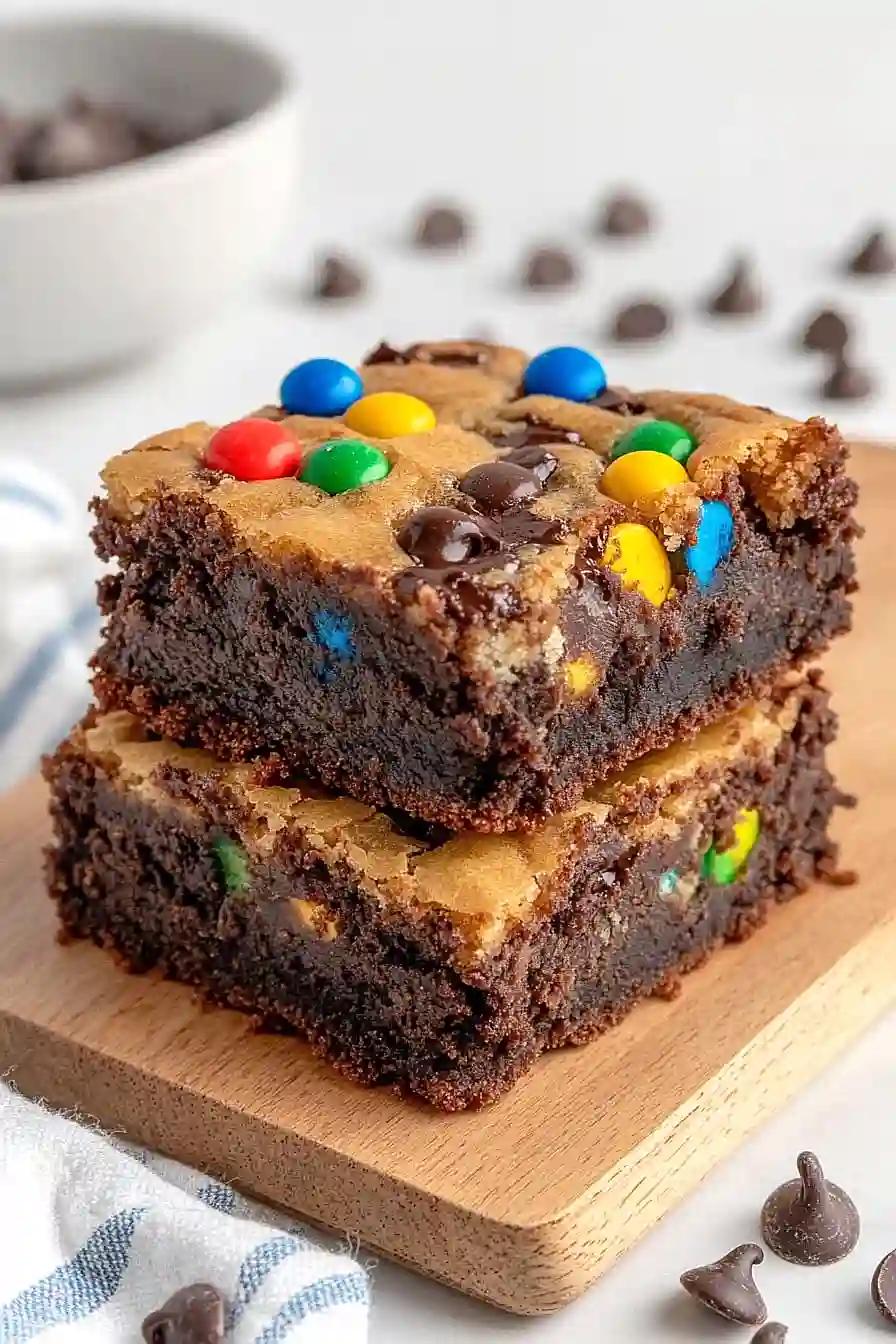
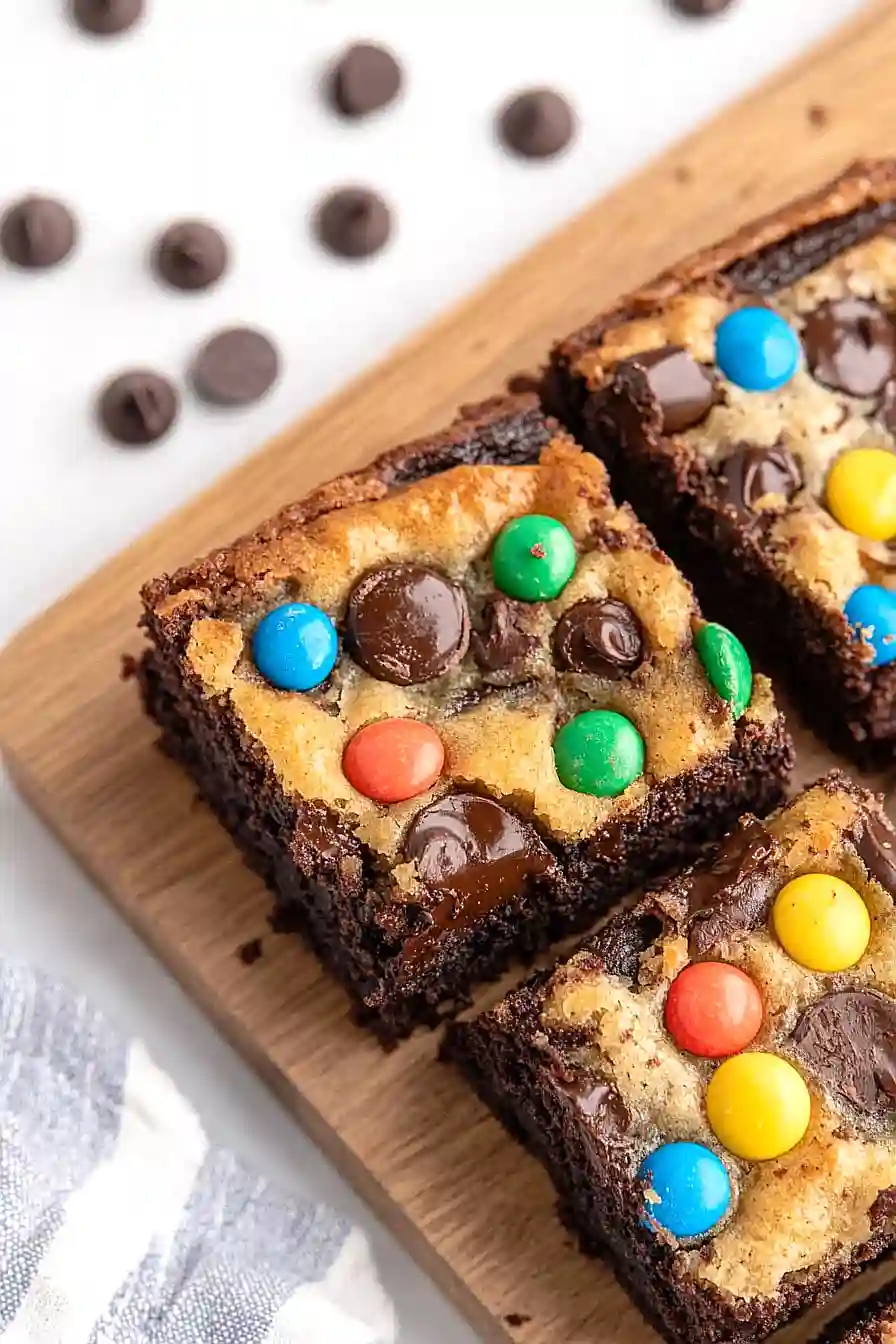
These M&M-studded treats combine two classic favorites – fudgy brownies and chewy chocolate chip cookies – into one irresistible bar. The brownie base stays rich and chocolatey, while the cookie layer gets dotted with colorful M&Ms that add a nice crunch.
I love how the two layers marry together during baking, creating that perfect middle ground between cookie and brownie. The edges get slightly crispy while the center stays soft and gooey – just the way a good brookie should be.
It’s a kid-friendly dessert that always disappears quickly at bake sales and potlucks, perfect for when you can’t decide between cookies or brownies.
Why You’ll Love These Brookies
- Two treats in one – These brookies combine fudgy brownies and chewy cookies into one amazing dessert, giving you the best of both worlds in every bite.
- Perfect for chocolate lovers – With three different types of chocolate plus M&Ms, these brookies deliver an intense chocolate experience that will satisfy any sweet tooth.
- Make-ahead friendly – You can prepare the dough components ahead of time and store them in the fridge, making it easier to bake these treats when you’re ready.
- Crowd-pleasing dessert – These brookies are always a hit at parties, bake sales, or family gatherings – everyone loves the combination of brownies and cookies topped with colorful M&Ms.
What Kind of Chocolate Should I Use?
For brookies, you’ll want to pay attention to both your cocoa powder and chocolate chips since they’re key players in this recipe. When it comes to cocoa powder, stick with a dark or Dutch-processed variety rather than natural cocoa powder – it’ll give you that deep, rich chocolate flavor that makes brookies so good. For the chocolate chips, you’ve got options – semi-sweet chips work great and are easy to find, but you could also chop up a good quality dark chocolate bar instead. Just try to avoid using milk chocolate chips as your main chocolate since they can make the brookies overly sweet and won’t give you that nice contrast in flavor. Remember to check the expiration date on your cocoa powder since it can lose its punch over time.
Options for Substitutions
Let’s talk about what you can swap in this brookie recipe without losing the magic:
- Dark chocolate cocoa powder: Regular unsweetened cocoa powder works fine here, though the color won’t be as deep. Dutch-process cocoa is another great option that’ll give you similar rich results.
- Chocolate chips: Feel free to mix and match your chocolate chips! Milk, dark, or white chocolate chips all work well. You can even use chocolate chunks or chopped chocolate bars instead.
- M&Ms: Any candy-coated chocolate will work here – try Smarties, Reese’s Pieces, or chopped up chocolate bars. You could also use more chocolate chips or nuts instead.
- Peanut butter: Other nut butters like almond or cashew butter will work, just make sure they’re smooth. For nut allergies, try sunflower seed butter – just note it might change the color slightly.
- Brown sugar: Out of brown sugar? Mix 1 cup white sugar with 1 tablespoon molasses for each cup of brown sugar needed. Dark brown sugar works too, but will give a stronger molasses taste.
- Flaky salt: Regular kosher salt works fine for the topping, or you can skip it altogether if you prefer.
Watch Out for These Mistakes While Baking
The biggest challenge when making brookies is achieving the perfect texture for both the brownie and cookie layers – overmixing either batter can lead to tough, dense results, so mix just until the ingredients are combined. Temperature control is crucial here – make sure all your refrigerated ingredients (especially eggs and butter) are at room temperature before starting, as cold ingredients won’t blend properly and can affect the final texture. When layering the batters, avoid pressing down too hard or mixing them together, as you want distinct brownie and cookie layers – instead, gently dollop and spread each layer. For the best results, keep a close eye on the baking time and check for doneness a few minutes before the recommended time is up – the edges should be set but the center should still be slightly soft, as they’ll continue cooking while cooling in the pan.
What to Serve With Brookies?
These rich chocolate-cookie hybrid treats are perfect with a cold glass of milk – whether it’s regular, almond, or oat milk, you’ll want something cool and creamy to wash down all that chocolatey goodness! For a cozy afternoon treat, serve them slightly warm with a cup of hot coffee or tea. If you’re feeling extra indulgent, try serving these brookies with a scoop of vanilla ice cream while they’re still a bit warm from the oven, letting the ice cream melt slightly into all those chocolate chips and M&Ms. A drizzle of warm caramel sauce on top wouldn’t hurt either!
Storage Instructions
Keep Fresh: These M&M brookies stay super good in an airtight container at room temperature for up to 5 days. I like to place a piece of bread in the container – it helps keep the brookies soft and chewy, just like when they first came out of the oven!
Freeze: Want to save some for later? These brookies freeze really well! Just wrap them individually in plastic wrap, then pop them in a freezer bag. They’ll stay fresh for up to 3 months. It’s perfect for when you need a quick chocolate fix!
Make Ahead: You can prepare the brownie and cookie doughs separately up to 2 days ahead and keep them in the fridge. Just bring them back to room temperature for about 30 minutes before assembling and baking. The cookie dough balls can also be frozen for up to 2 months – just add an extra minute or two to the baking time when cooking from frozen.
| Preparation Time | 15-20 minutes |
| Cooking Time | 45-60 minutes |
| Total Time | 60-80 minutes |
| Level of Difficulty | Medium |
Estimated Nutrition
Estimated nutrition for the whole recipe (without optional ingredients):
- Calories: 5000-5500
- Protein: 60-70 g
- Fat: 250-300 g
- Carbohydrates: 600-650 g
We'll Pay You $5 to Try This Recipe!
Cook our recipe, snap some photos, and earn a $5 Amazon Gift Card. It's that simple!
Here's how:
- Make the recipe
- Take nice pictures of your final dish
- Fill out our quick form (2 minutes max!)
- Your $5 reward is on the way!
Ingredients
- 1 1/2 cups plain flour (180 g)
- 3/4 cup high-quality dark chocolate cocoa powder (88.5 g)
- 1 teaspoon salt (6 g)
- 1 cup unsalted butter (226 g)
- 1 cup dark chocolate chips (180 g)
- 2 cups packed light brown sugar (440 g)
- 4 eggs
- 2 teaspoons vanilla essence (8.4 g)
- 1 cup semi-sweet chocolate chips (180 g)
- 3/4 cup room temperature unsalted butter (169.5 g)
- 1/2 cup white sugar (100 g)
- 1/2 cup packed brown sugar (110 g)
- 1 egg (at room temperature)
- 1/2 teaspoon vanilla extract (2.1 g)
- 1 3/4 cups plain flour (210 g)
- 1 teaspoon baking soda (4 g)
- 1 teaspoon salt (6 g)
- 1 cup semi-sweet or dark chocolate chips (180 g)
- 1 cup smooth peanut butter, melted (250 g)
- 1/2 cup mini m&ms (112 g)
- Flaky salt
Step 1: Prepare the Baking Dish and Oven
Preheat your oven to 350 degrees F.
Take a 9″ x 13″ baking dish and spray it with nonstick spray.
Line the bottom and sides with parchment paper and spray again to ensure easy release.
Set the prepared pan aside.
Step 2: Make the Brownie Base
In a medium-sized mixing bowl, whisk together the flour, cocoa powder, and salt, then set it aside.
In a medium-sized saucepan, melt the butter and bittersweet chocolate chips over low heat until smooth.
Remove from heat and let it cool for about 5 minutes.
Add the brown sugar to the melted chocolate mixture and stir until fully combined.
Incorporate the eggs one at a time, stirring well after each addition.
Stir in the vanilla extract.
Gradually add the flour mixture and stir until there are no streaks of flour left.
Finally, fold in the 1 cup of semi-sweet chocolate chips.
Pour the brownie batter into the prepared pan and bake for 15 minutes.
Step 3: Prepare the Cookie Dough
While the brownies are baking, begin making the cookie dough.
In the bowl of an electric mixer fitted with a paddle attachment, beat the butter until smooth.
Add the sugars and beat until the mixture becomes light and fluffy, which takes about 2 minutes.
Make sure to scrape down the sides of the bowl as needed.
Add the egg and mix until well incorporated, then mix in the vanilla for about 30 seconds.
With the mixer on low speed, gradually add the flour, baking soda, and salt until combined.
Stir in the chocolate chips.
Set the cookie dough aside to be used later.
Step 4: Layer and Bake the Bars
After the initial 15 minutes of baking, remove the brownie pan from the oven.
Pour the melted peanut butter on top of the partially baked brownies and gently spread it into an even layer.
Use your hands to break apart pieces of the prepared cookie dough and distribute them evenly on top of the peanut butter layer.
No need to spread them out as they will spread while baking.
Sprinkle the mini M&Ms on top.
Return the pan to the oven and bake for an additional 30 minutes until the top of the cookie layer is golden brown.
Don’t worry about overcooking; the centers will still be gooey and contrast with the crunch of the top layer.
Step 5: Cool and Serve
Remove the pan from the oven and immediately sprinkle some salt on top for added flavor.
Allow the bars to cool in the pan for at least an hour to set.
The centers will remain gooey even after cooling.
If you prefer a firmer consistency, let them sit for an additional hour or two before serving.
Enjoy the rich, gooey, and crispy layers of your creation!
