Disclaimer: Our editors have used AI to create or enhance parts of this article. All content has been fact-checked by our team to ensure accuracy.
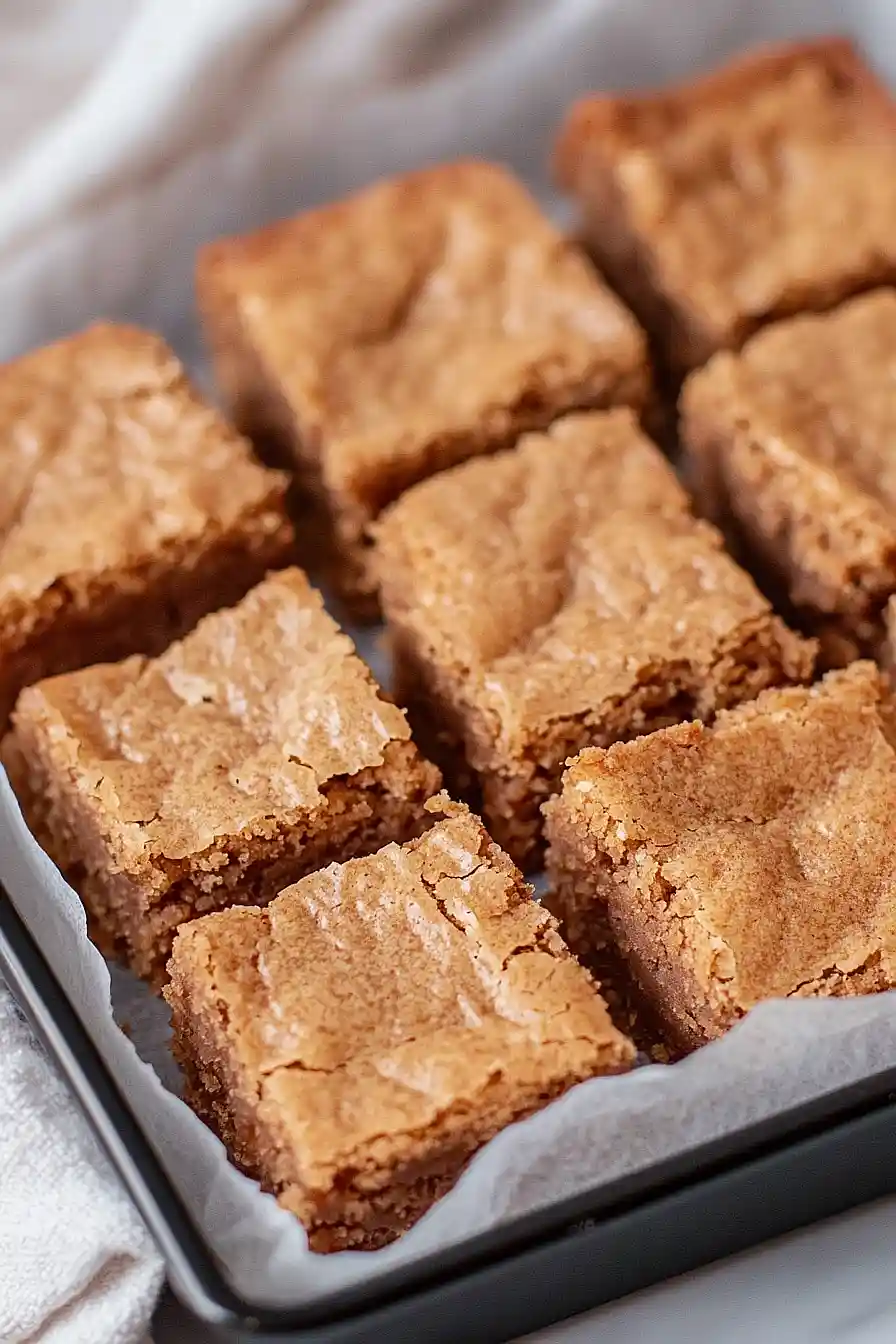
Blondies have always been the underdog of the dessert world. While everyone goes crazy for brownies, I’m over here making batch after batch of these golden beauties. They’re like brownies’ sweet, vanilla-loving cousin who doesn’t get enough attention. But honestly? I think they’re better.
The best part about blondies is how simple they are to make. You probably have everything you need sitting in your pantry right now. No melting chocolate or complicated steps. Just mix, pour, and bake. My kids love helping me make these because there’s no way to mess them up.
Want them plain and simple? Perfect. Feel like adding chocolate chips or nuts? Go for it. I’ve made these with everything from butterscotch chips to dried cranberries, and they always turn out great. They’re my go-to when I need dessert fast but don’t want to look like I didn’t try.
Why You’ll Love These Classic Blondies
- Quick and easy – These blondies come together in just 30-40 minutes from start to finish, making them perfect for when you need a sweet treat fast.
- Simple pantry ingredients – You probably already have everything you need in your kitchen – just basic baking staples like butter, brown sugar, flour, and an egg.
- One-bowl mixing – No fancy equipment needed here. Just melt your butter, mix everything in one bowl, and you’re ready to bake.
- Customizable with mix-ins – Whether you love chocolate chips, butterscotch chips, or chopped nuts, you can easily make these blondies your own with whatever you have on hand.
- Chewy, buttery texture – The brown sugar and melted butter create that perfect chewy consistency that makes blondies so addictive – they’re like brownies’ sweet, caramel-flavored cousin.
What Kind of Brown Sugar Should I Use?
Dark brown sugar is my go-to for blondies because it gives them that rich, molasses-heavy flavor that makes them taste so good. But don’t worry if you only have light brown sugar on hand – it will work just fine and still give you delicious results. The main difference is that dark brown sugar has more molasses, which means a deeper flavor and slightly more moisture in your blondies. If you’re out of brown sugar entirely, you can make your own by mixing white sugar with a tablespoon or two of molasses, or even use all white sugar in a pinch, though you’ll miss out on some of that classic blondie taste.
Options for Substitutions
These blondies are pretty forgiving when it comes to swaps, so here are some options if you need to make changes:
- Salted butter: You can use unsalted butter instead – just add an extra pinch of salt to the batter. Melted coconut oil works too, though it’ll give a slightly different flavor.
- Dark brown sugar: Light brown sugar works perfectly fine and is mentioned in the recipe. You can even use regular white sugar, but you’ll lose some of that rich, molasses flavor that makes blondies special.
- Egg: For egg-free blondies, try using 1/4 cup unsweetened applesauce or a flax egg (1 tablespoon ground flaxseed mixed with 3 tablespoons water, let sit for 5 minutes).
- All-purpose flour: You can substitute with a 1:1 gluten-free flour blend if needed. Whole wheat flour works too, but use about 3/4 cup since it’s denser.
- Mix-ins: The sky’s the limit here! Try white chocolate chips, dried cranberries, chopped pecans, or even mini marshmallows. Just stick to about 1/2 cup total so the blondies hold together properly.
Watch Out for These Mistakes While Baking
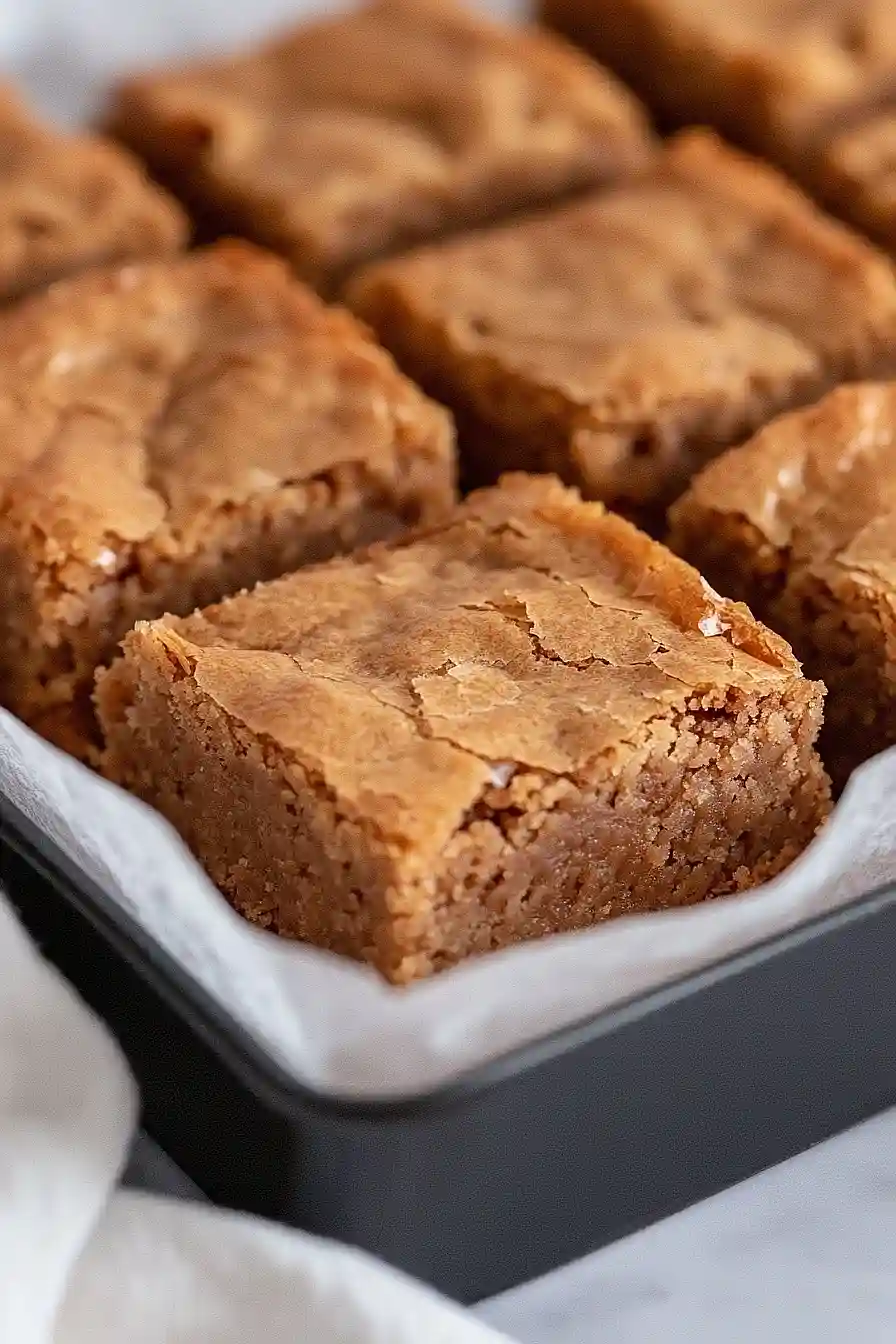
The biggest mistake when making blondies is overmixing the batter once you add the flour, which can lead to tough, chewy bars instead of the tender texture you want – just stir until the flour is barely combined and you still see a few streaks.
Another common error is overbaking these treats, so pull them from the oven when the center still looks slightly underdone and the edges are just set, as they’ll continue cooking in the hot pan.
Make sure your melted butter has cooled for a few minutes before adding it to the brown sugar and egg, otherwise you might end up scrambling the egg and creating an uneven texture.
For perfectly even blondies, line your pan with parchment paper and spread the thick batter evenly using an offset spatula, and remember that these bars are much better slightly underbaked than overdone.
What to Serve With Blondies?
These chewy blondies are perfect on their own, but they’re even better when served warm with a scoop of vanilla ice cream on top. I love pairing them with a cold glass of milk for that classic after-school snack vibe, or you can serve them alongside fresh berries for a little tartness that balances out the sweet brown sugar flavor. For special occasions, try drizzling them with caramel sauce or serving them with whipped cream and a sprinkle of sea salt. They also make a great base for an ice cream sundae if you’re feeling fancy!
Storage Instructions
Keep Fresh: These blondies stay soft and chewy when stored in an airtight container at room temperature for up to a week. I like to cut them into squares and layer them with parchment paper to keep them from sticking together. They actually taste even better the next day once all the flavors have had time to meld!
Freeze: Blondies freeze really well for up to 3 months. You can freeze the whole pan wrapped tightly in plastic wrap and foil, or cut them into individual squares and freeze in a freezer bag. I love having single servings ready to grab when I need a quick sweet treat.
Thaw: Let frozen blondies thaw at room temperature for about 30 minutes, or pop individual squares in the microwave for 15-20 seconds to warm them up. They’ll taste just like you baked them fresh, with that perfect chewy texture intact.
| Preparation Time | 10-15 minutes |
| Cooking Time | 20-25 minutes |
| Total Time | 30-40 minutes |
| Level of Difficulty | Easy |
Estimated Nutrition
Estimated nutrition for the whole recipe (without optional ingredients):
- Calories: 800-900
- Protein: 6-8 g
- Fat: 45-50 g
- Carbohydrates: 100-110 g
Ingredients
- 8 tbsp salted butter, melted
- 1 cup packed dark brown sugar (light brown sugar can substitute)
- 1 egg
- 1 1/2 tsp vanilla extract
- 1 cup all-purpose flour
- 1/2 tsp baking powder
- 1/4 tsp salt
- 1/2 cup generous mix-ins such as chocolate chips, butterscotch chips, or chopped nuts (optional)
Step 1: Prepare the Baking Dish and Oven
Preheat your oven to 350℉ (175℃).
Spray an 8”x8” baking dish with non-stick spray to prevent sticking.
For easy removal later, you can also line the pan with parchment paper, allowing the edges to hang over the sides.
Step 2: Combine Butter and Sugar
- 8 tbsp salted butter, melted
- 1 cup packed dark brown sugar (light brown sugar can substitute)
In a large mixing bowl, whisk together the melted salted butter and packed dark brown sugar until well combined.
The mixture should look smooth and glossy.
Step 3: Add Egg and Vanilla
- 1 egg
- 1 1/2 tsp vanilla extract
Add the egg and vanilla extract to the butter-sugar mixture.
Whisk until the mixture is fully combined and homogeneous.
Step 4: Mix in Dry Ingredients and Optional Mix-Ins
- 1 cup all-purpose flour
- 1/2 tsp baking powder
- 1/4 tsp salt
- 1/2 cup generous mix-ins such as chocolate chips, butterscotch chips, or chopped nuts (optional)
Add the all-purpose flour, baking powder, and salt to the mixture.
Stir just until combined, being careful not to overmix.
If desired, fold in 1/2 cup of your chosen mix-ins, such as chocolate chips, butterscotch chips, or chopped nuts.
I like to use a mix of chocolate chips and pecans for extra flavor and texture.
Step 5: Assemble and Bake the Blondies
Pour the batter into your prepared baking dish.
Use a silicone spatula or spoon to smooth the top evenly.
If you have any remaining mix-ins, dot them over the top.
Bake in the preheated oven for 20-25 minutes, or until a toothpick inserted into the center comes out clean.
Make sure not to overbake, as this can make the blondies dry.
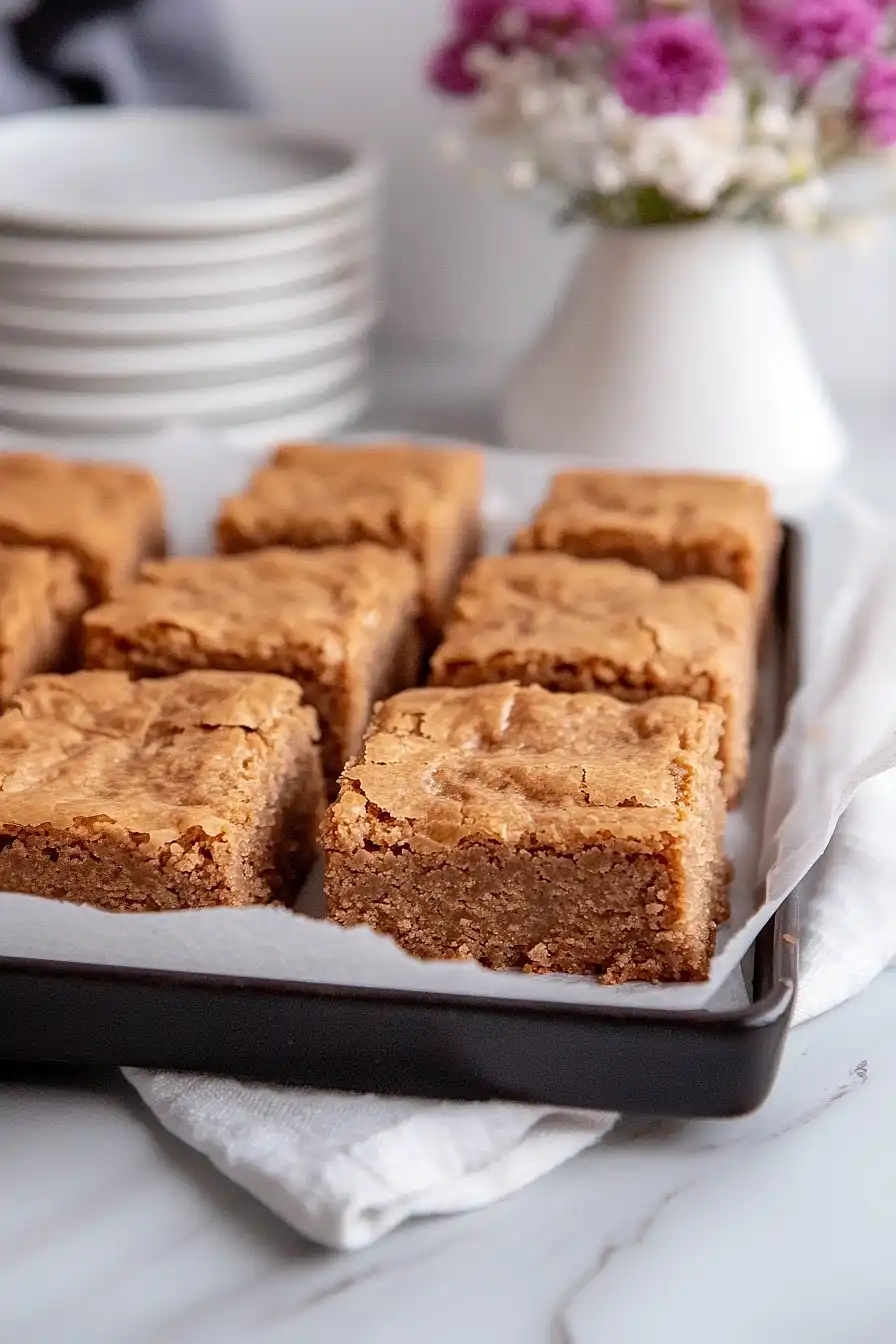
Step 6: Cool, Cut, and Serve
Cool the baked blondies completely on a wire rack, preferably overnight for the best texture.
Once fully cooled, remove them from the pan (using the parchment paper overhang, if used).
Cut into bars or triangles and serve.
I always find letting them rest overnight really improves their flavor and chewiness.
")
")