Disclaimer: Our editors have used AI to create or enhance parts of this article. All content has been fact-checked by our team to ensure accuracy.
I’ve always been a fan of breakfast on the go, but let’s be honest – those store-bought frozen breakfast sandwiches just don’t cut it. That’s why I started making these chicken breakfast wraps. They’re perfect for those busy mornings when you need something filling but don’t want to spend ages in the kitchen.
What I love most about these wraps is how easy they are to meal prep. I often make a batch on Sunday evening while I’m getting things ready for the week ahead. Just 20 minutes of prep work saves me so much time on hectic weekday mornings. Plus, they’re way tastier (and cheaper!) than anything you’d grab at a drive-through.
Whether you’re rushing to work or just want something different from your usual toast and cereal routine, these wraps hit the spot. They’re filling enough to keep you going until lunch, but not so heavy that you’ll feel sluggish afterward. And the best part? You can customize them with whatever toppings your family enjoys.
Why You’ll Love These Chicken Breakfast Wraps
- Protein-packed breakfast – With both chicken and eggs, these wraps deliver a filling protein boost that will keep you energized all morning long.
- Make-ahead friendly – You can prep the ingredients the night before and quickly assemble in the morning, or make a batch and freeze them for busy weekdays.
- Customizable recipe – Each family member can add their favorite toppings – from extra cheese to hot sauce – making breakfast time stress-free and enjoyable for everyone.
- Complete meal – These wraps pack protein, vegetables, and healthy fats all in one convenient handheld package – perfect for busy mornings when you need a substantial breakfast.
- Quick preparation – Ready in just 25-35 minutes, these wraps fit easily into your morning routine while offering more satisfaction than typical breakfast options.
What Kind of Chicken Should I Use?
For breakfast wraps, boneless, skinless chicken breasts are your best bet since they’re lean and cook quickly. You could also use chicken tenders, which are already portioned into smaller pieces and might save you some prep time. While dark meat like thighs would work too, they take longer to cook and have a stronger flavor that might overpower your breakfast ingredients. When buying chicken breasts, look for pieces that are roughly the same size so they’ll cook evenly, and make sure they’re fresh with no discoloration. If you’re in a real hurry, you could even use pre-cooked rotisserie chicken from the store – just dice it up and warm it briefly in the pan before assembling your wraps.

Options for Substitutions
This breakfast wrap recipe is super adaptable and you can make several swaps based on what you have in your kitchen:
- Chicken breast: You can easily swap chicken breast with turkey breast, or even leftover rotisserie chicken. For a vegetarian option, try firm tofu or tempeh – just make sure to press and season well.
- Half-and-half: Regular milk works fine here, or for a richer taste, use heavy cream. For a dairy-free version, unsweetened almond or oat milk can do the job.
- Flour tortillas: While flour tortillas hold up best, you can use corn tortillas (warm them first to prevent breaking), or even low-carb wraps. Just note that corn tortillas are smaller, so you might need more of them.
- Cheese blend: Don’t have both cheeses? Use 2 cups of whatever cheese you have – pepper jack adds nice heat, or try Mexican blend cheese. For dairy-free needs, plant-based shredded cheese works too.
- Spinach: Any leafy green works great here – try arugula, kale (chopped finely), or mixed salad greens.
- Avocado: If avocado isn’t available or ripe, try guacamole or leave it out. You can add extra tomatoes or some sour cream for creaminess instead.
Watch Out for These Mistakes While Cooking
The biggest challenge when making breakfast wraps is preventing them from becoming soggy – to avoid this, make sure to drain any excess moisture from your cooked vegetables and pat the diced tomatoes dry with paper towels before adding them to your wrap. A common mistake is overcrowding the pan when cooking the chicken, which leads to steaming instead of browning – work in batches if needed and keep the heat medium-high to get that nice golden crust. When it comes to the eggs, don’t make the mistake of cooking them until they’re completely dry; instead, remove them from the heat when they’re still slightly glossy, as they’ll continue cooking from residual heat and stay creamy rather than rubbery. For the best results, warm your tortillas slightly before assembling (about 20 seconds in the microwave or a quick pass on a dry skillet), and don’t overfill them – leaving about an inch of space around the edges makes rolling much easier and prevents ingredients from spilling out.
What to Serve With Breakfast Wraps?
These hearty breakfast wraps are pretty much a complete meal on their own, but there are some tasty sides that can make your breakfast even better! Fresh fruit like berries or sliced melon adds a sweet contrast to the savory wrap and helps round out the meal. If you’re extra hungry, crispy hash browns or home fries on the side give you that classic diner breakfast feel. I also like to put out a variety of toppings like sour cream, extra hot sauce, fresh salsa, or pico de gallo so everyone can customize their wrap just the way they like it.
Storage Instructions
Keep Fresh: These breakfast wraps are perfect for meal prep! Once cooled, wrap each one individually in aluminum foil or parchment paper and place them in an airtight container. They’ll stay good in the fridge for up to 3 days. Just keep in mind that the avocado might brown a bit, so you might want to add that fresh when serving.
Freeze: Want to make a big batch? These wraps freeze really well for up to 2 months. Wrap each one in foil, then place in a freezer bag. Just skip the fresh spinach, tomatoes, and avocado – these are best added fresh after reheating. Label your bags with the date so you know when you made them!
Reheat: To warm up your wrap from the fridge, pop it in the microwave for about 1 minute, or until heated through. If it’s frozen, thaw overnight in the fridge first. For a crispy exterior, heat a skillet over medium heat and warm the wrap for about 2 minutes per side. Add your fresh toppings after reheating, and don’t forget the hot sauce!
| Preparation Time | 10-15 minutes |
| Cooking Time | 15-20 minutes |
| Total Time | 25-35 minutes |
| Level of Difficulty | Easy |
Estimated Nutrition
Estimated nutrition for the whole recipe (without optional ingredients):
- Calories: 1800-2000
- Protein: 110-120 g
- Fat: 120-130 g
- Carbohydrates: 120-130 g
Ingredients
- 1 pound chicken breast, cubed
- 1 tablespoon olive oil
- 1 diced onion
- 4 minced cloves of garlic
- 1 red bell pepper, seeds removed and sliced
- 8 large eggs at room temperature
- 1/3 cup half-and-half
- 4 tablespoons butter
- Kosher salt, to taste
- Black pepper, freshly ground, to taste
- 4 large tortillas made of flour
- 1 cup cheddar cheese, shredded
- 1 cup monterey jack cheese, shredded
- 1 large tomato, diced
- 1 avocado, diced
- 1 cup fresh spinach
- Hot sauce for serving
Step 1: Cook the Chicken
Place a large skillet over medium heat and add one tablespoon of oil.
Once the oil is hot, season the cubed chicken with salt and pepper.
Add the seasoned chicken to the skillet and cook until the pieces are golden brown.
Remove the chicken from the pan and set it aside for later use.
Step 2: Sauté the Vegetables
In the same skillet, add the chopped onion, minced garlic, and diced bell pepper.
Season with a pinch of salt and cook the mixture until the vegetables are tender.
Once cooked, remove the vegetables from the skillet and set them aside with the chicken.
Step 3: Prepare the Egg Mixture
In a medium bowl, whisk together the eggs and half and half.
Mix until the ingredients are well combined, forming a smooth egg mixture.
Step 4: Cook the Scrambled Eggs
Wipe out the same skillet and place it back over medium heat.
Add butter and let it melt.
When the butter starts to foam, reduce the heat to medium-low and pour in the beaten egg mixture.
Using a rubber spatula, gently stir the eggs occasionally until soft curds form.
Season with salt and pepper to taste, then remove the scrambled eggs from the skillet.
Step 5: Assemble the Burritos
Lay each tortilla flat and begin building your burrito.
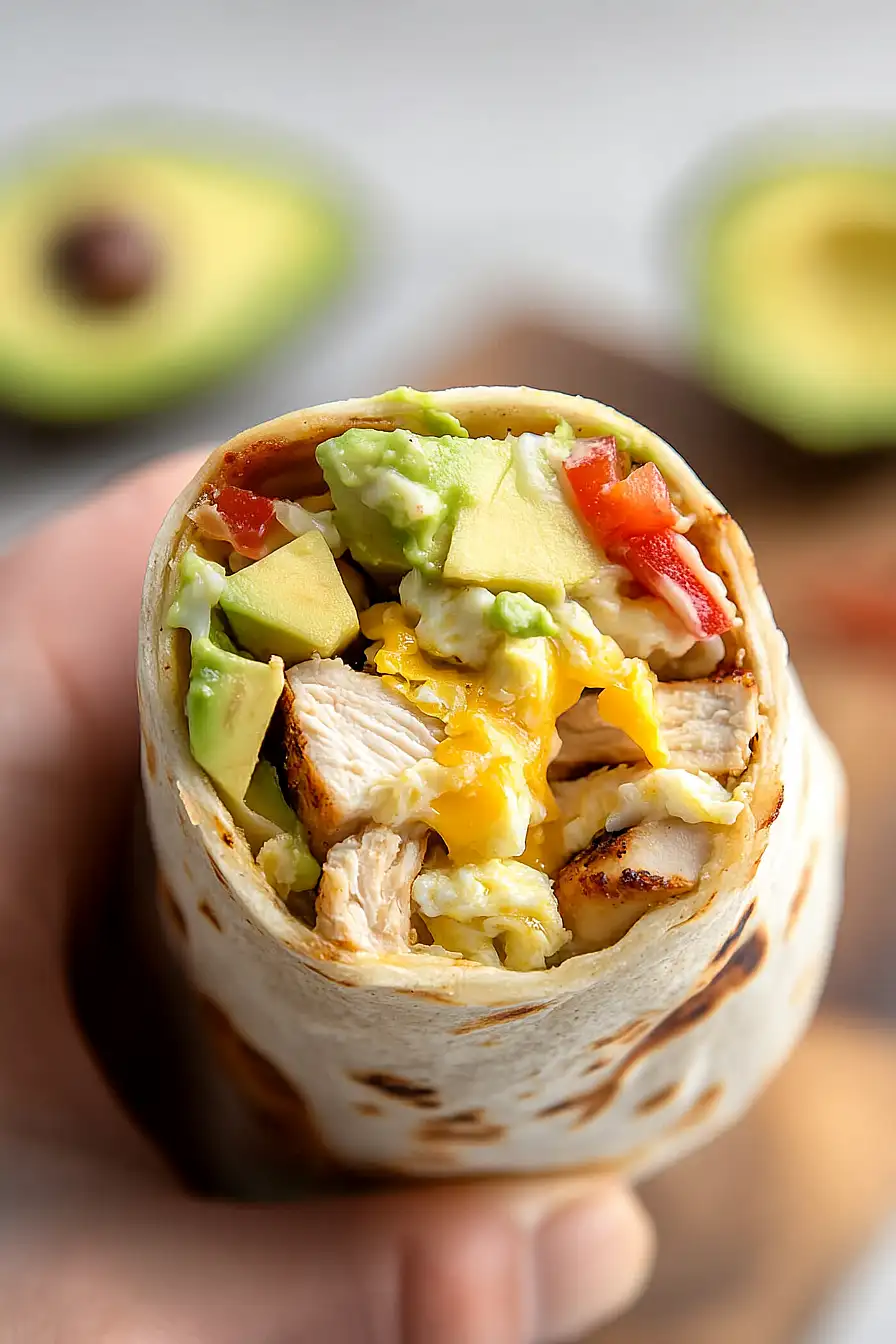
Start by spreading ¼ of the cooked chicken in the center, followed by layering ¼ of the sautéed veggies and ¼ of the scrambled eggs.
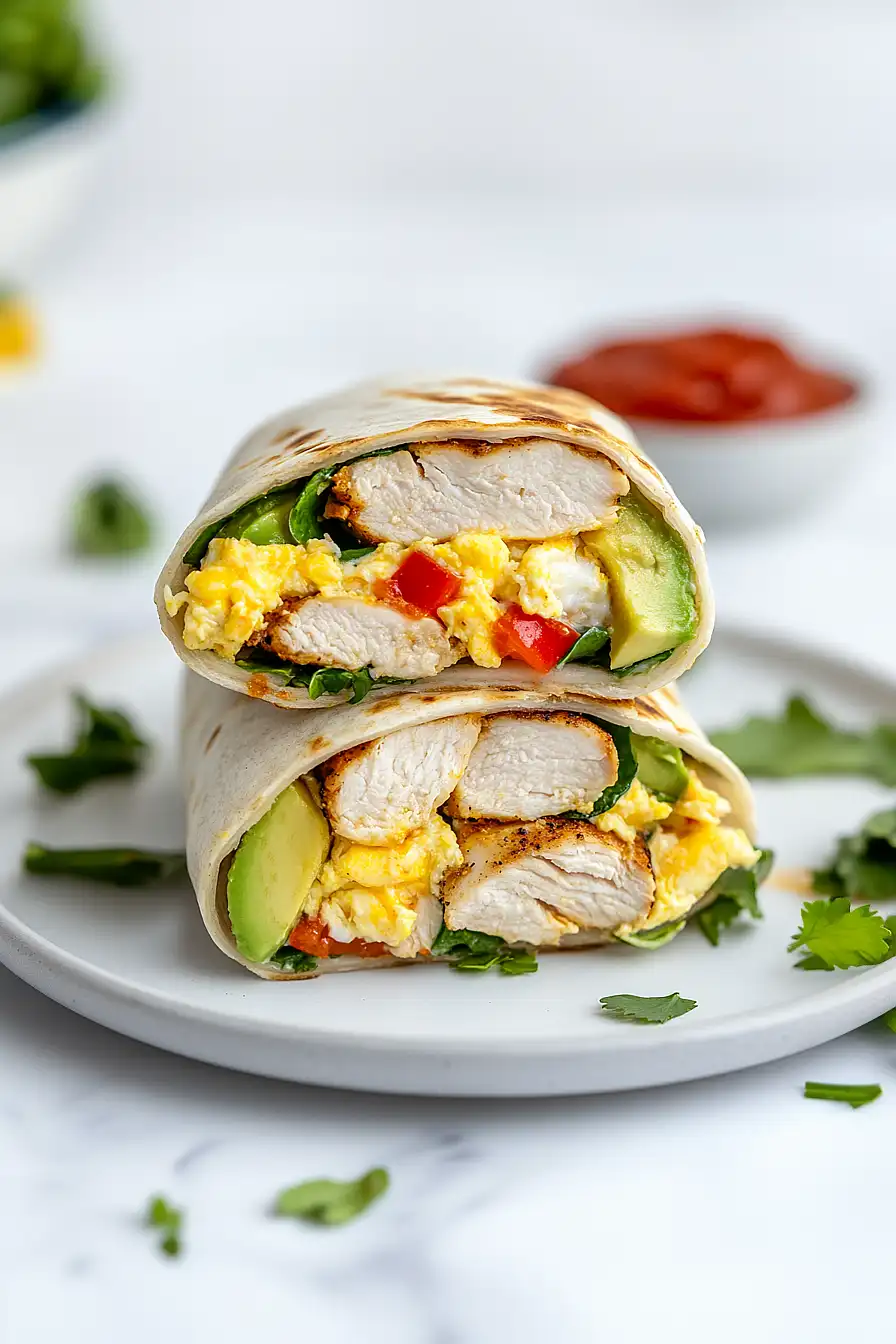
Then, add ¼ cup of shredded cheese to each tortilla, along with some tomato pieces, spinach leaves, and slices of avocado.
Step 6: Roll and Serve
Carefully fold in the two opposite sides of each tortilla and roll it up tightly to form a burrito.
Repeat for each tortilla.
Serve the burritos with your favorite hot sauce on the side for an extra kick of flavor.
Enjoy your delicious, homemade breakfast burrito!
