I used to think muffins were either chocolate chip or blueberry—that was it. Growing up, those were the only two flavors that ever showed up in our kitchen. My mom wasn’t much for experimenting with baking.
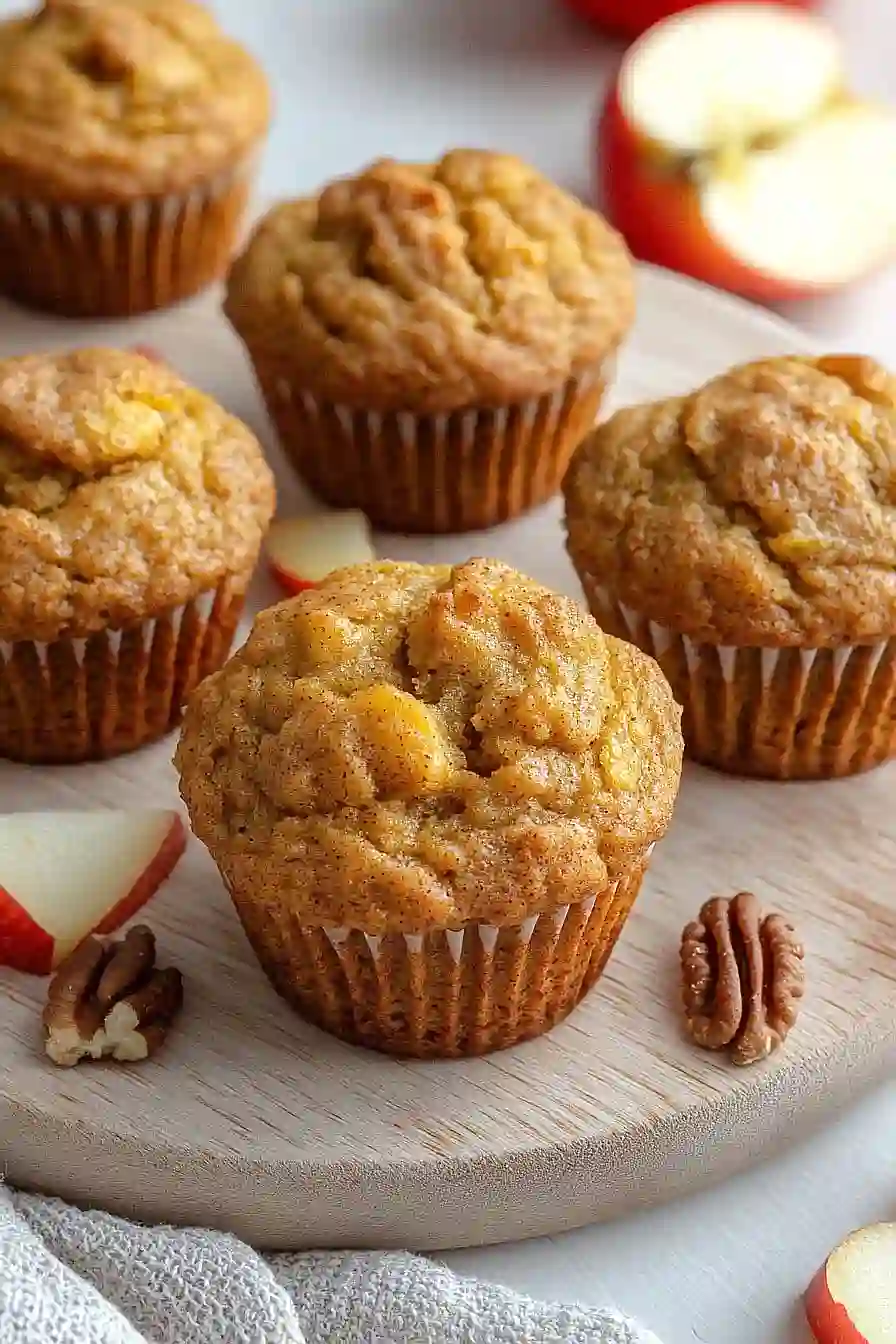
It wasn’t until I started food blogging that I realized you could throw just about anything into muffin batter and make it work. These apple butternut squash muffins are proof of that. They sound a little odd at first, but the combo actually makes perfect sense—both ingredients are naturally sweet and pair well with warm spices like cinnamon.
Why You’ll Love These Apple Butternut Squash Muffins
- Naturally sweetened – These muffins get their sweetness from honey and fresh apples, making them a healthier treat you can feel good about serving to your family.
- Packed with nutrients – The butternut squash adds vitamins and fiber while keeping the muffins incredibly moist, so you’re sneaking in veggies without anyone knowing.
- Perfect for meal prep – Make a batch on Sunday and you’ll have grab-and-go breakfasts or snacks ready for the whole week.
- Simple ingredients – You probably have most of these pantry staples on hand already, and the pre-cut butternut squash saves you tons of prep time.
- Fall flavors year-round – The warm cinnamon and apple-squash combo brings cozy autumn vibes to your kitchen no matter what season it is.
What Kind of Butternut Squash Should I Use?
You can absolutely use fresh butternut squash for these muffins, but the pre-cut container from the grocery store is a real time-saver and works just as well. If you’re going the fresh route, look for a squash that feels heavy for its size with a smooth, tan skin – this usually means it’s ripe and will be sweet. The pre-cut option is convenient since butternut squash can be tricky to peel and chop safely at home. Whether you choose fresh or pre-cut, you’ll need to roast the squash until it’s tender before pureeing it, so factor in that extra cooking time if you’re starting from scratch.

Options for Substitutions
These muffins are pretty forgiving when it comes to swaps, so here are some options if you need to make changes:
- Butternut squash: If you can’t find pre-cut butternut squash, you can roast your own whole squash or substitute with canned pumpkin puree (use about 1 cup). Sweet potato puree also works great and gives a similar texture.
- Red apples: Any apple variety will work here – Granny Smith, Honeycrisp, or Fuji are all good choices. You can even use unsweetened applesauce (about ½ cup) if you’re out of fresh apples.
- White whole wheat flour: Regular all-purpose flour works perfectly if that’s what you have on hand. You can also try a 1:1 gluten-free flour blend if needed.
- Honey: Maple syrup makes a great substitute (use the same amount), or you can use ¾ cup granulated sugar if you prefer. Just add an extra tablespoon of liquid if using granulated sugar.
- Melted butter: Canola oil, vegetable oil, or even melted coconut oil work well here. For a healthier option, try unsweetened applesauce (use ¼ cup instead of 2 tablespoons).
Watch Out for These Mistakes While Baking
The biggest mistake when making these muffins is not properly cooking and draining your butternut squash, which can lead to dense, gummy muffins – make sure to roast or steam the squash until fork-tender, then let it cool completely and drain any excess moisture before pureeing.
Another common error is overmixing the batter once you add the wet ingredients to the dry ones, so gently fold everything together just until combined to keep your muffins light and fluffy.
Don’t skip the step of letting your melted butter cool slightly before adding it to the mixture, as hot butter can cook the eggs and create an uneven texture.
Finally, resist the urge to overbake these muffins since the natural moisture from the squash and apples means they’ll continue cooking slightly after you remove them from the oven – they’re done when a toothpick inserted in the center comes out with just a few moist crumbs.
What to Serve With Apple Butternut Squash Muffins?
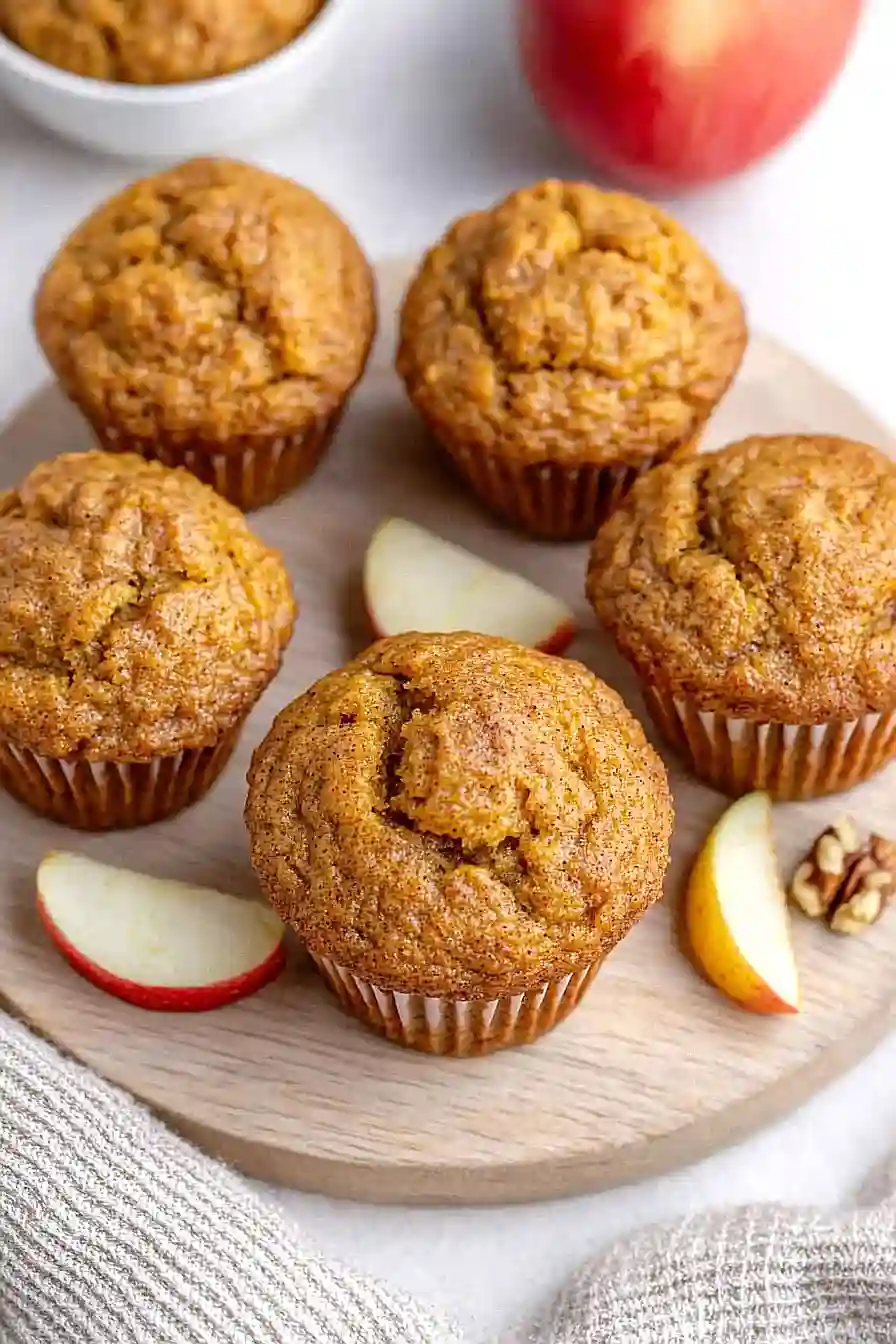
These muffins are perfect for breakfast or an afternoon snack, and they pair beautifully with a hot cup of coffee or chai tea that complements the warm cinnamon flavors. I love serving them alongside a simple fruit salad with seasonal apples and pears, or even just sliced fresh apples with a bit of almond butter for dipping. For a heartier breakfast, try them with some Greek yogurt drizzled with honey, or alongside scrambled eggs if you want something more filling. They’re also great on their own as a grab-and-go snack, especially when you warm them up slightly in the microwave for that fresh-from-the-oven taste.
Storage Instructions
Keep Fresh: These apple butternut squash muffins stay moist and delicious when stored in an airtight container at room temperature for up to 3 days. The natural moisture from the squash and apples helps keep them from drying out, making them perfect for breakfast or snacks throughout the week.
Freeze: I love freezing these muffins for busy mornings! Wrap each one individually in plastic wrap or store them in a freezer-safe container for up to 3 months. They thaw beautifully and taste just as good as fresh-baked.
Warm Up: To enjoy frozen muffins, just let them thaw at room temperature for about 30 minutes, or pop them in the microwave for 20-30 seconds. If you want that fresh-from-the-oven feel, warm them in a 350°F oven for 5-7 minutes.
| Preparation Time | 20-30 minutes |
| Cooking Time | 18-22 minutes |
| Total Time | 38-52 minutes |
| Level of Difficulty | Medium |
Estimated Nutrition
Estimated nutrition for the whole recipe (without optional ingredients):
- Calories: 1200-1350
- Protein: 22-26 g
- Fat: 22-26 g
- Carbohydrates: 240-260 g
Ingredients
For the puree:
- 32 oz container pre-cut butternut squash
- 2 small red apples (such as gala or red delicious)
For the muffin batter:
- 1 1/2 cups white whole wheat flour
- 1 1/2 tsp ground cinnamon
- 1 tsp baking soda
- 1/4 tsp baking powder
- 1/2 tsp salt
- 2 large eggs
- 1/2 cup honey
- 2 tbsp unsalted butter, melted (can swap with canola oil)
- 1 tsp vanilla extract
- 2 cups squash and apple puree (from above)
Step 1: Prepare the Muffin Tins and Preheat the Oven
Preheat your oven to 350°F (175°C).
Line two muffin tins with paper liners, as this recipe makes about 14 muffins.
I recommend spraying the liners lightly with cooking spray if you have it, since there’s not a lot of fat in the recipe—this helps prevent the muffins from sticking.
Step 2: Steam the Butternut Squash and Apples
- 32 oz container pre-cut butternut squash
- 2 small red apples (such as Gala or Red Delicious)
Place the pre-cut butternut squash and apples (roughly 2 1/2 heaping cups each) into a steamer basket or a pot with a steaming insert.
Steam for about 10 minutes, or until both the squash and apples are very tender and easily pierced with a fork.
Step 3: Puree the Squash and Apples
- steamed butternut squash and apples from Step 2
Transfer the steamed butternut squash and apples to a blender or food processor.
Puree the mixture until smooth, or leave it a little chunky if you like some texture.
Measure out 2 cups of this puree to use for the muffin batter.
Step 4: Mix the Dry Ingredients
- 1 1/2 cups white whole wheat flour
- 1 1/2 tsp ground cinnamon
- 1 tsp baking soda
- 1/4 tsp baking powder
- 1/2 tsp salt
In a large bowl, combine the flour, cinnamon, baking soda, baking powder, and salt.
Whisk them together until evenly mixed.
Step 5: Combine Wet Ingredients and Make the Batter
- 2 large eggs
- 1/2 cup honey
- 2 tbsp unsalted butter, melted (can swap with canola oil)
- 1 tsp vanilla extract
- 2 cups squash and apple puree (from Step 3)
- mixed dry ingredients from Step 4
Create a well in the center of the dry ingredients.
Add the eggs, honey, melted butter, vanilla extract, and the 2 cups of squash and apple puree from Step 3.
Stir together the wet ingredients in the well first, then fold and mix with the surrounding dry ingredients until just combined—don’t overmix for tender muffins.
Step 6: Bake the Muffins
- muffin batter from Step 5
Spoon the prepared batter evenly into your lined muffin cups, filling each about 3/4 full.
Bake in the preheated oven for 18–22 minutes, or until a toothpick inserted in the center of a muffin comes out clean.
Step 7: Cool and Store
Let the muffins cool completely in the tins before transferring them to a wire rack or storage container.
Store them on the counter for 2–3 days, in the fridge for up to a week, or freeze for up to 5 months.
I like to enjoy one while it’s still a bit warm from the oven!

