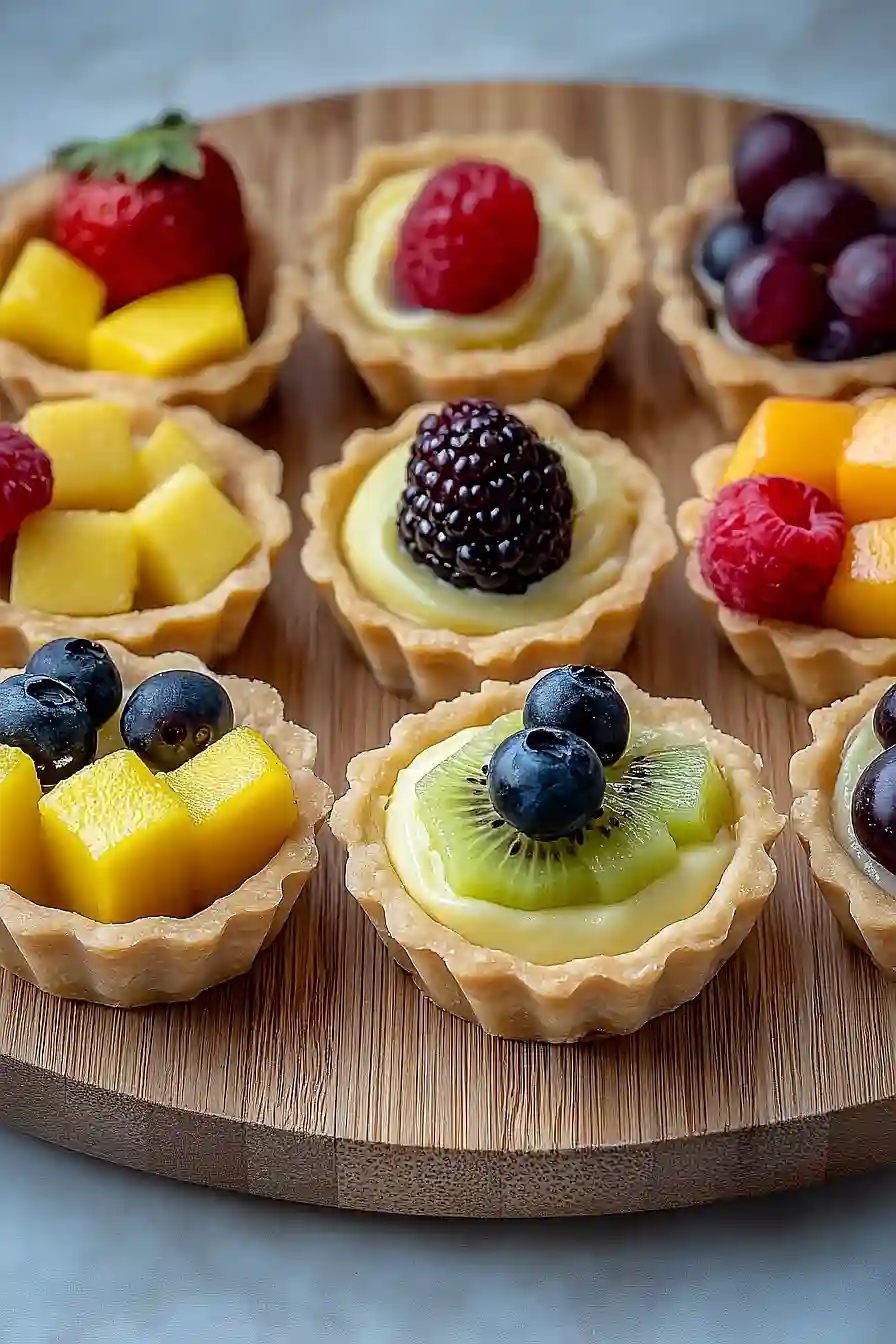
Here is my favorite sugar free fruit tart recipe, with a simple almond flour crust and a fresh fruit topping that’s naturally sweetened with a touch of honey and vanilla.
This tart has become my go-to dessert when I want something light and fruity without all the sugar. My kids love helping me arrange the colorful fruit on top, and I love that I can feel good about serving it. Perfect for when you’re craving something sweet but want to keep things a little healthier.
Why You’ll Love This Sugar Free Fruit Tart
- Sugar-free indulgence – You can enjoy this beautiful dessert without the guilt, thanks to stevia sweetener that keeps it diabetic-friendly and perfect for anyone watching their sugar intake.
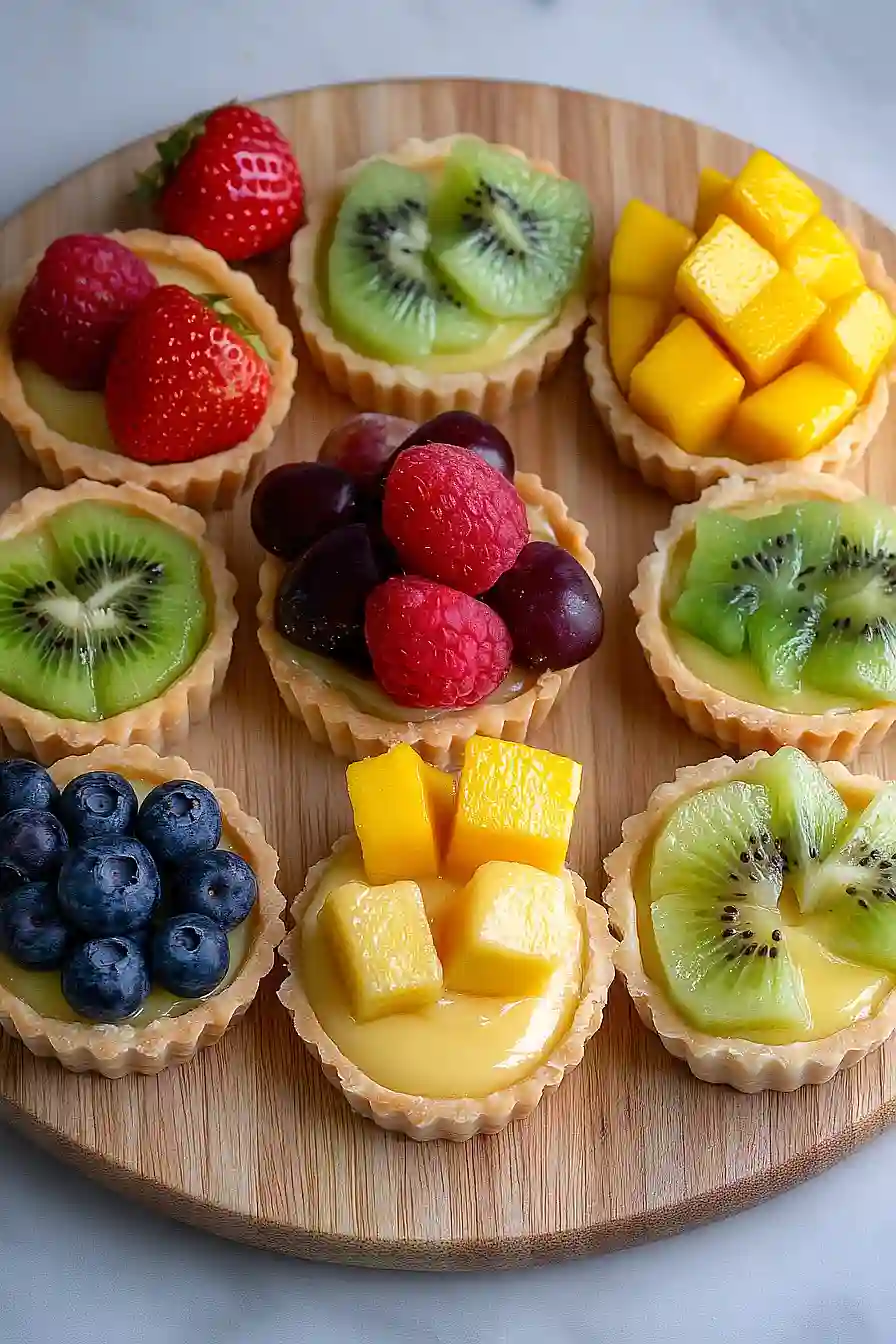
- Fresh, colorful presentation – The rainbow of fresh fruits on top makes this tart as gorgeous as it is delicious, perfect for impressing guests at dinner parties or special occasions.
- Homemade pastry cream – The rich, creamy custard filling made from scratch tastes so much better than store-bought alternatives and gives you that bakery-quality flavor at home.
- Flexible fruit options – You can use whatever fresh fruits you have on hand or are in season, making this recipe adaptable year-round and budget-friendly.
- Make-ahead friendly – The tart shell and pastry cream can be prepared in advance, so you just need to assemble and add the fresh fruit when you’re ready to serve.
What Kind of Fruit Should I Use?
The beauty of this sugar-free fruit tart is that you can use almost any fresh fruit you have on hand or whatever looks good at the market. Berries like raspberries, blueberries, and strawberries are classic choices that hold their shape well and don’t release too much juice. For a more tropical twist, try mango and kiwi, or go with figs and grapes for something a bit more sophisticated. Just make sure your fruit is ripe but still firm, and always wash and thoroughly dry everything before arranging it on your tart – any excess moisture can make your pastry soggy. If you’re using larger fruits like strawberries or figs, slice them to about the same thickness so everything looks neat and cooks evenly.
Options for Substitutions
This sugar-free tart is pretty adaptable, so here are some swaps you can make:
- Stevia sweetener: If stevia isn’t your thing, you can use erythritol, monk fruit sweetener, or xylitol in equal amounts. For regular sugar, use about half the amount since stevia is much sweeter.
- Plain flour: Almond flour works great for a gluten-free option, but use about 200g instead of 250g since it’s denser. You might need an extra egg white to help bind everything together.
- Full cream milk: Heavy cream makes an even richer custard, or you can use whole milk if that’s what you have. For dairy-free, coconut milk works well – just use the thick part from a chilled can.
- Yuzu honey: Since yuzu honey can be hard to find, apricot jam, orange marmalade, or even regular honey mixed with a bit of lemon juice will give you that citrusy glaze.
- Corn starch: You can swap this with the same amount of arrowroot powder or potato starch. Regular flour works too – just use about 30g instead of 20g.
- Mixed fruits: Use whatever fresh fruits you love or have on hand. Just avoid super watery fruits like watermelon, as they can make the tart soggy.
Watch Out for These Mistakes While Baking
The biggest mistake when making sugar-free fruit tarts is overworking the pastry dough, which creates a tough, chewy crust instead of the tender, flaky base you want – mix just until the dough comes together and handle it as little as possible.
Another common error is not blind-baking the tart shell properly, so make sure to prick the bottom with a fork, use pie weights or dried beans, and bake until the edges are lightly golden to prevent a soggy bottom.
When making the pastry cream, keep whisking constantly once you add the hot milk to the egg mixture to avoid scrambling the eggs, and strain the finished cream through a fine mesh to catch any lumps.
Finally, wait until your tart shell and pastry cream are completely cool before assembling, and add the fresh fruit just before serving to keep everything looking fresh and prevent the fruit from making the tart watery.

What to Serve With Sugar Free Fruit Tart?
This beautiful fruit tart is pretty much perfect on its own, but I love serving it with a dollop of lightly sweetened whipped cream or a scoop of vanilla ice cream (sugar-free if you’re keeping it consistent!). A hot cup of coffee or tea makes a great pairing since the fruit flavors really shine alongside something warm and comforting. If you’re hosting a dinner party, this tart works wonderfully as the finale after a light meal – maybe some grilled chicken or fish with roasted vegetables. For a more casual afternoon treat, try it with a glass of sparkling water with a splash of lemon or lime.
Storage Instructions
Keep Fresh: Your beautiful fruit tart is best enjoyed within 2-3 days when stored in the refrigerator. Cover it loosely with plastic wrap or keep it in a cake container to protect those gorgeous fresh fruits. The pastry cream stays creamy and the crust holds up well when kept cold.
Make Ahead: You can definitely prep parts of this tart ahead of time! Bake the tart shell up to 2 days early and store it covered at room temperature. The pastry cream can be made a day ahead and kept in the fridge with plastic wrap pressed directly on the surface to prevent a skin from forming.
Serve: Take your tart out of the fridge about 15-20 minutes before serving to let it come to the perfect temperature. The fruits taste best when they’re not ice cold, and the pastry cream becomes nice and smooth again. Cut with a sharp knife wiped clean between slices for the prettiest presentation.
| Preparation Time | 60-90 minutes |
| Cooking Time | 15-30 minutes |
| Total Time | 75-120 minutes |
| Level of Difficulty | Medium |
Estimated Nutrition
Estimated nutrition for the whole recipe (without optional ingredients):
- Calories: 1200-1400
- Protein: 20-25 g
- Fat: 90-100 g
- Carbohydrates: 120-130 g
Ingredients
For the tart base:
- 2 cups plain flour
- 1/4 cup stevia sweetener
- 1/8 tsp fine salt
- 4.25 oz unsalted butter, chilled
- 1 large egg, room temperature
For the cream filling:
- 3/4 cup full cream milk, room temperature
- 1 tsp vanilla extract
- 2 large egg yolks, room temperature
- 3 tbsp stevia sweetener
- 2 tbsp corn starch
- 3/4 oz unsalted butter, chilled
For the glaze:
- 2 tbsp yuzu honey (or apricot/citrus jam)
- 1 tsp water
For the topping:
- Raspberries, blueberries, strawberries, figs, grapes, mango, kiwis (washed and dried)
Step 1: Make the Pastry Cream
- 2 large egg yolks, room temperature
- 3 tbsp stevia sweetener
- 1 tsp vanilla extract
- 2 tbsp corn starch
- 3/4 cup full cream milk, room temperature
- 3/4 oz unsalted butter, chilled
Separate the egg yolks from the eggs.
In a large mixing bowl, whisk together the 2 large egg yolks and 3 tbsp stevia sweetener until the mixture becomes pale and fluffy.
Add 1 tsp vanilla extract and 2 tbsp corn starch, continuing to whisk until smooth and fully incorporated.
Gradually add 3/4 cup full cream milk and mix thoroughly.
Sieve the mixture into a saucepan and cook over low heat, whisking constantly, until the cream thickens and forms soft peaks, about 15 minutes.
Be careful not to let the cream curdle—if it thickens too much, you can add a splash more milk and whisk to loosen it.
Remove from heat and add 3/4 oz unsalted butter, whisking until fully melted and the cream is smooth.
Sieve the finished cream into a clean bowl, cover with clingwrap pressed directly onto the surface, and chill in the fridge for at least 1 hour or overnight.
Once chilled, whisk briefly, transfer to a piping bag, and refrigerate until ready to use.
Step 2: Prepare the Pastry Dough
- 2 cups plain flour
- 1/4 cup stevia sweetener
- 1/8 tsp fine salt
- 4.25 oz unsalted butter, chilled
- 1 large egg, room temperature
Cut 4.25 oz unsalted butter into small cubes and keep chilled.
In the bowl of a food processor, combine 2 cups plain flour, 1/4 cup stevia sweetener, and 1/8 tsp fine salt; pulse briefly to mix.
Add the cold butter cubes and pulse until the mixture resembles fine sandy crumbs.
Add 1 large egg and process until larger clusters form.
Transfer the mixture to a large mixing bowl and press together with your hands to form a dough.
Divide the dough into portions (about 25g each for 2.5-inch tart moulds).
Press the dough evenly into the moulds, flattening and trimming the edges so the crust is about 3mm thick.
Poke the bottom with a fork to create small holes, then cover with clingwrap and chill in the fridge for at least 1 hour, or up to 24 hours.
I recommend chilling longer for a flakier crust.
Step 3: Bake the Tart Shells
- pastry dough from Step 2
Preheat your oven to 170°C (338°F).
Remove the chilled tart dough from the fridge and bake directly for 15 minutes, or until golden brown.
Allow the tart shells to cool in the moulds for 30 minutes before carefully removing.
Once fully cool, keep the tart shells chilled in the fridge until ready to assemble.
Step 4: Prepare the Fruit Glaze
- 2 tbsp yuzu honey (or apricot/citrus jam)
- 1 tsp water
In a small saucepan over low heat, mix 2 tbsp yuzu honey (or apricot/citrus jam) with 1 tsp water.
Stir until the mixture simmers, then remove from heat.
Sieve out any large bits to achieve a smooth glaze.
Use the glaze while it’s still warm, as it will gelatinize upon cooling.
Personally, I like to use citrus jam if I don’t have yuzu honey for a bright, refreshing flavor.
Step 5: Prepare the Fresh Fruits
- raspberries, blueberries, strawberries, figs, grapes, mango, kiwis (washed and dried)
Wash and thoroughly dry all the fruits.
Cut the grapes in half and slice the mango, kiwis, figs, and strawberries into small, attractive pieces suitable for decorating the tart.
Leave the raspberries and blueberries whole.
Step 6: Assemble the Fruit Tarts
- pastry cream from Step 1
- tart shells from Step 3
- fruit glaze from Step 4
- prepared fruits from Step 5
Pipe the chilled pastry cream (from Step 1) into the baked tart shells (from Step 3), filling them about three-quarters full.
Arrange the prepared fresh fruits (from Step 5) artistically on top of the cream.
Brush a thin layer of the warm fruit glaze (from Step 4) over the fruit to give it an attractive shine and to keep it fresh.
Chill the finished tarts in the fridge until ready to serve.
I like to let them sit at room temperature for about 30 minutes before serving so the flavors really come alive.
