If you ask me, lemon cake with chocolate frosting is one of those combinations that just works.
This sweet treat brings together bright, citrusy cake layers with rich chocolate frosting that balances everything out perfectly. The tender lemon cake has just the right amount of tang, while the smooth chocolate frosting adds that indulgent touch we all crave.
It’s made with simple ingredients you probably already have in your pantry. Fresh lemon juice and zest give the cake its sunny flavor, and the chocolate frosting comes together with butter, cocoa powder, and powdered sugar.
It’s a crowd-pleasing dessert that’s fancy enough for special occasions but easy enough for any weeknight when you want something homemade and delicious.
Why You’ll Love This Lemon Cake
- Gluten-free friendly – This cake uses gluten-free flour, so everyone at the table can enjoy a slice without worry.
- Perfect flavor combination – The bright, zesty lemon cake paired with rich chocolate frosting creates that classic sweet and tangy balance that never gets old.
- Fresh lemon flavor – With real lemon zest and juice from fresh lemons, you get that authentic citrus taste that beats any artificial flavoring.
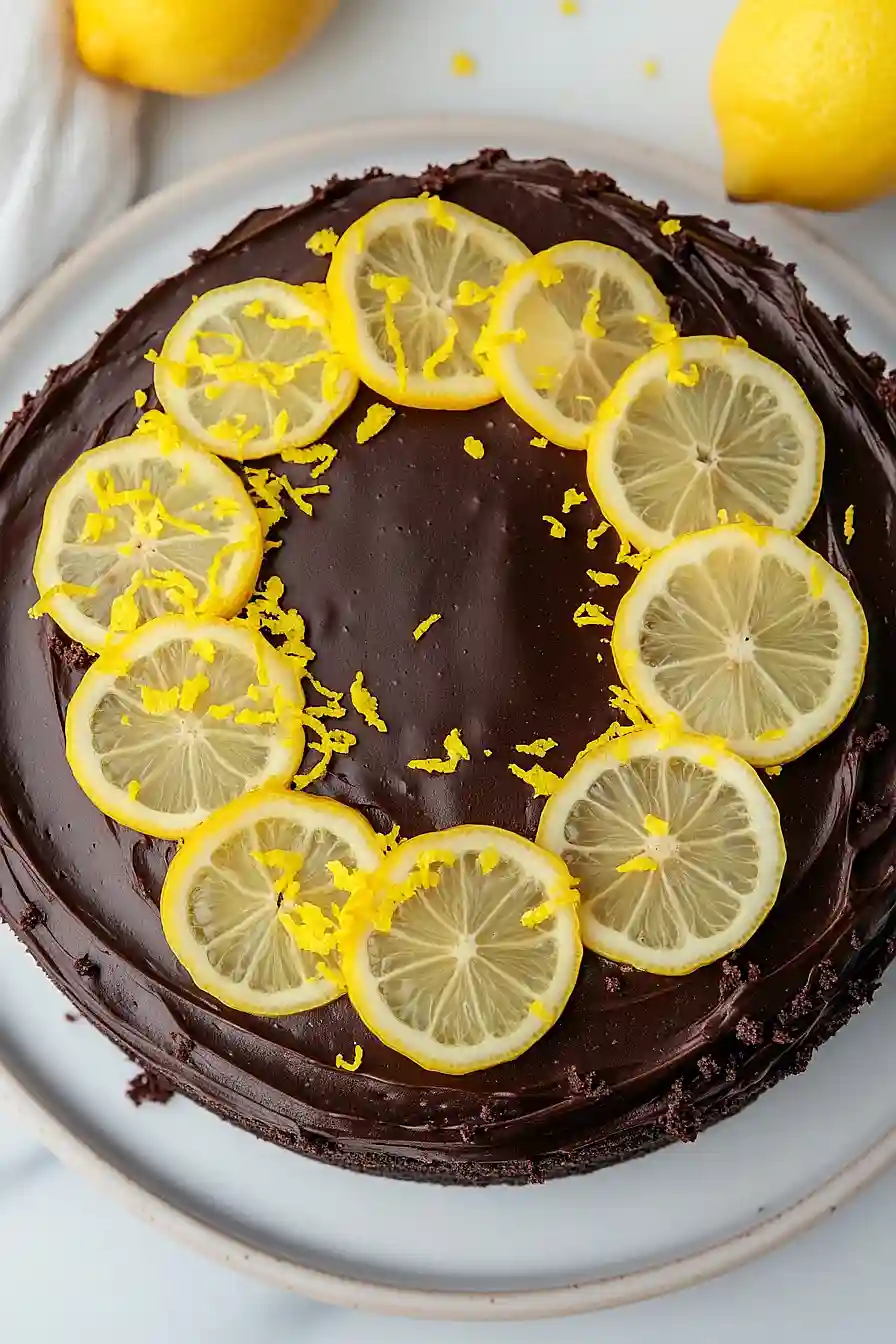
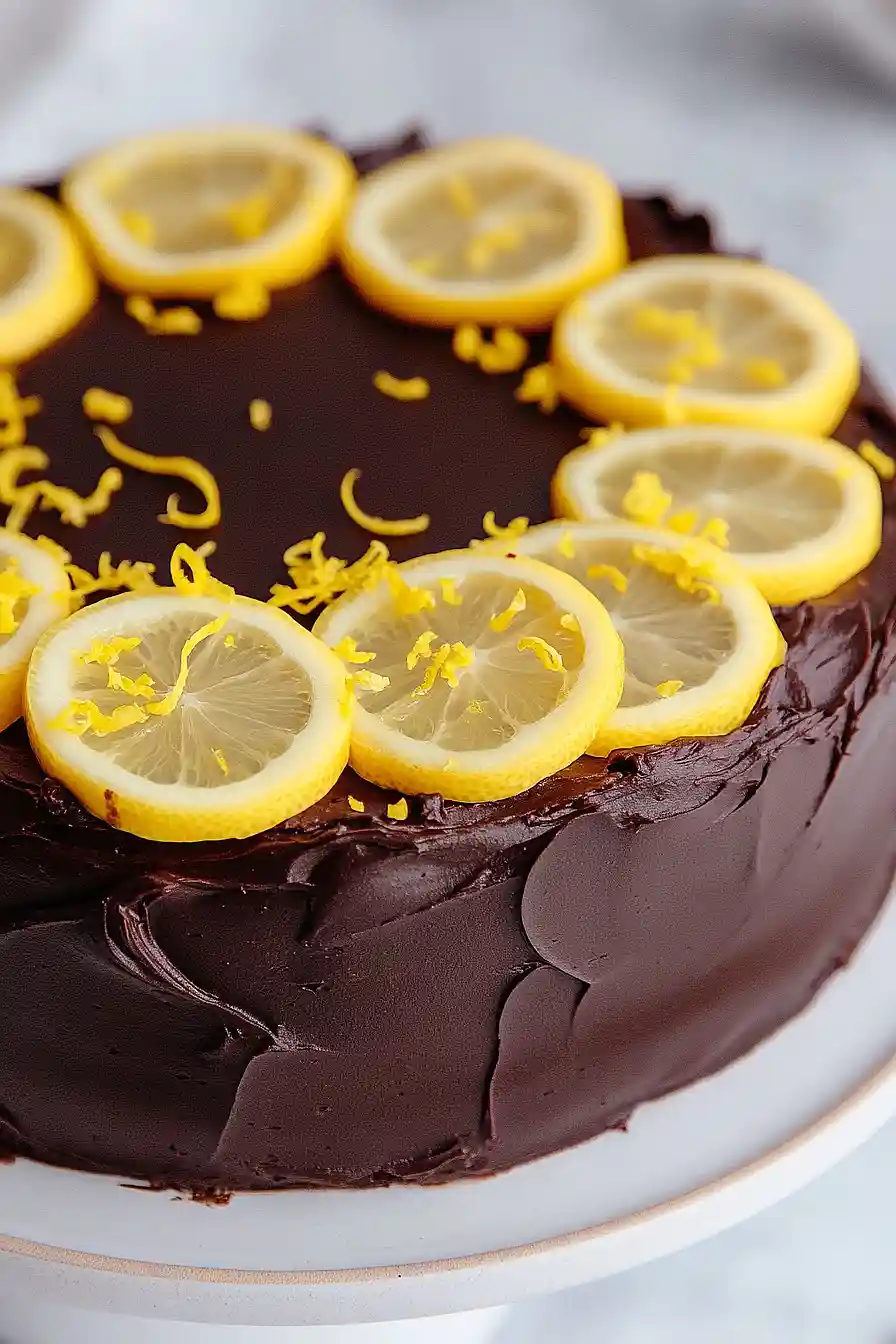
- Impressive presentation – The contrast between the golden cake and dark chocolate frosting makes this dessert look like it came from a bakery, perfect for special occasions or when you want to treat yourself.
- Made from scratch satisfaction – Everything is homemade, from the moist cake to the creamy chocolate frosting, giving you that proud feeling of creating something special in your own kitchen.
What Kind of Gluten Free Flour Should I Use?
For this lemon cake, you’ll want to stick with a 1:1 gluten free flour blend that already contains xanthan gum – this is key for getting the right texture. Popular brands like King Arthur, Bob’s Red Mill, or Cup4Cup all work well and can be swapped directly for regular flour without any adjustments. Avoid using single-ingredient flours like almond or coconut flour, as they won’t give you the same cake-like structure. If you only have a gluten free flour blend without xanthan gum, you can add about 1/2 teaspoon of xanthan gum to the recipe, but it’s much easier to just grab a blend that already has it mixed in.
Options for Substitutions
This cake is pretty adaptable, so here are some swaps you can make if needed:
- Gluten-free flour: If you don’t need gluten-free, you can use regular all-purpose flour in the same amount. Just make sure your flour has xanthan gum if sticking with gluten-free – it’s what gives the cake its structure.
- Milk of choice: Any milk works here – dairy, almond, oat, or soy. If using a thinner plant milk, you might need to add an extra tablespoon or two of flour to maintain the right consistency.
- Vegetable oil: You can swap this with melted butter (cooled slightly), canola oil, or even applesauce for a lighter version. If using applesauce, use about 1/3 cup and expect a slightly denser cake.
- Fresh lemon juice and zest: Bottled lemon juice works in a pinch, though fresh gives better flavor. For zest, you can use 1 teaspoon of lemon extract instead, but reduce the vanilla by half a teaspoon.
- Cocoa powder mix: If you only have one type of cocoa powder, just use 2 cups of whatever you have. Dutch-processed gives a richer flavor, while natural cocoa is more acidic and bright.
- Butter: The recipe already mentions vegan butter sticks as an option, but you can also use margarine. Just make sure it’s at room temperature for proper mixing.
Watch Out for These Mistakes While Baking
The biggest mistake when making this lemon cake is overmixing the batter once you add the gluten-free flour, which can lead to a dense, gummy texture – mix just until the ingredients are combined and no dry streaks remain. Another common error is not zesting your lemons before juicing them, so always zest first since it’s nearly impossible to zest a juiced lemon! When making the chocolate frosting, avoid adding the water all at once or your frosting will become too thin – add it gradually, one tablespoon at a time, until you reach the perfect spreading consistency. Finally, make sure your cake layers are completely cool before frosting, as warm cake will melt the chocolate frosting and create a messy situation that’s hard to fix.
What to Serve With Lemon Cake?
This lemon cake with chocolate frosting is pretty much perfect on its own, but I love serving it with fresh berries like strawberries or raspberries since they complement both the citrus and chocolate flavors so well. A scoop of vanilla ice cream on the side never hurts either, especially if you’re serving it as a birthday cake or special occasion dessert. For a simple weeknight treat, just a glass of cold milk or a cup of coffee makes this cake feel extra cozy. You could also add a dollop of whipped cream if you want to make it feel a bit more fancy without much extra effort.
Storage Instructions
Keep Fresh: This lemon cake with chocolate frosting stays moist and delicious when covered and stored at room temperature for up to 3 days. If your kitchen is really warm, you can pop it in the fridge for up to a week – just let it come to room temperature before serving for the best flavor.
Freeze: You can freeze this cake for up to 3 months! Wrap individual slices in plastic wrap and then place them in a freezer bag, or freeze the whole cake (unfrosted works best) wrapped tightly. I like to freeze slices so I can grab just one when I’m craving something sweet.
Serve: Frozen slices thaw beautifully at room temperature in about 30-45 minutes. If you froze the cake unfrosted, just make the chocolate frosting fresh when you’re ready to serve – it only takes a few minutes and tastes so much better than store-bought!
| Preparation Time | 30-45 minutes |
| Cooking Time | 35 minutes |
| Total Time | 65-80 minutes |
| Level of Difficulty | Medium |
Estimated Nutrition
Estimated nutrition for the whole recipe (without optional ingredients):
- Calories: 6000-7000
- Protein: 50-70 g
- Fat: 300-350 g
- Carbohydrates: 800-900 g
Ingredients
For the cake layers:
- 2 1/4 cups gluten-free flour (xanthan gum included, 1:1 blend recommended)
- 1 cup white sugar
- 1 1/2 tsp baking powder
- 1/2 tsp baking soda
- 1/2 tsp kosher salt
- 2 tbsp lemon peel, grated (from 3 lemons)
- 1 3/4 cups milk of your choice
- 1/2 cup packed light brown sugar
- 1/4 cup lemon juice (from 2 lemons)
- 1/2 cup plus 2 tbsp vegetable oil
- 2 tsp pure vanilla extract
For the chocolate frosting:
- 1 1/2 cups unsalted butter or plant-based baking sticks, at room temperature
- 7 cups powdered sugar
- 1 cup dutch-process or natural cocoa powder
- 1 cup dark cocoa powder
- 1 cup water
- 4 tsp pure vanilla extract
For the ganache topping:
- 3/4 cup chocolate chips
- 6 tbsp unsalted butter or non-dairy baking stick
Step 1: Prepare the Cake Pans and Lemons
- 2 tbsp lemon peel, grated (from 3 lemons)
- 1/4 cup lemon juice (from 2 lemons)
Preheat your oven to 350°F (175°C).
Grease two 8-inch cake pans and line them with parchment paper.
Set aside.
Wash and dry the lemons thoroughly.
Using a fine grater or zester, zest all three lemons to yield about 2 tablespoons of zest.
Then juice two of the lemons, collecting about 1/4 cup of juice.
Set aside the zest and juice for the cake batter.
Step 2: Make the Cake Batter
- 2 1/4 cups gluten-free flour (xanthan gum included, 1:1 blend recommended)
- 1 cup white sugar
- 1 1/2 tsp baking powder
- 1/2 tsp baking soda
- 1/2 tsp kosher salt
- 2 tbsp lemon peel, grated (from Step 1)
- 1 3/4 cups milk of your choice
- 1/2 cup packed light brown sugar
- 1/2 cup plus 2 tbsp vegetable oil
- 1/4 cup lemon juice (from Step 1)
- 2 tsp pure vanilla extract
In a large bowl, whisk together the gluten-free flour, granulated sugar, baking powder, baking soda, lemon zest, and salt until fully combined.
In a separate medium bowl, whisk together the milk of your choice, light brown sugar, vegetable oil, lemon juice, and vanilla extract.
Gradually add the liquid mixture into the dry ingredients, stirring with a spatula as the batter thickens.
Mix until the batter is smooth and evenly combined.
Step 3: Bake and Cool the Cake Layers
- Cake batter (from Step 2)
Evenly divide the batter between the two prepared cake pans and smooth the tops with a butter knife.
Place the pans on the center rack of your preheated oven and bake for 35 minutes, or until a toothpick inserted in the center comes out clean.
Let the cakes cool in their pans, then carefully transfer them to a cooling rack to cool completely.
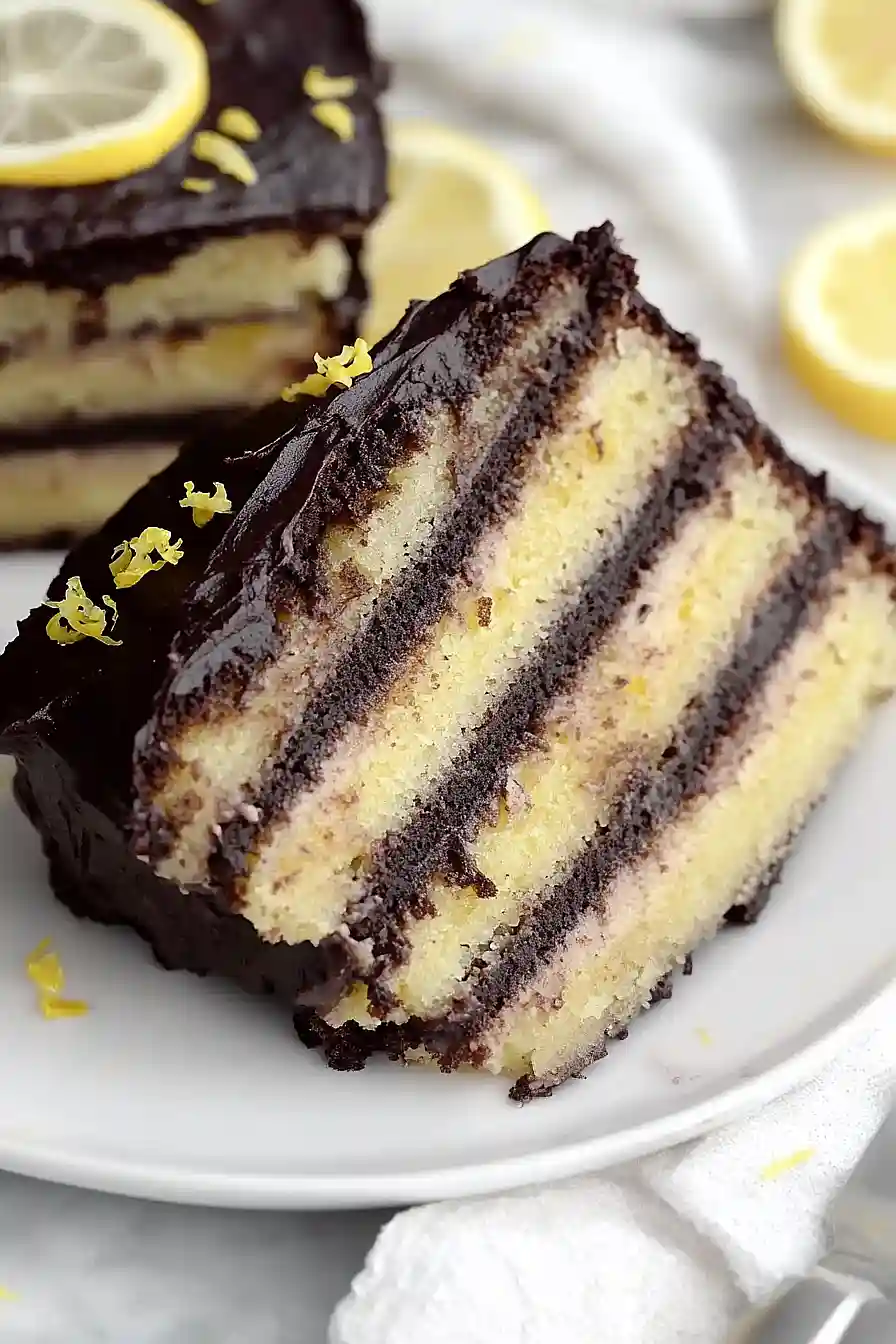
Once completely cooled, use a serrated knife to cut each cake horizontally, creating a total of 4 thin cake layers.
Step 4: Make the Chocolate Frosting
- 1 1/2 cups unsalted butter or plant-based baking sticks, at room temperature
- 7 cups powdered sugar
- 1 cup Dutch-process or natural cocoa powder
- 1 cup dark cocoa powder
- 1 cup water
- 4 tsp pure vanilla extract
In a large mixing bowl with an electric mixer, beat the room temperature butter (or plant-based sticks) on medium-high speed until creamy and smooth, about 2-3 minutes.
Add the vanilla extract and mix until fully incorporated.
In a separate small bowl, whisk together both cocoa powders.
With the mixer on low speed, gradually add half of the powdered sugar, all the cocoa powders, and half the water, beating until smooth and creamy.
Then add the remaining powdered sugar and water, beating until fluffy and well blended.
I like to scrape the sides of the bowl halfway through mixing to make sure everything gets evenly incorporated.
Step 5: Assemble and Crumb Coat the Cake
- Cake layers (from Step 3)
- Chocolate frosting (from Step 4)
Place one cake layer on a serving plate or cake stand.
Spread about 1 cup (or 1/5 of the batch) of the frosting evenly over the top using an icing spatula.
Repeat this process with the next two layers, always topping each with a layer of frosting.
Position the final (fourth) layer on top, placing its bottom (flat) side upward for a smooth surface.
Apply a very thin layer of frosting over the top and sides of the stacked cake to create a semi-naked finish.
Chill the whole cake uncovered in the refrigerator for 15 minutes to firm up the frosting before adding the ganache.
This chilling step helps the cake hold its shape during decorating.
Step 6: Prepare and Pour the Chocolate Ganache
- 3/4 cup chocolate chips
- 6 tbsp unsalted butter or non-dairy baking stick
When the cake has about 5 minutes left in the fridge, prepare the ganache.
Combine the chocolate chips and butter (or non-dairy baking stick) in a heat-safe bowl.
Microwave the bowl in 10-second bursts, stirring each time, until the chocolate chips and butter are completely melted and the ganache is smooth.
Immediately remove the cake from the fridge and pour most of the liquid ganache over the top.
Use an icing spatula to gently push the ganache to the edges, allowing it to drip down the sides.
Work quickly—the cold cake will set the ganache and limit the drips.
I like to let a few drips cascade naturally for a dramatic effect.
Step 7: Decorate the Cake and Serve
- Remaining chocolate frosting (from Step 4)
- Optional: Gluten-free yellow sprinkles
- Optional: Lemon slices, extra lemon zest
Transfer the remaining chocolate frosting (from Step 4) to a piping bag and pipe swirls all around the edge of the cake’s top.
Optionally, sprinkle gluten-free yellow sprinkles over the buttercream swirls for color.
For a lively finishing touch, I love to add a few fresh lemon slices and a sprinkle of extra lemon zest.
Slice and serve your beautiful cake!

