Here is my go-to recipe for balsamic caramelized onions, with sweet yellow onions cooked low and slow until golden brown, then finished with tangy balsamic vinegar for the perfect balance of flavors.
These caramelized onions are one of my most-used ingredients in the kitchen. I always make a big batch because they go with everything – burgers, pizza, pasta, you name it. Plus, they make the whole house smell amazing while they’re cooking!
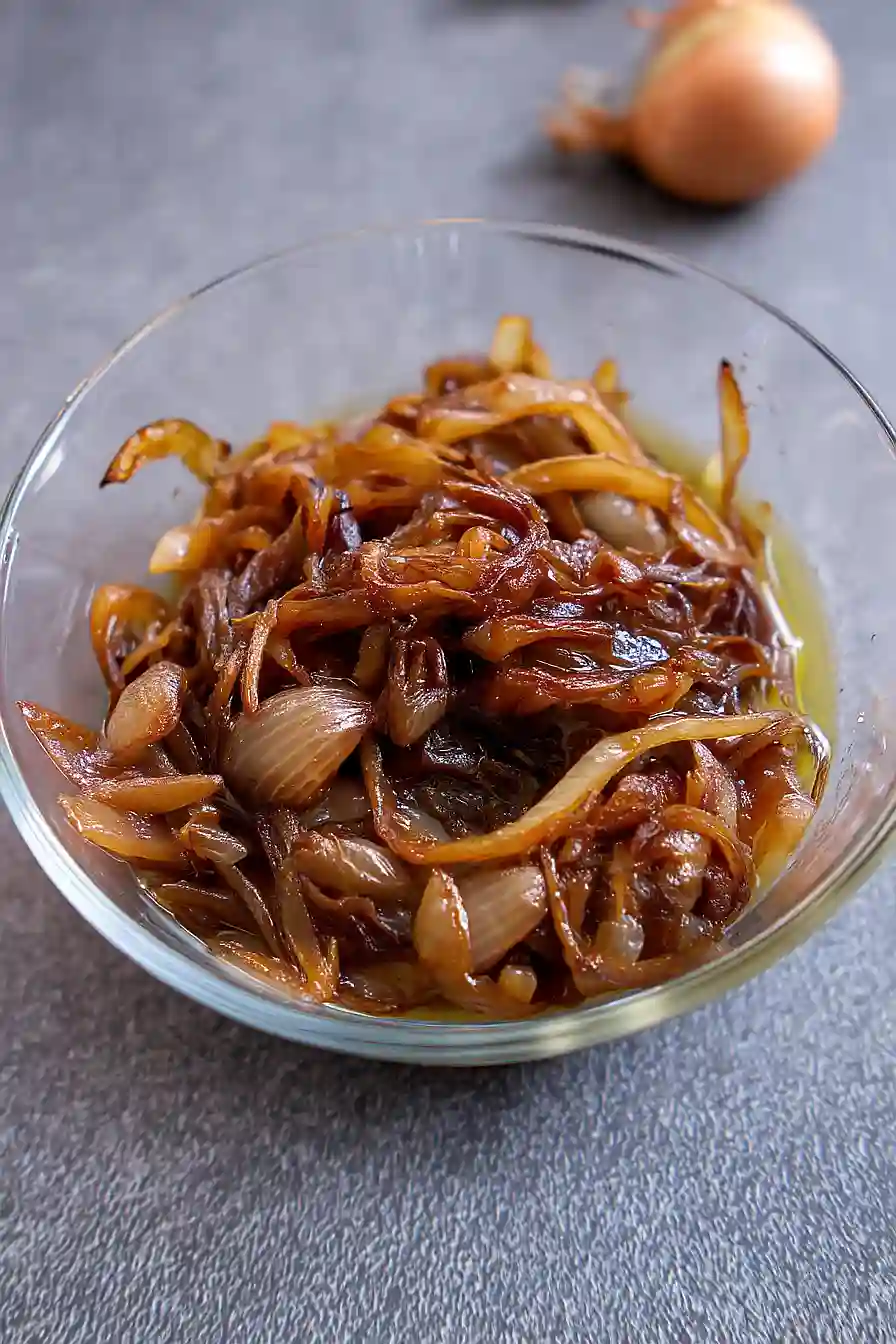
Why You’ll Love These Balsamic Caramelized Onions
- Simple ingredients – You probably already have everything you need in your kitchen – just onions, oil, salt, and a few basic pantry staples.
- Easy technique – Once you get the hang of it, caramelizing onions is straightforward and doesn’t require any special skills or equipment.
- Incredible flavor boost – These sweet, jammy onions add instant depth to burgers, steaks, pizza, or even scrambled eggs – they make everything taste better.
- Make-ahead friendly – You can prepare a big batch and store them in the fridge for up to a week, giving you an easy flavor enhancer ready to go for multiple meals.
- Budget-friendly – Onions are inexpensive, and this recipe turns them into something that tastes gourmet without breaking the bank.
What Kind of Onions Should I Use?
Yellow onions are your best bet for caramelizing because they have the perfect balance of sweetness and flavor that develops beautifully when cooked low and slow. Sweet onions like Vidalia or Walla Walla work great too and will give you an even sweeter result, though they can be a bit more expensive. Red onions will also caramelize nicely, but they’ll give you a slightly sharper flavor and a deeper color. White onions tend to be more pungent and don’t develop the same rich sweetness, so I’d stick with yellow if you have the choice. When picking your onions, look for ones that feel firm and heavy with dry, papery skins – avoid any with soft spots or green shoots sprouting from the top.
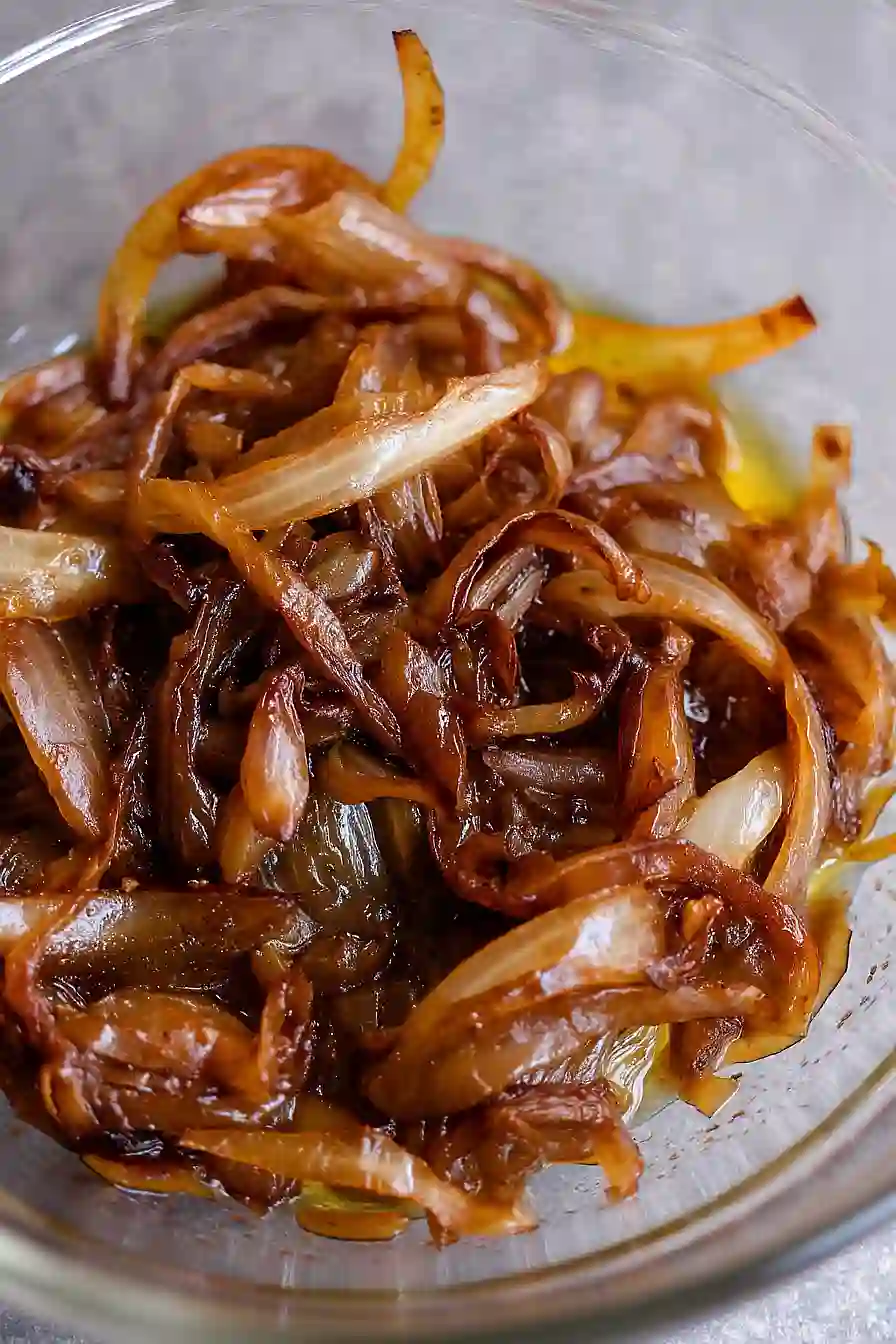
Options for Substitutions
This simple recipe is pretty forgiving when it comes to swaps:
- Yellow onions: Sweet onions like Vidalia or Walla Walla work great here and will give you even more natural sweetness. Red onions can work too, though they’ll add a slightly sharper flavor and different color.
- Extra-virgin olive oil: As mentioned, butter, ghee, or avocado oil all work well. Butter will give you the richest flavor, while avocado oil has a higher smoke point if you’re worried about burning.
- Granulated sugar: Brown sugar, honey, or maple syrup can replace granulated sugar. If using liquid sweeteners, start with half the amount since they’re more concentrated.
- Balsamic vinegar: Red wine vinegar or apple cider vinegar can step in for balsamic, though you’ll lose some of that sweet complexity. You could also skip the vinegar entirely and just focus on the natural caramelization.
- Sea salt: Regular table salt works just fine here – use the same amount.
Watch Out for These Mistakes While Cooking
The biggest mistake people make with caramelized onions is rushing the process by cranking up the heat, which leads to burnt edges and bitter flavors instead of sweet, golden perfection – keep your heat on medium-low and plan for at least 30-45 minutes of cooking time.
Another common error is not adding a splash of water when the onions start sticking to the pan, as this helps deglaze those tasty brown bits and prevents burning while keeping the caramelization process going smoothly.
Don’t forget to stir regularly but not constantly – letting the onions sit for a few minutes between stirs allows them to develop that beautiful golden color, and if you’re using balsamic vinegar, add it during the last 5 minutes of cooking to prevent it from becoming too acidic.
Finally, resist the urge to add salt too early in the process, as it can draw out moisture and slow down the caramelization – save most of it for the end when your onions are perfectly golden and sweet.
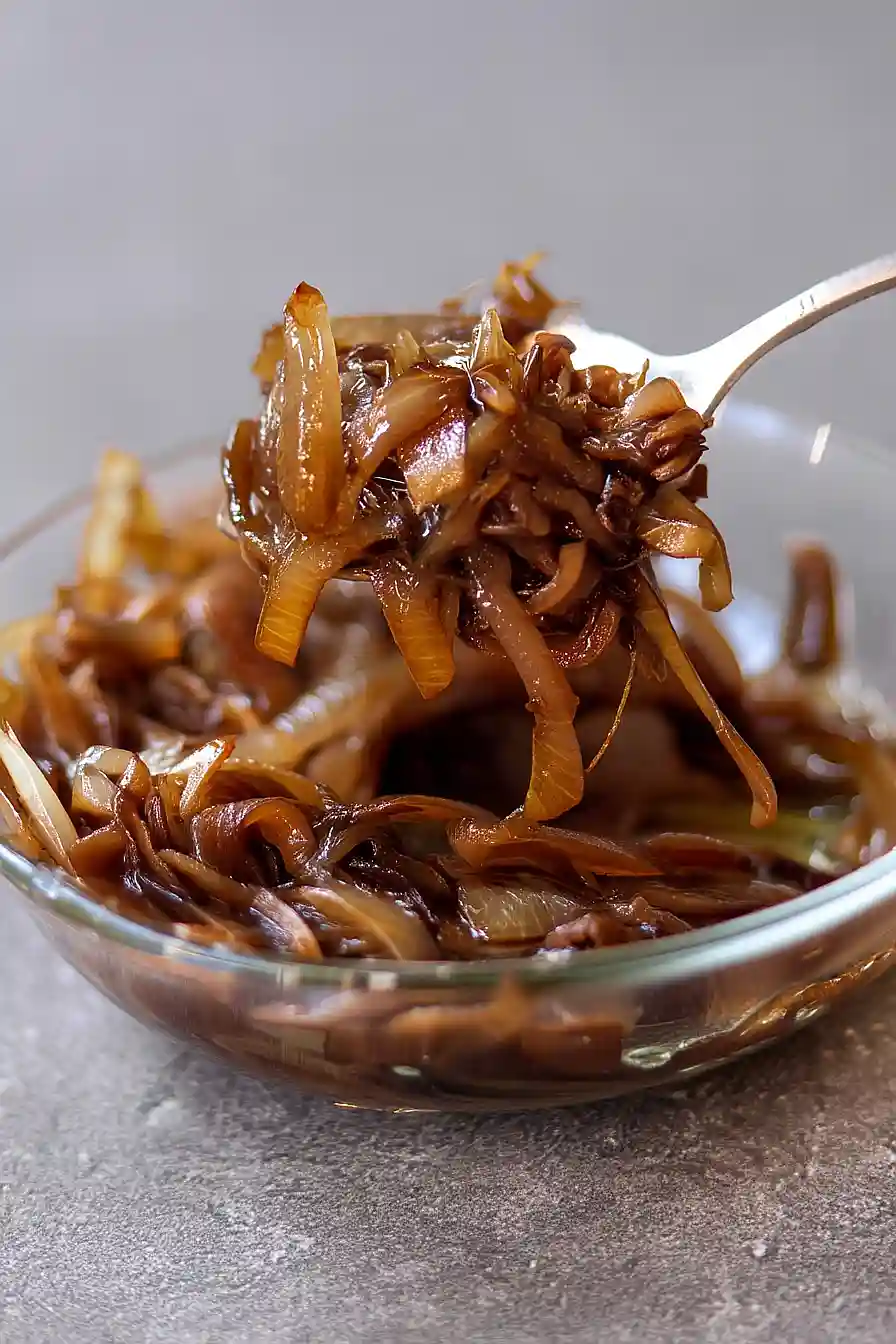
What to Serve With Balsamic Caramelized Onions?
These sweet and tangy onions are perfect for topping grilled burgers, steaks, or chicken – they add such a rich flavor that makes any protein feel fancy. I love piling them on top of pizza with goat cheese and arugula, or stirring them into pasta with some parmesan and fresh herbs. They’re also amazing on a cheese board alongside brie or goat cheese with some crusty bread for spreading. For a simple weeknight dinner, try them over mashed potatoes or mixed into scrambled eggs for breakfast.
Storage Instructions
Keep Fresh: These caramelized onions are a real time-saver when you make them ahead! Store them in an airtight container in the fridge for up to a week. I love having a batch ready to go because they make everything taste better – from burgers to pasta to pizza.
Freeze: You can absolutely freeze these beauties for up to 3 months in freezer-safe containers or bags. I like to portion them out in ice cube trays first, then transfer to bags once frozen – this way you can grab just the amount you need for recipes.
Use: Cold caramelized onions work great straight from the fridge on sandwiches or salads. If you want them warm, just heat them gently in a pan over low heat for a few minutes, or microwave them for 30-60 seconds until they’re warmed through.
| Preparation Time | 5-10 minutes |
| Cooking Time | 30-45 minutes |
| Total Time | 35-55 minutes |
| Level of Difficulty | Easy |
Estimated Nutrition
Estimated nutrition for the whole recipe (without optional ingredients):
- Calories: 220-240
- Protein: 2-4 g
- Fat: 14-16 g
- Carbohydrates: 24-28 g
Ingredients
- 2 large yellow onions, sliced 1/8 to 1/4 inch thick
- 2 tbsp extra-virgin olive oil, or use butter, ghee, or avocado oil
- 1 tsp sea salt
- 1 tsp white sugar (optional)
- Water, as needed for deglazing
- Balsamic vinegar, a splash for flavor (optional)
Step 1: Dry-Sweat the Onions
- 2 large yellow onions, sliced 1/8 to 1/4 inch thick
Heat a 10-inch cast iron or stainless steel pan over medium-high heat.
Once hot, add the sliced onions to the dry pan (no oil yet).
Stir the onions a few times and let them cook for 5 minutes.
This helps to start releasing their natural sugars and moisture.
Step 2: Add Oil, Salt, and Optional Sugar
- 2 tbsp extra-virgin olive oil, or use butter, ghee, or avocado oil
- 1 tsp sea salt
- 1 tsp white sugar (optional)
- onions from Step 1
After the onions have begun to sweat, add the extra-virgin olive oil and sea salt.
If you prefer a sweeter caramelized flavor, add the white sugar as well.
Stir for about a minute to fully coat the onions and help them start to caramelize.
Lower the heat to medium-low to prevent burning.
Step 3: Caramelize and Deglaze Onions
- water, as needed for deglazing
- onions from Step 2
Continue to cook the onions over medium-low, stirring every 5-10 minutes for about 30 minutes.
Allow the onions to caramelize on one side before stirring again.
If the onions start to stick or the pan develops browned bits (fond), add a splash of water as needed and use a spatula to scrape the flavorful fond from the bottom of the pan.
This deepens the flavor.
I find that deglazing with small amounts of water really helps build that rich taste and avoids burning.
Step 4: Finish and Enhance Flavor
- balsamic vinegar, a splash for flavor (optional)
- caramelized onions from Step 3
After about 30 minutes of caramelizing, add a splash of balsamic vinegar if you’d like to boost the savoriness with a tangy note.
Stir well and continue cooking the onions for up to 45 minutes in total until they develop a deep, rich caramel color and have significantly reduced in volume.
The aroma will be incredible!

