Let’s face it – figuring out what to make for dinner when you’re running low on time, energy, and fresh ingredients can feel like an impossible task. Those are the nights when the drive-thru seems mighty tempting, especially after a long day at work or when the kids are asking “what’s for dinner?” every five minutes.
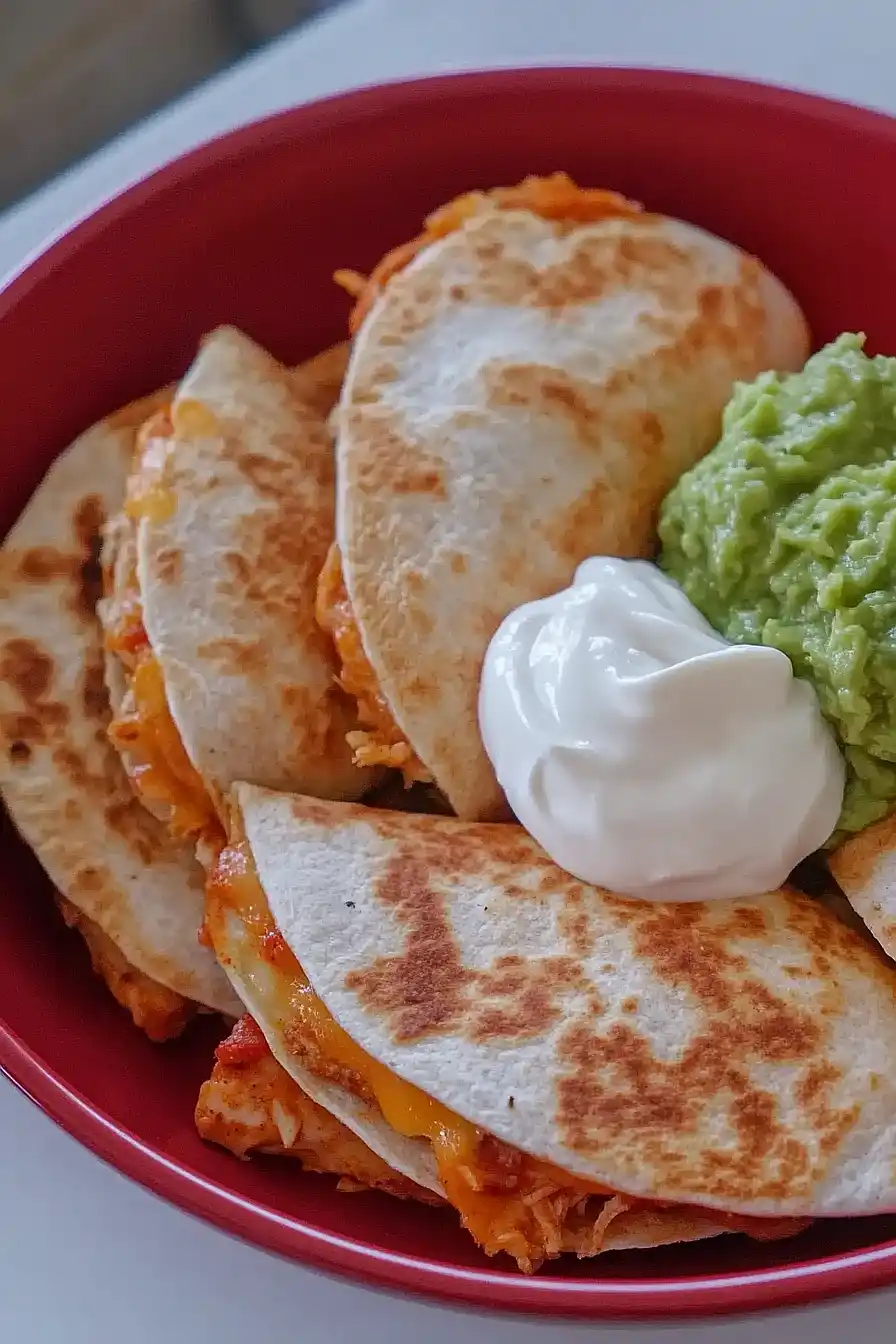
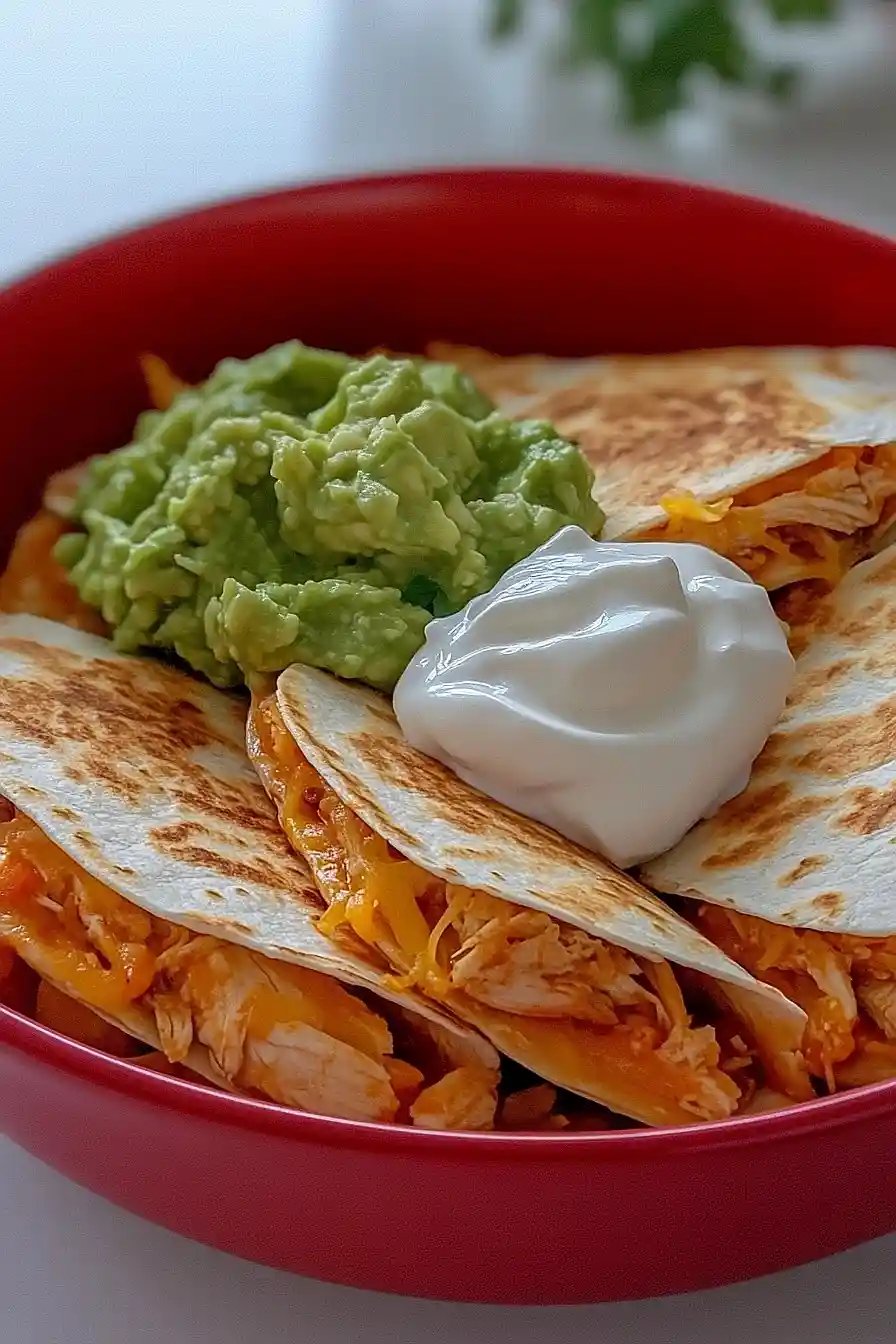
That’s why these canned chicken quesadillas have become my dinnertime lifesaver. They’re quick and filling, use pantry staples you probably already have, and can be customized with whatever toppings your family enjoys the most.
Why You’ll Love These Chicken Quesadillas
- Pantry-friendly recipe – Using canned chicken and basic staples means you can whip these up anytime without a grocery store run.
- Quick preparation – Ready in just 20 minutes, these quesadillas are perfect for busy weeknights when you need dinner on the table fast.
- Budget-friendly meal – Canned chicken and basic ingredients keep the cost low while still delivering a satisfying, protein-rich dinner.
- Kid-friendly dinner – The mild, cheesy flavors and familiar ingredients make these quesadillas a hit with the whole family – no complaints at the dinner table!
- Customizable recipe – You can easily adjust the ingredients based on what you have – skip the cilantro, add different cheeses, or include your favorite toppings.
What Kind of Canned Chicken Should I Use?
When it comes to canned chicken, you’ve got a few good options for your quesadillas. Most grocery stores carry both chunk-style and shredded canned chicken, and either type will work well in this recipe. The chunk style can be easily broken up with a fork to your desired consistency, while the shredded variety is ready to use straight from the can. While national brands like Kirkland and Swanson are reliable choices, store brands usually work just as well and often cost less. Just make sure to drain the chicken really well before using it – excess liquid can make your quesadillas soggy. If you’re watching your sodium intake, look for low-sodium versions, though you might want to adjust your seasonings accordingly.
Options for Substitutions
This quick and easy quesadilla recipe is super adaptable – here’s what you can swap out:
- Canned chicken: You can easily swap canned chicken with 2 cups of shredded rotisserie chicken, leftover cooked chicken, or even canned tuna. For a vegetarian version, try mashed chickpeas seasoned with taco seasoning.
- Shredded cheddar: Any melting cheese works great here – try Monterey Jack, Mexican cheese blend, or pepper jack for extra kick. Just avoid hard cheeses that don’t melt well.
- Flour street taco shells: Regular flour tortillas work just fine – just cut them in half if they’re too big. Corn tortillas are good too, but warm them first so they don’t crack when folding.
- Refried beans: You can use black beans (mashed or whole), pinto beans, or skip the beans altogether. If using whole beans, drain and rinse them first.
- Butter: Oil works just as well for cooking the quesadillas. You can use olive oil, vegetable oil, or even cooking spray.
- Salsa: Any type of salsa works – red or green, mild or spicy. You could also use diced tomatoes (drained) mixed with some taco seasoning.
Watch Out for These Mistakes While Cooking
The biggest mistake when making quesadillas is cranking up the heat too high, which can burn the tortillas before the cheese has a chance to melt – keep your pan at medium heat and be patient. A common error is overfilling your quesadillas, which can lead to messy spillage and uneven cooking; instead, stick to about 2-3 tablespoons of filling per street taco-sized tortilla, leaving a border around the edges. To prevent your canned chicken from becoming watery, make sure to drain it thoroughly and break up any large chunks with a fork before mixing with other ingredients. For the crispiest results, brush your tortillas lightly with butter on the outside and press down gently with a spatula while cooking, but avoid pressing too hard or you’ll squeeze out all the filling.
What to Serve With Chicken Quesadillas?
These quick and easy quesadillas pair perfectly with all your favorite Mexican-inspired sides! A scoop of fresh guacamole or some pico de gallo adds a nice fresh element, while sour cream helps cool things down. I love setting up a little toppings bar with shredded lettuce, diced tomatoes, and extra salsa so everyone can customize their plate. For a complete meal, serve these quesadillas alongside some Mexican rice or a simple black bean and corn salad – both options help stretch the meal while adding different textures and flavors to your plate.
Storage Instructions
Keep Fresh: Already assembled quesadillas will stay good in the fridge for up to 3 days when wrapped in aluminum foil or stored in an airtight container. Though they’re best enjoyed fresh, they make great leftovers for quick lunches! Just separate layers with parchment paper to prevent sticking.
Prep Ahead: Want to save time? Mix the chicken filling (chicken, salsa, and cilantro) ahead and keep it in the fridge for up to 2 days. When you’re ready to eat, just assemble and cook your quesadillas fresh – this way, they’ll stay perfectly crispy!
Warm Up: To bring back that crispy texture, warm leftover quesadillas in a skillet over medium heat for about 2 minutes per side. You can also pop them in the oven at 350°F for 5-7 minutes. I’d skip the microwave – it tends to make them soggy!
| Preparation Time | 10-15 minutes |
| Cooking Time | 6-10 minutes |
| Total Time | 16-25 minutes |
| Level of Difficulty | Easy |
Estimated Nutrition
Estimated nutrition for the whole recipe (without optional ingredients):
- Calories: 1200-1400
- Protein: 85-95 g
- Fat: 55-65 g
- Carbohydrates: 130-140 g
Ingredients
- 1 can (12.5 oz) drained chicken
- 1/3 cup salsa
- 1 1/2 cups grated cheddar cheese
- 1/4 cup finely chopped cilantro (optional)
- 1 can refried beans
- 1 package street-size flour tortillas
- 1 tsp butter
Step 1: Make the Chicken Mixture
- 1 can (12.5 oz) drained chicken
- 1/3 cup salsa
- 1 1/2 cups grated cheddar cheese
- 1/4 cup finely chopped cilantro (optional)
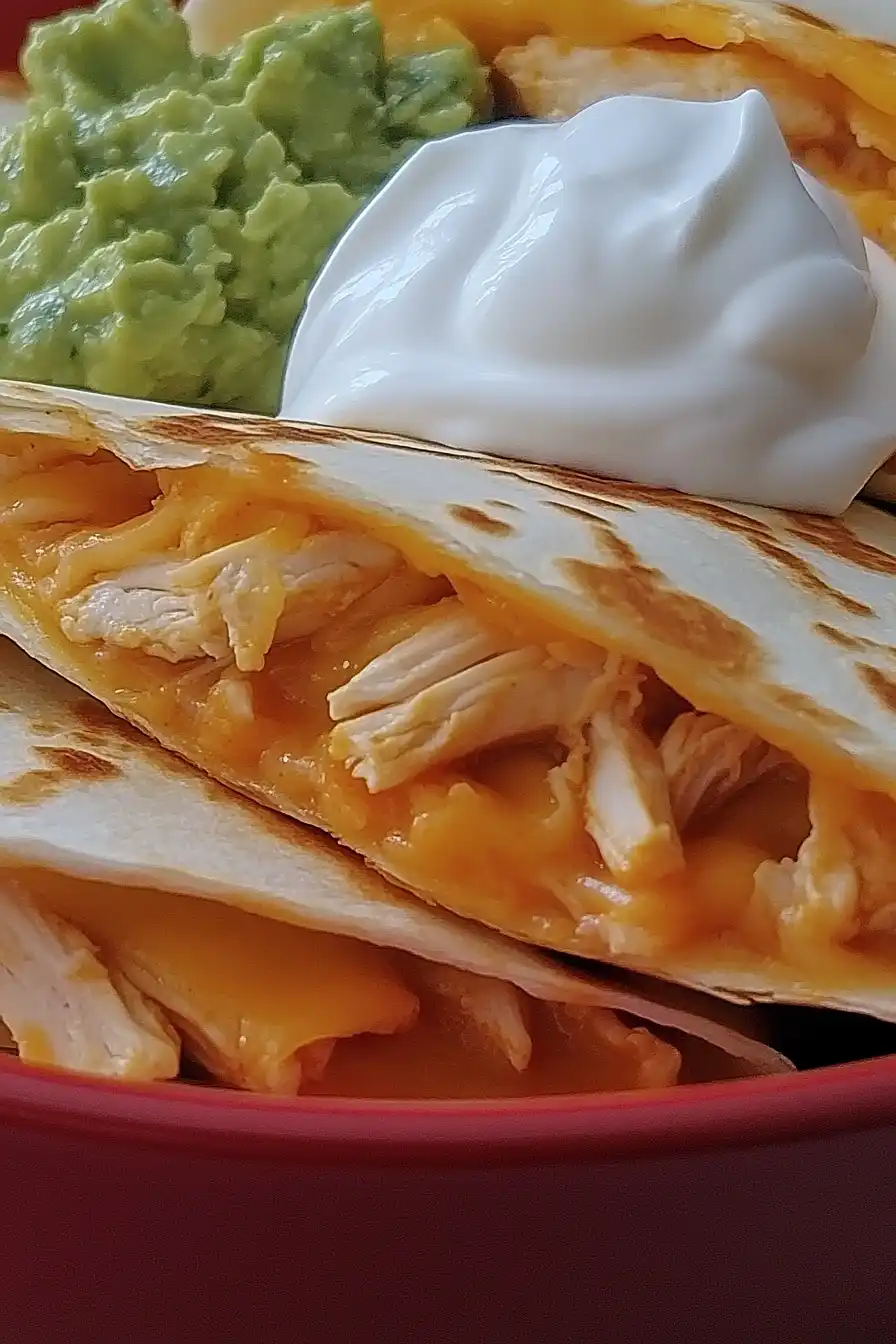
In a medium bowl, combine the drained chicken, salsa, grated cheddar cheese, and cilantro (if using).
Mix thoroughly until everything is well distributed.
I like to use fresh cilantro when I have it—it brightens the filling and adds great flavor.
Step 2: Assemble the Tacos
- 1 can refried beans
- 1 package street-size flour tortillas
- chicken mixture from Step 1
Lay out the flour tortillas.
Spread a layer of refried beans over each tortilla.
Then, add about 2 tablespoons of the chicken mixture (from Step 1) on top of the beans.
Fold each tortilla in half to create a taco shape.
Step 3: Crisp the Tacos in the Skillet
- 1 tsp butter
- assembled tacos from Step 2
Heat the butter in a large skillet over medium heat until melted and sizzling.
Add the folded tacos to the skillet and cook for about 3 minutes on each side, or until the tortillas are golden and crispy.
Work in batches if needed to avoid overcrowding the skillet.
For extra crispiness, I sometimes gently press the tacos with a spatula while cooking.
Step 4: Serve and Enjoy
Remove the crispy tacos from the skillet and serve warm.
Enjoy them as is or with your favorite toppings like sour cream and guacamole.
")
")