I was well into my thirties before I tasted my first huckleberry, believe it or not. Growing up in the city, these tiny purple berries weren’t exactly showing up at our local grocery store. But now, living in the Pacific Northwest, I’ve learned these wild berries are worth every scratch and mosquito bite it takes to gather them.
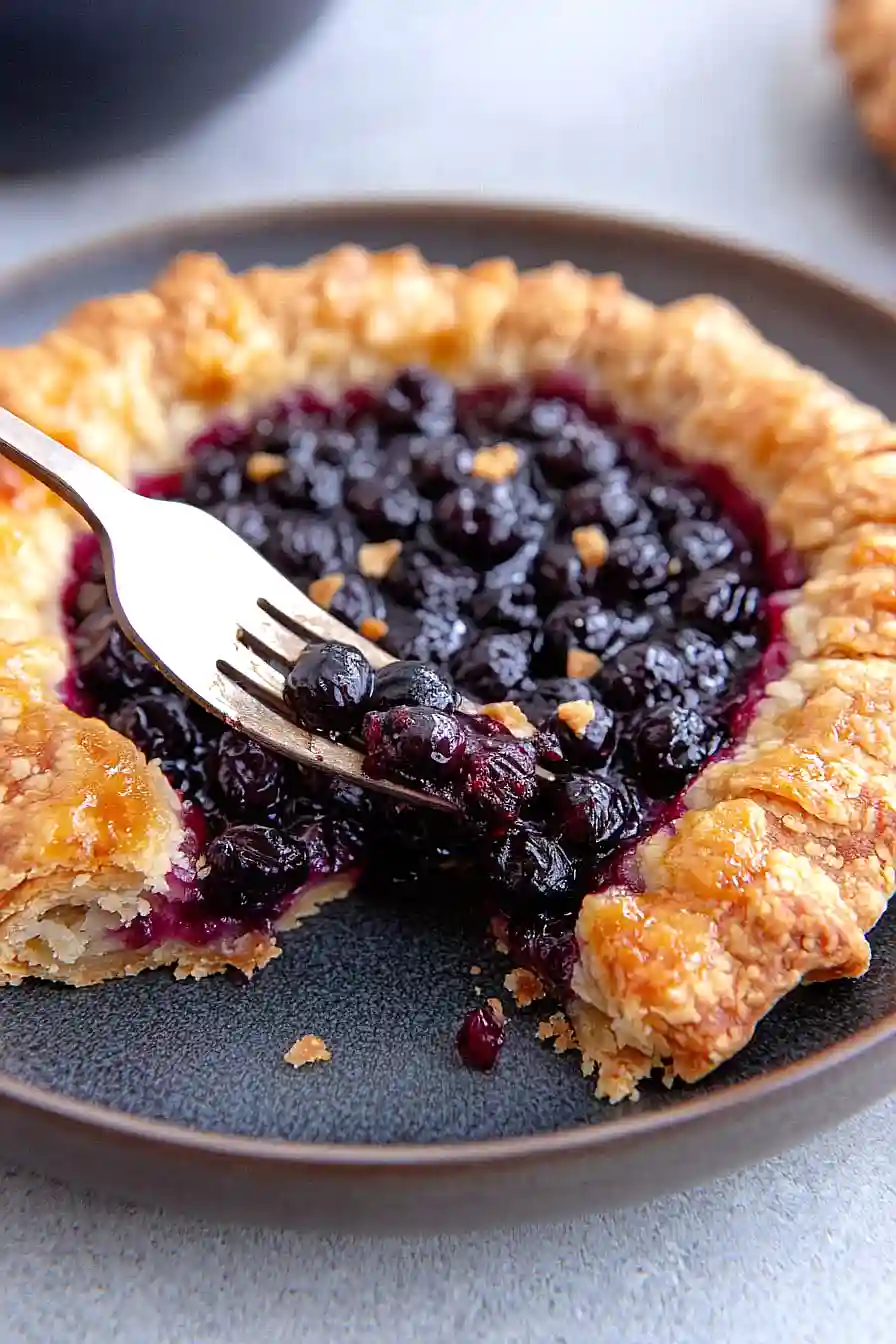
Making a galette with huckleberries feels like the right thing to do – it’s simple, rustic, and lets these hard-earned berries shine. Unlike a perfectly crimped pie, a galette is meant to look a bit rough around the edges, which makes it pretty much impossible to mess up. That’s my kind of dessert.
Why You’ll Love This Huckleberry Galette
- Rustic elegance – The free-form crust makes this dessert impossible to mess up – the more rustic it looks, the better! No need for perfect crimping or fancy techniques.
- Wild berry flavor – Huckleberries bring a unique sweet-tart taste that you can’t find in store-bought desserts, making this galette extra special.
- Easier than pie – With just one crust and no pie plate needed, this galette is a simpler way to enjoy your favorite berry dessert.
- Quick preparation – Ready in about an hour, this dessert gives you all the satisfaction of a pie in less time and with fewer steps.
I notice that the ingredient list is missing from your input. In order to write an accurate and helpful section about the main ingredient (which I assume would be huckleberries), I would need the complete ingredient list. Could you please provide the ingredient list for the huckleberry galette recipe? This will help me create a more specific and useful section about selecting and using huckleberries in the recipe.

I notice that no ingredient list was provided for the Huckleberry Galette recipe. Without knowing the specific ingredients, I cannot make accurate suggestions about substitutions. To provide helpful substitution advice, I would need:
1. The pastry/crust ingredients
2. The filling ingredients
3. Any additional ingredients like egg wash or sugar toppings
Would you please provide the complete ingredient list for the Huckleberry Galette? Once you do, I can create appropriate substitution suggestions that would be helpful for anyone making this recipe.
I notice you haven’t provided the ingredient list for the huckleberry galette. To write specific, helpful tips about what to watch out for while making this recipe, I’ll need the list of ingredients. This will help me provide accurate advice about potential pitfalls and improvements specific to this galette recipe. Could you please share the ingredient list?
What to Serve With Huckleberry Galette?
This rustic berry dessert is perfect with a scoop of vanilla ice cream or a dollop of freshly whipped cream on top. If you’re serving it for brunch, a hot cup of coffee or tea makes the perfect companion to balance the sweet-tart flavor of the huckleberries. For an extra special touch, try serving it with a small drizzle of honey or a sprinkle of powdered sugar, and maybe even add a few fresh berries on the side. Since this is such a cozy dessert, I like to keep the accompaniments simple and let the galette be the star of the show.
Storage Instructions
Keep Fresh: Your huckleberry galette will stay good at room temperature for about 2 days when covered loosely with foil or plastic wrap. For longer storage, pop it in the fridge where it’ll keep for up to 5 days. The crust might soften a bit in the fridge, but it’ll still be delicious!
Make Ahead: Want to prep this ahead? You can make the galette dough and keep it in the fridge for up to 2 days before baking. Just wrap it tightly in plastic wrap and let it come to room temperature for about 15 minutes before rolling it out.
Serve Later: If you’re planning to serve your galette later, you can gently warm individual slices in a 300°F oven for about 10 minutes. This will help crisp up the crust a bit. It’s also perfectly good at room temperature – just let it sit out for about 30 minutes before serving if it’s been in the fridge.
| Preparation Time | 20-30 minutes |
| Cooking Time | 35-45 minutes |
| Total Time | 55-75 minutes |
| Level of Difficulty | Medium |
Estimated Nutrition
Estimated nutrition for the whole recipe (without optional ingredients):
- Calories: 0-0
- Protein: 0-0 g
- Fat: 0-0 g
- Carbohydrates: 0-0 g
Ingredients
- 1 batch galette dough (homemade or store-bought)
- Fresh huckleberries
- Granulated sugar
- Flour or cornstarch
- Milk or 1 egg (for wash)
- Optional: extra sugar for dusting
- Optional: whipped cream or ice cream for serving
Step 1: Prepare the Galette Dough
- 1 batch galette dough (homemade or store-bought)
Prepare your galette dough according to your favorite recipe or use store-bought dough.
Chill the dough until ready to use.
If making homemade dough, I recommend letting it rest for at least 30 minutes for easier rolling.
Step 2: Make the Huckleberry Filling
- fresh huckleberries
- granulated sugar
- flour or cornstarch
In a large bowl, gently toss the fresh huckleberries with granulated sugar and enough flour or cornstarch to help thicken the juices during baking.
Adjust the sugar amount based on the tartness of your berries.
Step 3: Assemble the Galette
- galette dough (from Step 1)
- huckleberry filling (from Step 2)
Preheat your oven to 375°F (190°C).
On a lightly floured surface, roll out the chilled dough into a rough circle about 1/8 inch thick.
Transfer the dough onto a parchment-lined baking sheet.
Spoon the berry filling (from Step 2) into the center, spreading it out and leaving a 2-inch border around the edges.
Step 4: Fold and Finish the Edges
- milk or 1 egg (for wash)
- optional: extra sugar for dusting
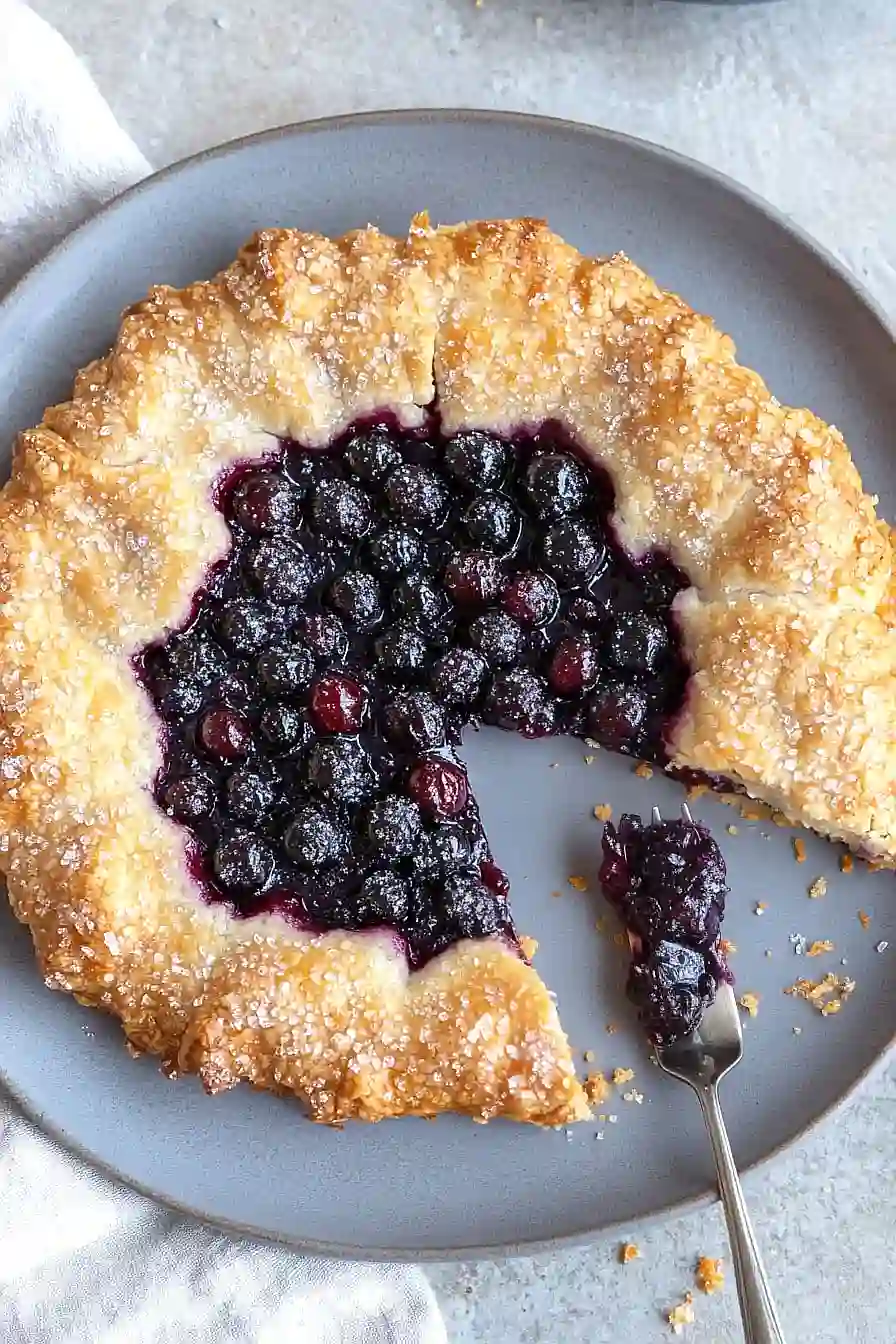
Fold the edges of the dough up and over the berry filling, pleating as you go to create a rustic look.
Brush the exposed dough edges with milk or a beaten egg to help it brown beautifully during baking.
For extra sparkle and crunch, I like to sprinkle a bit more sugar over the crust and berries before baking.
Step 5: Bake the Galette
Bake the assembled galette in the preheated oven for 35–45 minutes, or until the crust is golden brown and the berry filling is bubbly.
Let the galette cool on the baking sheet for at least 15 minutes before slicing.
This short rest helps the filling set and makes serving easier.
Step 6: Serve the Galette
- optional: whipped cream or ice cream for serving
Slice and serve the galette warm or at room temperature.
For a delightful finishing touch, I love to add a scoop of whipped cream or ice cream on the side.
