Growing up, tuna salad meant a simple mix of canned tuna and mayo in our house. My mom would make it for quick lunches, and I never thought much about changing up the recipe. But one day, while staring at some leftover bacon from breakfast, I had this random thought – what if I combined two of my favorite sandwiches?
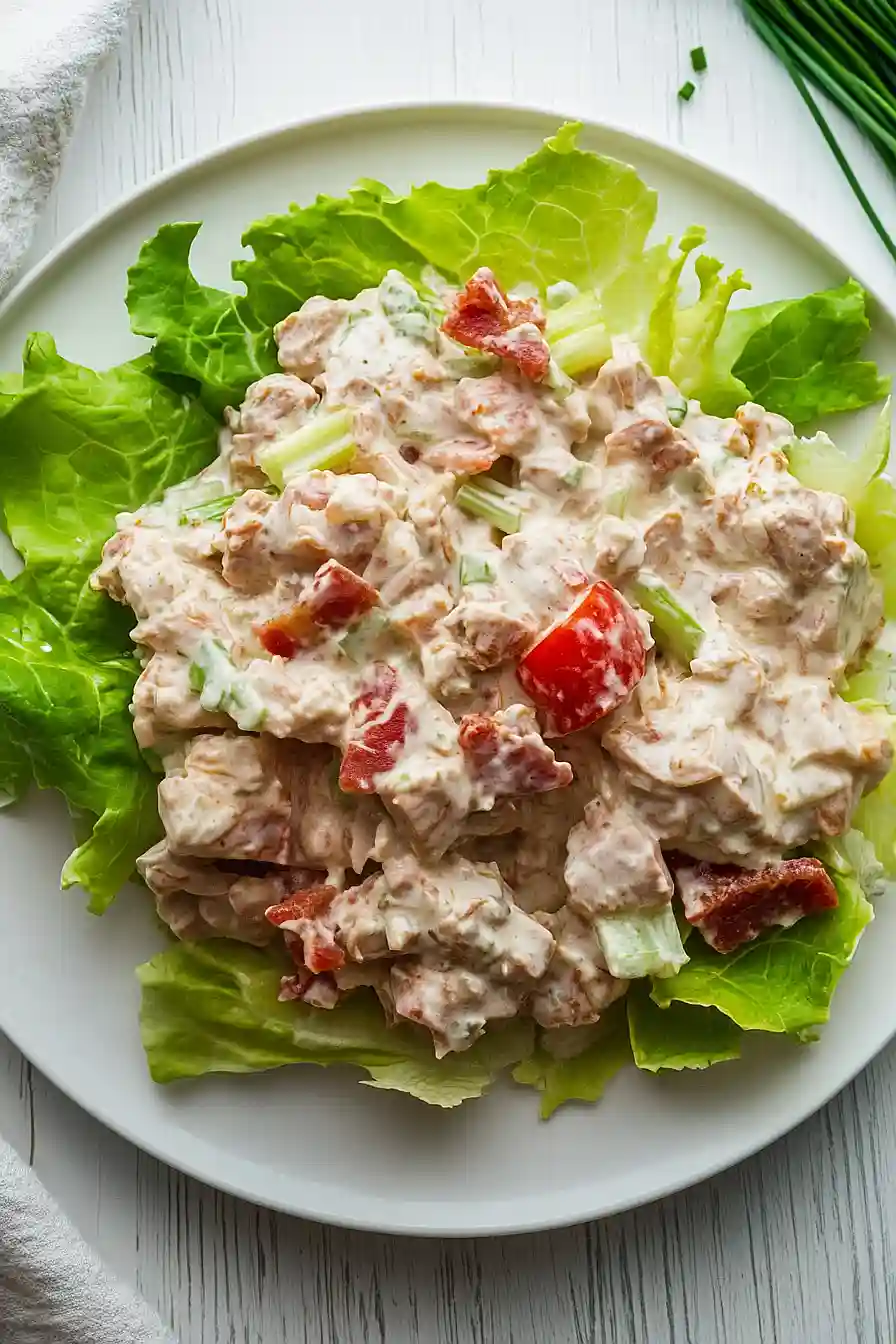
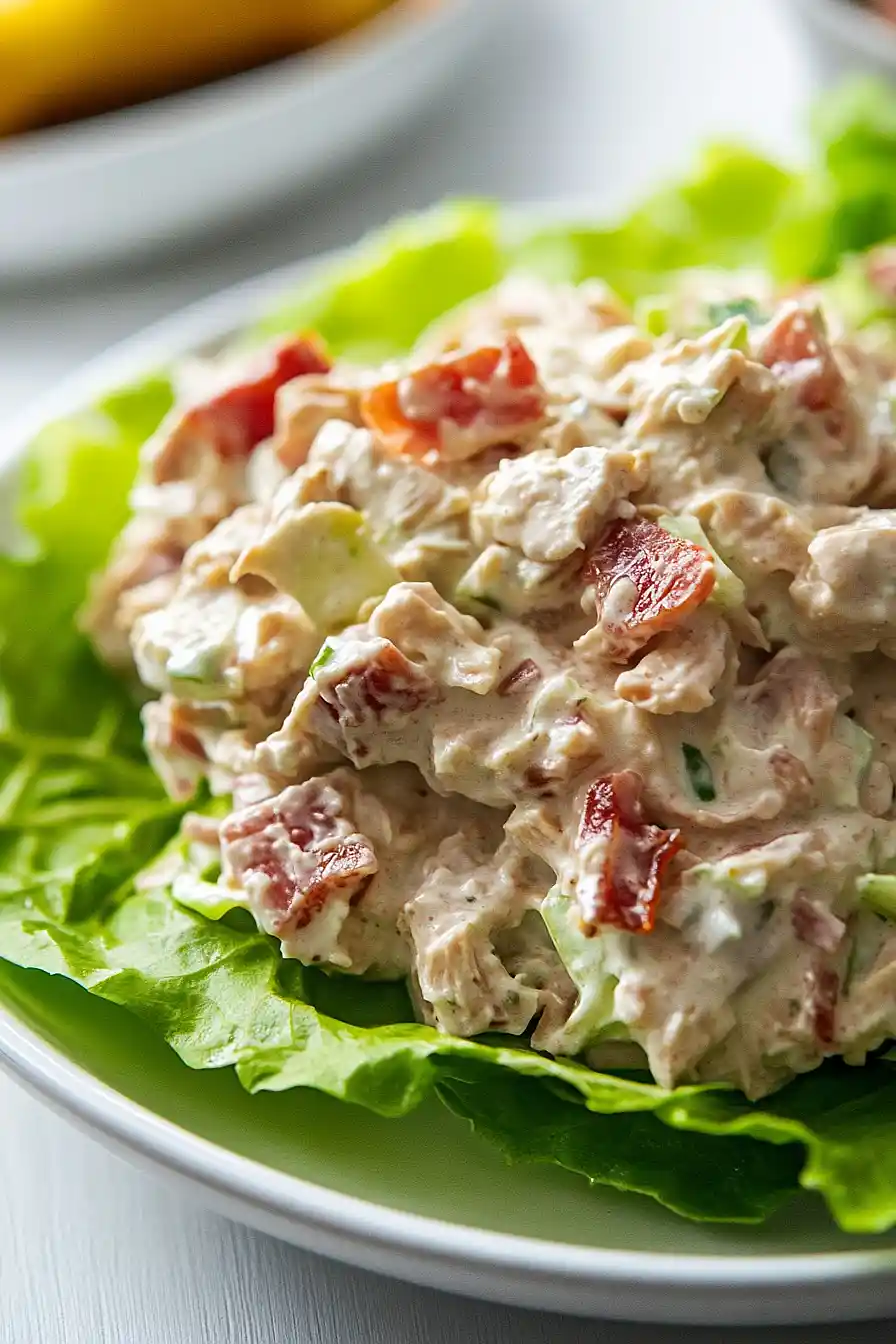
That’s how this BLT tuna salad came to be. It takes everything you love about a classic BLT sandwich and mixes it right into your tuna salad. And honestly? It’s become my go-to lunch recipe when I want something that feels like a treat but doesn’t take much effort to throw together.
Why You’ll Love This BLT Tuna Salad
- Quick preparation – This no-cook meal comes together in just 20 minutes, perfect for busy weekday lunches or light dinners when you don’t feel like turning on the stove.
- Keto-friendly – With high-protein tuna, healthy fats from mayo and sour cream, and minimal carbs, this recipe fits perfectly into a keto or low-carb eating plan.
- Classic flavor combo – It combines everyone’s favorite BLT sandwich flavors with creamy tuna salad for a familiar taste that’s both comforting and satisfying.
- Make-ahead friendly – You can prepare this salad in advance and keep it in the fridge for quick meals throughout the week – just add the lettuce right before serving to keep it crisp.
What Kind of Tuna Should I Use?
For tuna salad, you’ll want to stick with “chunk light” or “solid white” canned tuna – both work great, though solid white (made from albacore) tends to be milder and less fishy tasting. While tuna packed in oil can add extra flavor, this recipe works best with water-packed tuna since we’re adding our own mayo and sour cream for creaminess. When you’re at the store, look for brands that specify “dolphin-safe” on the label, and don’t worry if you see some brands cost a bit more – better quality tuna usually has larger, firmer chunks that won’t turn mushy when you mix your salad. Just remember to drain your tuna really well before mixing it with the other ingredients to keep your salad from getting watery.

Options for Substitutions
This easy tuna salad recipe can be adapted with several simple swaps:
- Tuna: While canned tuna is the star here, you can use canned chicken or salmon instead. Just make sure to drain it well, just like you would the tuna.
- Bacon: Regular bacon works great, but turkey bacon or even pre-made bacon bits can work in a pinch. If you’re skipping meat altogether, try adding some crispy fried onions for that nice crunch.
- Keto mayonnaise: Regular mayo works perfectly fine if you’re not following a keto diet. You could also use Greek yogurt for a lighter option, though the taste will be a bit tangier.
- Sour cream: Plain Greek yogurt makes a great substitute for sour cream. You can also just use all mayonnaise if you prefer.
- Dried chives: Fresh chives work great (use 1½ teaspoons), or you can swap in dried parsley or dill for a different flavor profile.
- Lettuce: Any type of lettuce works here – romaine, iceberg, or even baby spinach. Just make sure to chop it finely and pat it dry to keep your salad from getting watery.
Watch Out for These Mistakes While Cooking
The biggest challenge when making tuna salad is ending up with a watery mixture, so be sure to drain your canned tuna thoroughly – I recommend pressing it with a fork in a fine-mesh strainer to remove all excess liquid.
Another common mistake is chopping the vegetables too large, which can make the salad difficult to eat and prevent the flavors from blending properly – aim for small, uniform pieces about the size of a pea for the best texture and flavor distribution.
When it comes to the bacon, don’t add it too early or store it mixed in with the salad, as it will lose its delightful crunch – instead, cook it until extra crispy and either fold it in just before serving or sprinkle it on top.
For the creamiest results, let your mayo and sour cream come to room temperature before mixing, and remember to taste and adjust the seasoning before serving since canned tuna can vary in saltiness between brands.
What to Serve With BLT Tuna Salad?
This BLT tuna salad is already packed with flavor, but there are lots of tasty ways to serve it! The simplest option is to pile it onto your favorite bread – I like using toasted whole grain or wrapped in lettuce leaves if you’re watching your carbs. For a light lunch, serve it over a bed of mixed greens with some extra cherry tomatoes and cucumber slices on the side. You can also pair it with some crunchy sides like pickle spears, raw veggie sticks, or even some kettle-cooked chips for extra crunch. If you’re meal prepping, this tuna salad works great alongside some fresh fruit or a small cup of soup for a complete lunch.
Storage Instructions
Keep Fresh: This BLT tuna salad will stay good in an airtight container in the fridge for up to 3 days. For the best texture and taste, I recommend adding the lettuce and tomatoes just before serving – this keeps everything crisp and prevents the salad from getting watery.
Meal Prep: Want to prep this ahead? Mix the tuna, bacon, celery, onion, mayo, sour cream, and seasonings, and store them separately from the lettuce and tomatoes. When you’re ready to eat, just toss everything together. This way, your veggies stay fresh and crunchy!
Pack for Lunch: If you’re taking this to work or school, pack the mixed tuna salad in one container and the fresh lettuce and tomatoes in another. Combine them when you’re ready to eat. This simple trick keeps everything fresh and prevents soggy vegetables.
| Preparation Time | 10-15 minutes |
| Cooking Time | 10-15 minutes |
| Total Time | 20-30 minutes |
| Level of Difficulty | Easy |
Estimated Nutrition
Estimated nutrition for the whole recipe (without optional ingredients):
- Calories: 600-700
- Protein: 45-50 g
- Fat: 50-60 g
- Carbohydrates: 10-15 g
Ingredients
- 1/2 cup crispy cooked bacon, crumbled (about 8 slices)
- 2 cans (5 oz each) tuna in water, drained
- 1/2 cup chopped iceberg or romaine lettuce
- 1/4 cup diced tomato
- 1 tbsp chopped celery
- 1 tbsp minced onion
- 1/4 cup low-carb mayonnaise
- 1/4 cup sour cream
- 1/2 tsp dried chives
- 1/8 tsp ground black pepper
Step 1: Cook and Prepare the Bacon
- 1/2 cup crispy cooked bacon, crumbled (about 8 slices)
In a large skillet over medium heat, cook the bacon slices until they are crispy.
Once done, drain off the bacon grease, and let the bacon cool slightly.
Crumble the cooked bacon into bite-sized pieces and set aside for later use.
Step 2: Break Up the Tuna
- 2 cans (5 oz each) tuna in water, drained
While the bacon cooks, place both cans of drained tuna in a medium mixing bowl.
Use a fork to gently stir and break up any large chunks of tuna so it mixes easily with other salad ingredients.
Step 3: Mix in Fresh Ingredients
- 1/2 cup chopped iceberg or romaine lettuce
- 1/4 cup diced tomato
- 1 tbsp chopped celery
- 1 tbsp minced onion
- tuna (from Step 2)
Add the chopped lettuce, diced tomato, chopped celery, and minced onion to the bowl with the tuna.
Stir everything together to combine the fresh vegetables with the tuna.
Step 4: Prepare the Creamy Dressing
- 1/4 cup low-carb mayonnaise
- 1/4 cup sour cream
- 1/2 tsp dried chives
- 1/8 tsp ground black pepper
In a small mixing bowl, combine the low-carb mayonnaise, sour cream, dried chives, and ground black pepper.
Stir well until all the dressing ingredients are thoroughly mixed.
I like to add an extra pinch of black pepper here for a bit more punch.
Step 5: Combine All Salad Components
- crumbled bacon (from Step 1)
- tuna and vegetable mixture (from Step 3)
- mayonnaise-sour cream dressing (from Step 4)
Add the crumbled bacon (from Step 1) to the tuna and vegetable mixture (from Step 3).
Then spoon in all of the mayo and sour cream dressing (from Step 4).
Stir thoroughly to ensure every bite is well-coated and the bacon is evenly distributed throughout the salad.
Step 6: Chill and Serve
Serve the salad immediately, or transfer it to a covered container and refrigerate until ready to eat.
I find chilling the salad for at least 30 minutes really helps the flavors meld together.
