I made Korean Beef Bowls for the first time about five years ago when my kids were going through their “we only like tacos” phase. I needed something different but still simple enough that they’d actually eat it.
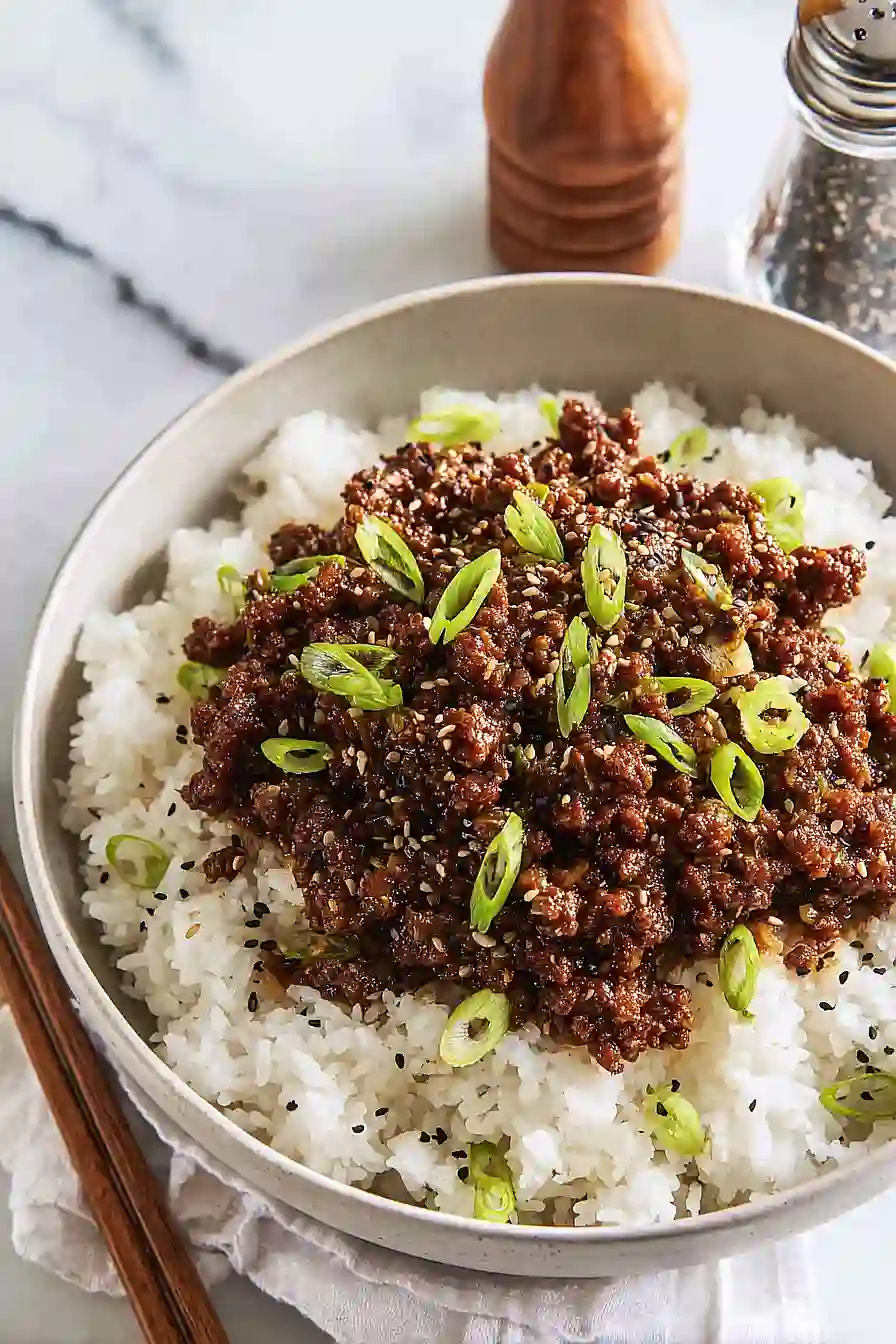
Turns out, ground beef with a sweet and savory sauce over rice is pretty much universally loved. The sauce comes together in one pan, and while the beef cooks, you can prep the toppings. Nothing fancy—just some quick-pickled carrots, sliced cucumber, and a boiled egg on top.
The best part? This recipe tastes like takeout but costs way less and takes about the same time as waiting for delivery. My family requests these bowls at least twice a month now, and I’m happy to make them because cleanup is easy and I usually have most of the ingredients already.
Why You’ll Love These Korean Beef Bowls
- Restaurant-quality meal at home – You get all the flavors of your favorite Korean bowl without the takeout price tag or leaving your kitchen.
- Balanced and nutritious – This bowl packs lean protein, whole grains, and fresh veggies into one satisfying meal that keeps you full for hours.
- Make-ahead friendly – You can prep the pickled carrots and cook the rice ahead of time, making weeknight assembly super quick when you’re short on time.
- Customizable toppings – Everyone can build their bowl exactly how they like it with the cucumber, eggs, and green onions, making it perfect for families with different tastes.
- Bold, sweet-savory flavor – The ginger, garlic, and hint of orange create an addictive sauce that coats the beef perfectly and makes every bite exciting.
What Kind of Ground Beef Should I Use?
For Korean beef bowls, lean ground beef works really well since the sauce is already pretty flavorful and you don’t want excess grease pooling in your bowl. I typically go for 90/10 or 93/7 ground beef, which gives you enough fat for flavor without being too heavy. If you can only find 80/20 ground beef, that’s fine too – just drain off the extra fat after browning the meat. Ground turkey or ground chicken are also solid substitutes if you’re looking for a lighter option, though you might want to add a tiny bit more sesame oil to make up for the lost richness.

Options for Substitutions
This recipe is pretty forgiving when it comes to swaps, so feel free to work with what you have:
- Brown rice: White rice, jasmine rice, or cauliflower rice all work great here. Just adjust cooking times – white rice takes about 15-20 minutes, while cauliflower rice only needs 5-7 minutes.
- Ground beef: Ground turkey, chicken, or pork make good alternatives. You can also use crumbled tofu or tempeh for a plant-based version – just reduce the cooking time slightly.
- Coconut sugar: Regular brown sugar or honey work just fine. Start with a bit less honey since it’s sweeter, and add more to taste.
- Rice vinegar: Apple cider vinegar or white wine vinegar can step in for rice vinegar. Use the same amount, though the flavor will be slightly sharper.
- Fresh ginger: In a pinch, use 1/2 teaspoon of ground ginger for every tablespoon of fresh ginger called for. The flavor won’t be quite as bright, but it’ll still taste good.
- Medium-boiled eggs: Skip these entirely if eggs aren’t your thing, or swap for fried eggs if you prefer a runny yolk.
- Sesame oil: This ingredient really brings that authentic Korean flavor, so I’d recommend keeping it if possible. But if you must substitute, a neutral oil with a few drops of toasted sesame seeds will work.
Watch Out for These Mistakes While Cooking
The biggest mistake when making Korean beef bowls is overcooking the ground beef into dry, crumbly bits – cook it just until it’s no longer pink, then add the sauce immediately so it stays tender and absorbs all those flavors.
Another common error is adding the garlic too early with the raw beef, which can burn and turn bitter, so wait until the meat is almost done before tossing it in for that final minute.
Don’t skip the ice bath step for your medium-boiled eggs, as this stops the cooking process right away and prevents that gray-green ring around the yolk while making them much easier to peel.
For the pickled carrots, let them marinate for at least 15-20 minutes while everything else cooks – this gives them time to soften slightly and develop that tangy flavor that balances the sweet beef perfectly.
What to Serve With Korean Beef Bowls?
These bowls are pretty filling on their own, but I love adding some extra veggies on the side to round out the meal. A simple cucumber salad with rice vinegar and a pinch of salt is refreshing and helps balance out the richness of the beef. You could also serve some steamed edamame sprinkled with sea salt, or even some kimchi if you want to add a tangy, spicy kick. For something a bit heartier, try adding some sautéed bok choy or spinach on the side, which pairs really well with the ginger and soy flavors in the beef.
Storage Instructions
Store: Keep the Korean beef, rice, and pickled carrots in separate airtight containers in the fridge for up to 4 days. I like storing them separately so everything stays fresh and you can mix and match portions throughout the week. The cucumber and eggs are best added fresh when you’re ready to eat.
Freeze: The Korean beef freezes really well for up to 3 months in a freezer-safe container. I don’t recommend freezing the rice or veggies though, as they can get mushy. Just make fresh rice and pickled carrots when you’re ready to use your frozen beef.
Reheat: Warm up the beef and rice separately in the microwave or on the stovetop over medium heat until heated through. The beef might release a little liquid when reheating, but just give it a good stir and it’ll come back together nicely.
| Preparation Time | 30-40 minutes |
| Cooking Time | 60-70 minutes |
| Total Time | 90-110 minutes |
| Level of Difficulty | Medium |
| Servings | 4 servings |
Estimated Nutrition
Estimated nutrition for the whole recipe (without optional ingredients):
- Calories: 3400-3700
- Protein: 190-210 g
- Fat: 100-110 g
- Carbohydrates: 390-420 g
Ingredients
For the rice:
- 1.75 cups brown rice (I always use Lundberg Family Farms for a better nuttier texture)
- 3.5 cups chicken broth
- 1/2 tsp sea salt
For the beef:
- 1 tbsp olive oil
- 2 lb ground beef (extra lean ensures the sauce doesn’t get greasy)
- 3 garlic cloves (freshly minced for best flavor)
- 1/3 cup coconut sugar
- 1/2 cup soy sauce (I prefer Kikkoman for a balanced saltiness)
- 2 tbsp fresh ginger
- 1 tbsp orange juice
- 1 tsp orange zest
- 1 tbsp sesame oil
- 1/2 tsp red pepper flakes
For the carrot salad:
- 6 carrots (peeled and julienned into 2-inch long matchsticks)
- 1/3 cup rice vinegar
- 1 tbsp honey
- 1.5 tsp fresh ginger
- 2 tsp soy sauce
- 1/2 tsp sesame seeds (toasted slightly to add a nice crunch)
For the assembly:
- 1 cucumber (thinly sliced into 1/8-inch rounds)
- 3 boiled eggs
- 4 green onions
Step 1: Start the Rice and Boil the Eggs
- 1.75 cups brown rice
- 3.5 cups chicken broth
- 1/2 tsp sea salt
- 3 boiled eggs
Begin by bringing a pot of water to a boil for the eggs, then immediately add the eggs and cook for 6 minutes.
While the eggs cook, combine the brown rice, chicken broth, and sea salt in a separate pot and bring to a simmer.
Once the rice comes to a boil, reduce the heat to low, cover, and let it simmer for 25 minutes until the liquid is fully absorbed.
When the eggs finish cooking, transfer them to an ice water bath for 2 minutes to stop the cooking process, then peel and set aside.
This parallel cooking approach means your rice and eggs finish around the same time, creating an efficient workflow.
Step 2: Prepare the Aromatics and Vegetable Components
- 3 garlic cloves
- 2 tbsp fresh ginger
- 1/3 cup coconut sugar
- 1/2 cup soy sauce
- 1 tbsp orange juice
- 1 tsp orange zest
- 1 tbsp sesame oil
- 1/2 tsp red pepper flakes
- 6 carrots
- 1/3 cup rice vinegar
- 1 tbsp honey
- 1.5 tsp fresh ginger
- 2 tsp soy sauce
- 1/2 tsp sesame seeds
- 1 cucumber
- 4 green onions
While the rice simmers, prepare all your components for assembly.
Peel and julienne the carrots into 2-inch matchsticks, thinly slice the cucumber into 1/8-inch rounds, mince the garlic cloves, grate the fresh ginger, and slice the green onions.
In one small bowl, whisk together the sauce ingredients: coconut sugar, soy sauce, 2 tbsp ginger, orange juice, orange zest, sesame oil, and red pepper flakes.
In another bowl, combine the carrot pickle ingredients: rice vinegar, honey, 1.5 tsp ginger, 2 tsp soy sauce, and toasted sesame seeds.
Having everything prepped and sauces mixed before cooking the beef ensures smooth, efficient cooking without last-minute scrambling.
Step 3: Brown the Beef and Build the Sauce
- 1 tbsp olive oil
- 2 lb ground beef
- sauce mixture from Step 2
Once the rice has about 10 minutes remaining, heat the olive oil in a large skillet over medium-high heat.
Add the ground beef and cook for 6-8 minutes, breaking it apart with a spoon as it browns—you want a nice golden color on the meat to develop deeper flavor.
Add the minced garlic and cook for 1 minute until fragrant.
Pour in the sauce mixture from Step 2 and stir well to coat the beef evenly.
Cook for 2-3 minutes, allowing the sauce to reduce slightly and coat the meat.
I like to let the sauce get slightly glossy and caramelized on the bottom of the pan—this adds a richer, more complex flavor than if you rush it.
Step 4: Pickle the Carrots and Assemble the Bowls
- cooked rice from Step 1
- seasoned beef from Step 3
- pickled carrots from this step
- cucumber slices from Step 2
- green onions from Step 2
- boiled eggs from Step 1
Pour the carrot pickle mixture from Step 2 into the julienned carrots and toss to combine.
Let them sit for 2-3 minutes to slightly soften and absorb the flavors while you assemble your bowls.
Divide the cooked rice from Step 1 among your serving bowls or containers, creating an even base.
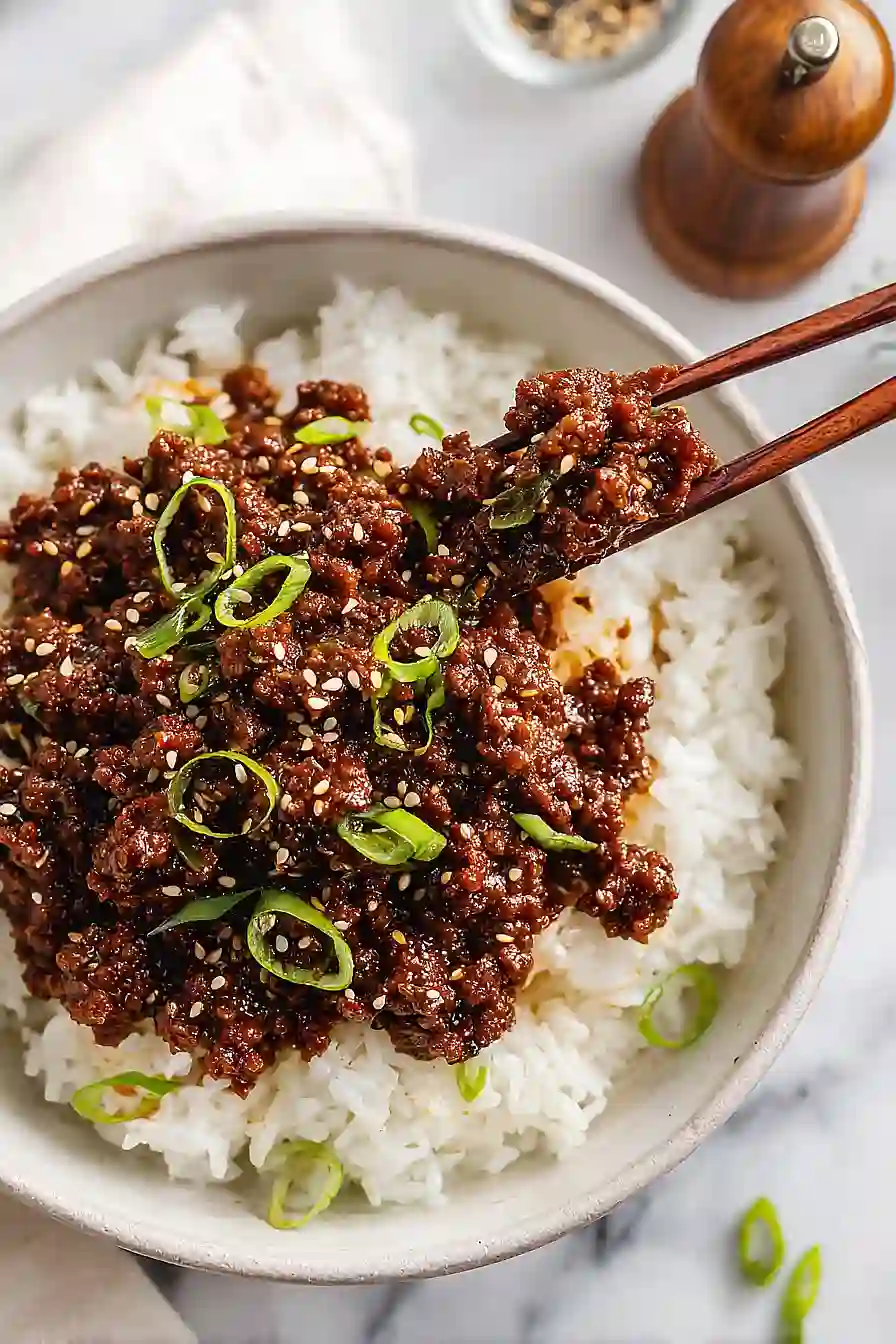
Top each bowl with the seasoned beef from Step 3, followed by the pickled carrots, fresh cucumber slices, and a generous handful of sliced green onions.
Place a halved boiled egg on top of each bowl as the finishing touch.
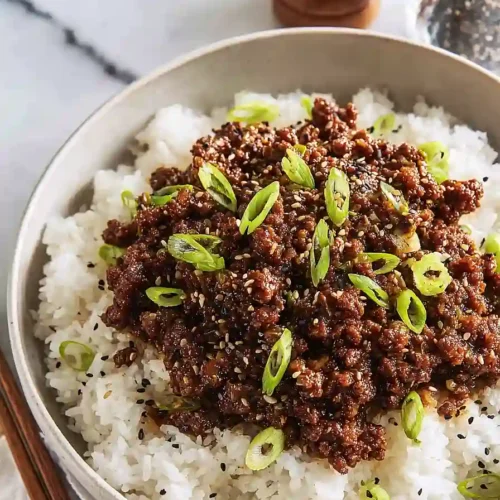
Delicious Korean Beef Bowls
Ingredients
For the rice::
- 1.75 cups brown rice (I always use Lundberg Family Farms for a better nuttier texture)
- 3.5 cups chicken broth
- 1/2 tsp sea salt
For the beef::
- 1 tbsp olive oil
- 2 lb ground beef (extra lean ensures the sauce doesn't get greasy)
- 3 garlic cloves (freshly minced for best flavor)
- 1/3 cup coconut sugar
- 1/2 cup soy sauce (I prefer Kikkoman for a balanced saltiness)
- 2 tbsp fresh ginger
- 1 tbsp orange juice
- 1 tsp orange zest
- 1 tbsp sesame oil
- 1/2 tsp red pepper flakes
For the carrot salad::
- 6 carrots (peeled and julienned into 2-inch long matchsticks)
- 1/3 cup rice vinegar
- 1 tbsp honey
- 1.5 tsp fresh ginger
- 2 tsp soy sauce
- 1/2 tsp sesame seeds (toasted slightly to add a nice crunch)
For the assembly::
- 1 cucumber (thinly sliced into 1/8-inch rounds)
- 3 boiled eggs
- 4 green onions
Instructions
- Begin by bringing a pot of water to a boil for the eggs, then immediately add the eggs and cook for 6 minutes. While the eggs cook, combine the brown rice, chicken broth, and sea salt in a separate pot and bring to a simmer. Once the rice comes to a boil, reduce the heat to low, cover, and let it simmer for 25 minutes until the liquid is fully absorbed. When the eggs finish cooking, transfer them to an ice water bath for 2 minutes to stop the cooking process, then peel and set aside. This parallel cooking approach means your rice and eggs finish around the same time, creating an efficient workflow.
- While the rice simmers, prepare all your components for assembly. Peel and julienne the carrots into 2-inch matchsticks, thinly slice the cucumber into 1/8-inch rounds, mince the garlic cloves, grate the fresh ginger, and slice the green onions. In one small bowl, whisk together the sauce ingredients: coconut sugar, soy sauce, 2 tbsp ginger, orange juice, orange zest, sesame oil, and red pepper flakes. In another bowl, combine the carrot pickle ingredients: rice vinegar, honey, 1.5 tsp ginger, 2 tsp soy sauce, and toasted sesame seeds. Having everything prepped and sauces mixed before cooking the beef ensures smooth, efficient cooking without last-minute scrambling.
- Once the rice has about 10 minutes remaining, heat the olive oil in a large skillet over medium-high heat. Add the ground beef and cook for 6-8 minutes, breaking it apart with a spoon as it browns—you want a nice golden color on the meat to develop deeper flavor. Add the minced garlic and cook for 1 minute until fragrant. Pour in the sauce mixture from Step 2 and stir well to coat the beef evenly. Cook for 2-3 minutes, allowing the sauce to reduce slightly and coat the meat. I like to let the sauce get slightly glossy and caramelized on the bottom of the pan—this adds a richer, more complex flavor than if you rush it.
- Pour the carrot pickle mixture from Step 2 into the julienned carrots and toss to combine. Let them sit for 2-3 minutes to slightly soften and absorb the flavors while you assemble your bowls. Divide the cooked rice from Step 1 among your serving bowls or containers, creating an even base. Top each bowl with the seasoned beef from Step 3, followed by the pickled carrots, fresh cucumber slices, and a generous handful of sliced green onions. Place a halved boiled egg on top of each bowl as the finishing touch.
