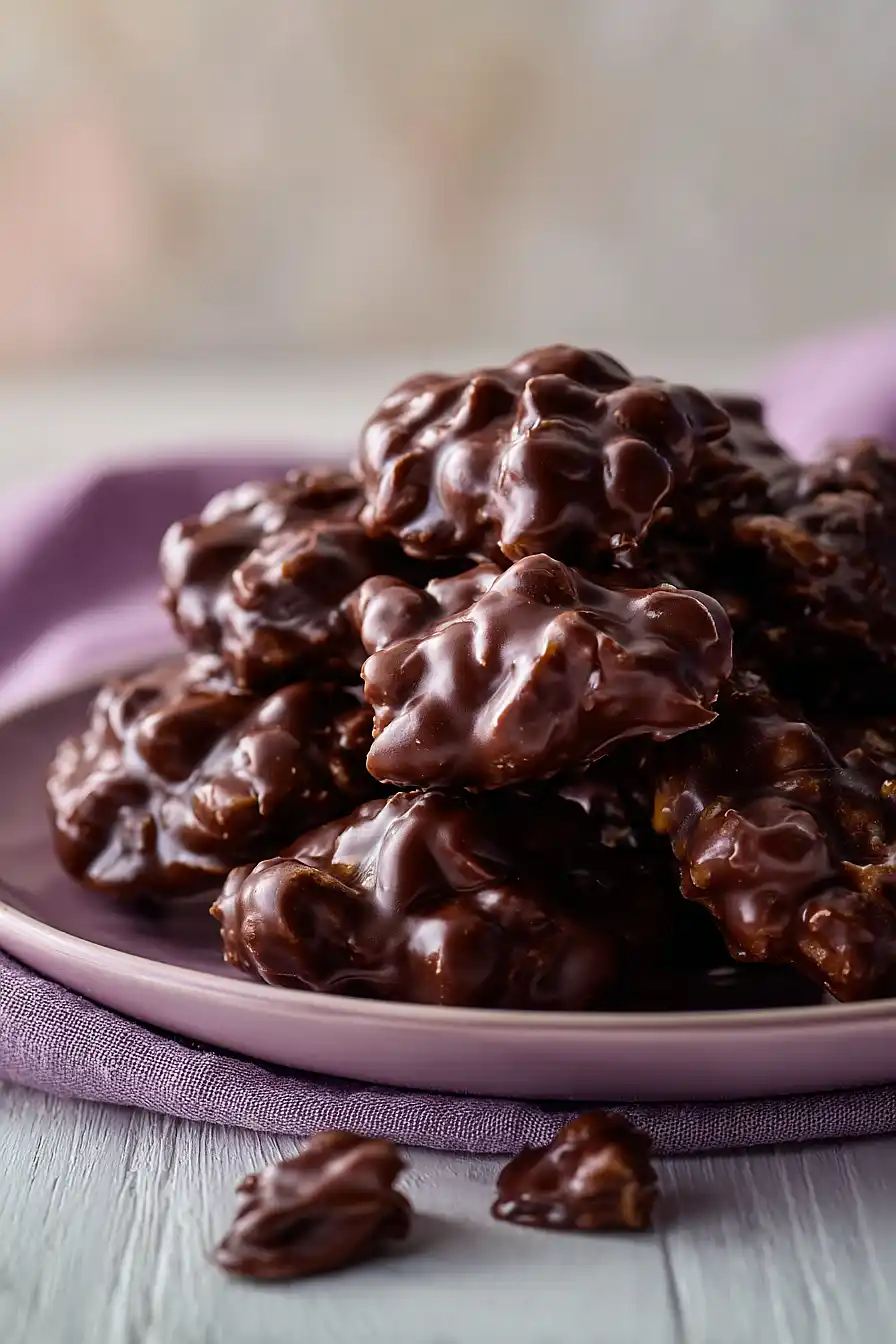
I’ve always had a soft spot for simple treats that look like you spent hours in the kitchen but really only took minutes. Dark chocolate peanut clusters are exactly that kind of recipe. They remind me of the candy my mom used to make around the holidays, except I don’t wait for a special occasion anymore.
These clusters come together with just five ingredients and require zero baking. You melt, you mix, you scoop onto parchment paper, and you’re done. The hardest part is waiting for them to set in the fridge before you can eat them.
They’re great for last-minute gifts, potlucks, or just keeping in the fridge for when you need something sweet. I make a batch whenever I want homemade candy without all the fuss of tempering chocolate or using a candy thermometer.
Why You’ll Love These Dark Chocolate Peanut Clusters
- Only 4 ingredients – You probably have everything you need in your pantry already – peanuts, dark chocolate, peanut butter, and a pinch of salt.
- Perfect make-ahead treat – These clusters store well in the fridge or freezer, so you can whip up a batch and have homemade candy ready whenever a craving hits.
- Healthier than store-bought candy – Dark chocolate and peanuts give you a satisfying sweet and salty combo with protein and antioxidants, making these a better choice than processed candy bars.
- Great for gifting – They look impressive and taste amazing, making them perfect for holiday gifts, party favors, or bringing to gatherings without spending hours in the kitchen.
What Kind of Dark Chocolate Should I Use?
For peanut clusters, you’ll want to use good quality dark chocolate that melts smoothly and tastes great on its own. I typically go for chocolate in the 60-70% cacao range, which gives you that nice dark chocolate flavor without being too bitter against the salty peanuts. You can use chocolate chips, bars broken into pieces, or even baking chocolate – they’ll all melt down just fine. If you’re using chocolate bars, just make sure to chop them into smaller, even pieces so they melt evenly and don’t leave you with any lumps in your clusters.

Options for Substitutions
This simple recipe is easy to customize based on what you have in your pantry:
- Peanuts: Feel free to swap peanuts with other nuts like cashews, almonds, or pecans. You can also use a mix of different nuts for variety. Just keep the total amount the same.
- Dark chocolate: If dark chocolate isn’t your thing, milk chocolate or semi-sweet chocolate work great too. You can even use chocolate chips instead of bar chocolate – just measure out the same amount by weight or volume.
- Peanut butter: Any nut butter works here – try almond butter, cashew butter, or sunflower seed butter if you’re avoiding peanuts. Make sure to use the same amount and stir it in while the chocolate is still warm so it blends smoothly.
- Salt: If you’re using salted nuts or salted peanut butter, you might want to skip the extra salt or just add a tiny pinch to taste. The salt really brings out the chocolate flavor, so don’t skip it entirely if your other ingredients are unsalted.
Watch Out for These Mistakes While Cooking
The biggest mistake when making chocolate peanut clusters is overheating the chocolate in the microwave, which can cause it to seize up and become grainy – stop microwaving as soon as most of the chocolate is melted and let the residual heat finish the job while stirring.
Another common error is scooping the clusters too large, which makes them take forever to set and harder to eat in one bite, so aim for tablespoon-sized portions for the perfect ratio of chocolate to peanuts.
Don’t skip the salt on top, as it balances the sweetness and brings out the chocolate flavor, and make sure your peanuts are at room temperature before mixing them in – cold peanuts can cause the melted chocolate to harden too quickly and create an uneven coating.

What to Serve With Dark Chocolate Peanut Clusters?
These peanut clusters are perfect on their own as a sweet snack, but they’re also great alongside a cup of coffee or hot chocolate for an afternoon treat. I like setting them out with other desserts at parties – they pair nicely with vanilla ice cream or fresh fruit like strawberries and bananas. If you’re putting together a dessert board, add some pretzels, dried fruit, and maybe some caramel squares to create a fun mix of salty and sweet options. They also make a thoughtful homemade gift when packed in a nice tin or jar with a ribbon.
Storage Instructions
Store: Keep your peanut clusters in an airtight container at room temperature for up to 2 weeks. If your kitchen gets warm, store them in the fridge instead so the chocolate doesn’t get soft or melty.
Freeze: These clusters are great for stashing away for later. Just layer them between parchment paper in a freezer-safe container and freeze for up to 3 months. They’re actually pretty good eaten straight from the freezer when you want a cold, crunchy treat!
Make Ahead: This is one of those recipes that’s perfect for making ahead since they actually need time to set anyway. Make a big batch on the weekend and you’ll have a quick snack ready whenever a chocolate craving hits.
| Preparation Time | 10-15 minutes |
| Cooking Time | 60-70 minutes |
| Total Time | 70-85 minutes |
| Level of Difficulty | Easy |
| Servings | 30 pieces |
Estimated Nutrition
Estimated nutrition for the whole recipe (without optional ingredients):
- Calories: 1850-2050
- Protein: 45-55 g
- Fat: 135-150 g
- Carbohydrates: 110-120 g
We'll Pay You $5 to Try This Recipe!
Cook our recipe, snap some photos, and earn a $5 Amazon Gift Card. It's that simple!
Here's how:
- Make the recipe
- Take nice pictures of your final dish
- Fill out our quick form (2 minutes max!)
- Your $5 reward is on the way!
Ingredients
- 1.75 cups peanuts (I use Planters dry roasted for the best crunch)
- 1.5 cups dark chocolate (chopped into 1/2-inch pieces so it melts evenly)
- 2.5 tbsp peanut butter (I prefer Jif creamy for a smoother texture)
- 0.25 tsp vanilla extract
- salt to taste
Step 1: Prepare Your Workspace
- parchment or wax paper
Line a baking sheet or tray with parchment paper or wax paper—this prevents sticking and makes cleanup effortless.
Set the prepared tray aside near your work area so it’s ready to use immediately after mixing.
Step 2: Melt Chocolate and Peanut Butter
- 1.5 cups dark chocolate
- 2.5 tbsp peanut butter
- 0.25 tsp vanilla extract
- salt to taste
Combine the chopped dark chocolate and peanut butter in a microwave-safe bowl.
Microwave on 50% power in 20-second intervals, stirring between each interval, until the mixture is completely smooth and melted (usually 60-80 seconds total).
This lower power setting prevents the chocolate from seizing or burning.
Add the vanilla extract and stir until fully incorporated, then add salt to taste—I find that even a small pinch enhances the chocolate flavor without making it taste salty.
Step 3: Combine Peanuts with Chocolate Mixture
- 1.75 cups peanuts
- melted chocolate mixture from Step 2
Pour the peanuts into the melted chocolate mixture and fold gently with a spatula until every peanut is evenly coated.
Work quickly but deliberately—I like to use a sturdy spatula to scrape from the bottom of the bowl to ensure no chocolate gets left behind, and I coat the peanuts completely while the mixture is still warm for the best adhesion.
Step 4: Portion and Chill the Clusters
Using a spoon or small cookie scoop, drop clusters of the peanut-chocolate mixture onto the prepared tray, spacing them about 1 inch apart so they don’t touch.
Place the tray in the refrigerator for 1 hour, or until the clusters are completely firm and set.
Once chilled, you can serve immediately or store them in an airtight container at room temperature for up to one week.
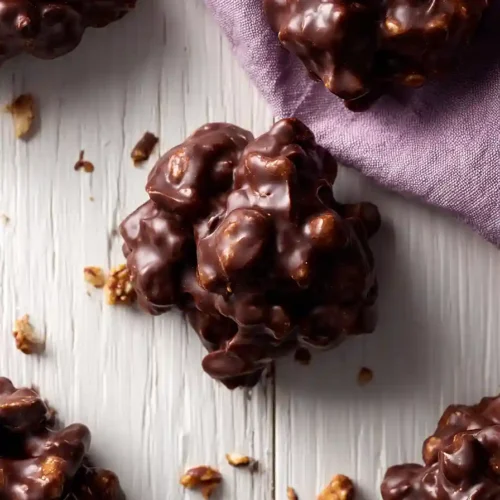
Crunchy Dark Chocolate Peanut Clusters
Ingredients
- 1.75 cups peanuts (I use Planters dry roasted for the best crunch)
- 1.5 cups dark chocolate (chopped into 1/2-inch pieces so it melts evenly)
- 2.5 tbsp peanut butter (I prefer Jif creamy for a smoother texture)
- 0.25 tsp vanilla extract
- salt to taste
Instructions
- Line a baking sheet or tray with parchment paper or wax paper—this prevents sticking and makes cleanup effortless. Set the prepared tray aside near your work area so it's ready to use immediately after mixing.
- Combine the chopped dark chocolate and peanut butter in a microwave-safe bowl. Microwave on 50% power in 20-second intervals, stirring between each interval, until the mixture is completely smooth and melted (usually 60-80 seconds total). This lower power setting prevents the chocolate from seizing or burning. Add the vanilla extract and stir until fully incorporated, then add salt to taste—I find that even a small pinch enhances the chocolate flavor without making it taste salty.
- Pour the peanuts into the melted chocolate mixture and fold gently with a spatula until every peanut is evenly coated. Work quickly but deliberately—I like to use a sturdy spatula to scrape from the bottom of the bowl to ensure no chocolate gets left behind, and I coat the peanuts completely while the mixture is still warm for the best adhesion.
- Using a spoon or small cookie scoop, drop clusters of the peanut-chocolate mixture onto the prepared tray, spacing them about 1 inch apart so they don't touch. Place the tray in the refrigerator for 1 hour, or until the clusters are completely firm and set. Once chilled, you can serve immediately or store them in an airtight container at room temperature for up to one week.
