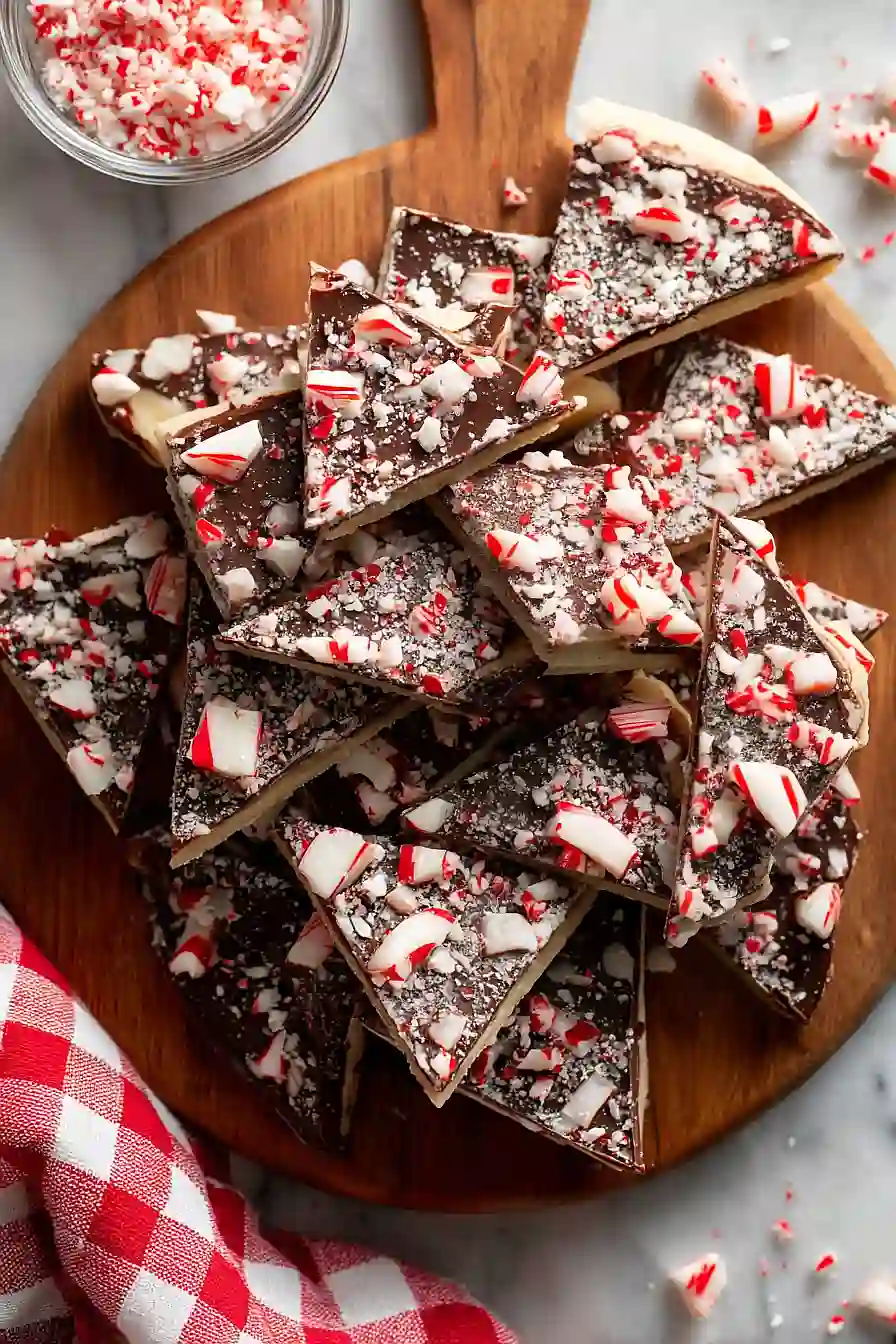
If you ask me, peppermint bark is one of the best parts of the holiday season.
These peppermint bark sugar cookies bring together everything you love about the classic Christmas treat in cookie form. Soft, buttery cookies studded with chocolate chips and crushed candy cane kisses create that perfect mint-chocolate combo.
They’re simple to make with basic ingredients you probably already have in your pantry. The chopped candy cane kisses melt slightly as they bake, creating little pockets of peppermint goodness throughout each cookie.
These cookies are perfect for holiday cookie swaps, gift boxes, or just enjoying with a cup of hot cocoa by the fire.
Why You’ll Love These Peppermint Bark Sugar Cookies
- Perfect holiday treat – These cookies combine the classic flavors of peppermint bark with a buttery sugar cookie base, making them ideal for Christmas cookie exchanges or festive gatherings.
- Simple ingredient list – You probably have most of these pantry staples on hand already, and the candy cane kisses add that special seasonal touch without any complicated steps.
- Fun to make with kids – The straightforward process and festive ingredients make this a great recipe to bake with little helpers during the holidays.
- Beautiful presentation – The chocolate and peppermint topping looks impressive on a cookie platter, but requires minimal effort to achieve that bakery-style appearance.
What Kind of Chocolate Chips Should I Use?
Semi-sweet chocolate chips are the go-to for these peppermint bark sugar cookies, but you’ve got some flexibility here. If you prefer a richer, less sweet flavor, dark chocolate chips work great and pair nicely with the sweetness of the candy cane pieces. Milk chocolate chips are another option if you want something sweeter and creamier, though they might make the cookies a bit more sugary overall. You can even mix different types of chocolate chips together if you can’t decide – half semi-sweet and half dark chocolate creates a nice balance that lets the peppermint flavor shine through without being overwhelmed by sweetness.
Options for Substitutions
This recipe is pretty forgiving if you need to make a few swaps:
- Unsalted butter: You can use salted butter instead – just skip the added sea salt in the recipe to avoid making the cookies too salty.
- Egg yolk: If you only have whole eggs, you can use one whole egg instead of just the yolk. Your cookies will spread a bit more and be slightly less rich, but they’ll still taste great.
- Semi-sweet chocolate chips: Milk chocolate chips or dark chocolate chips work just fine here. You could even use white chocolate chips if you want to lean into the peppermint theme.
- Candy Cane Kisses: Can’t find Candy Cane Kisses? Use regular peppermint candies or candy canes that you’ve crushed up. You could also try Andes mints chopped up for a similar minty-chocolate combo.
- Vanilla extract: Peppermint extract (use just 1/4 teaspoon) can replace the vanilla if you want an extra minty kick throughout the cookie.
Watch Out for These Mistakes While Baking
The biggest mistake with sugar cookies is overbaking them, which turns soft, chewy cookies into hard discs – pull them from the oven when the edges are just set but the centers still look slightly underdone, as they’ll continue cooking on the hot pan.
Another common error is adding the chocolate chips and candy cane pieces too early, which can cause them to melt and lose their texture, so press them gently into the tops of the cookies during the last 2-3 minutes of baking instead.
Make sure your butter is truly softened to room temperature (not melted or cold), because the wrong temperature can throw off the entire dough consistency and lead to cookies that spread too much or stay too thick.
Finally, don’t skip chilling the dough if it feels too soft or sticky – 15-30 minutes in the fridge will make it much easier to work with and help your cookies hold their shape better.

What to Serve With Peppermint Bark Sugar Cookies?
These cookies are perfect for holiday cookie platters alongside other festive treats like gingerbread cookies, snickerdoodles, or classic chocolate chip cookies. They pair wonderfully with a mug of hot chocolate or peppermint tea, especially on cold winter evenings when you want something cozy and sweet. If you’re putting together a dessert spread for a party, serve them with vanilla ice cream or alongside a simple fruit salad to balance out the richness of the chocolate and peppermint. These cookies also make great gifts when packaged in tins or cellophane bags tied with ribbon.
Storage Instructions
Store: Keep your peppermint bark sugar cookies in an airtight container at room temperature for up to 5 days. Layer them with parchment paper if you’re stacking them to keep the chocolate topping from sticking together.
Freeze: These cookies freeze really well for up to 3 months. Just make sure they’re completely cooled and the chocolate has set before freezing. You can freeze them in a single layer on a baking sheet first, then transfer to a freezer bag once solid.
Enjoy: Let frozen cookies thaw at room temperature for about 30 minutes before serving. They taste amazing straight from the freezer too if you like a firmer cookie! The peppermint flavor actually gets even better after a day or two of sitting.
| Preparation Time | 15-20 minutes |
| Cooking Time | 27 minutes |
| Total Time | 2-3 hours |
| Level of Difficulty | Medium |
Estimated Nutrition
Estimated nutrition for the whole recipe (without optional ingredients):
- Calories: 3050-3200
- Protein: 28-32 g
- Fat: 170-185 g
- Carbohydrates: 390-410 g
Ingredients
- 1 large egg yolk
- 1 tsp vanilla extract (pure vanilla preferred for best flavor)
- 1 cup unsalted butter (softened to room temperature)
- 1 cup semi-sweet chocolate chips
- 1 cup sugar
- 2 cups all-purpose flour (I use King Arthur all-purpose flour)
- 1/2 tsp sea salt
- 1 cup chopped candy cane kisses (crushed into 1/4 to 1/2-inch pieces)
Step 1: Prepare Your Equipment and Mise en Place
- 9×13 inch baking dish
- parchment paper
- 1 cup chopped candy cane kisses
Preheat your oven to 350°F.
While it heats, spray a 9×13 inch baking dish with cooking spray and line it with parchment paper, leaving some overhang on the sides for easy removal later.
Chop your candy cane kisses into 1/4 to 1/2-inch pieces and set aside—I like to do this first so the pieces are ready when you need them, and you won’t have sticky candy fingers later in the process.
Measure out your flour and salt into a small bowl.
Step 2: Cream Butter and Sugar, Then Build the Cookie Dough
- 1 cup unsalted butter
- 1 cup sugar
- 1 tsp vanilla extract
- 1 large egg yolk
- dry ingredient mixture from Step 1
In a large mixing bowl, beat the softened butter and sugar together until the mixture is light, fluffy, and pale—this usually takes about 2-3 minutes and is crucial for creating a tender cookie texture.
Add the vanilla extract and egg yolk, beating until fully incorporated and the mixture looks smooth.
Add the dry ingredient mixture (flour and salt from Step 1) and beat until a thick, cohesive dough forms.
The dough should come together completely with no visible flour streaks.
Step 3: Press and Prebake the Cookie Base
- cookie dough from Step 2
- prepared baking dish from Step 1
Transfer the dough from Step 2 into your prepared baking dish and use your hands or an offset spatula to press it into an even, compact layer covering the entire bottom.
Pierce the dough all over with a fork—this prevents large air pockets from forming and helps the base bake evenly.
Bake for 27 minutes, or until the edges are golden brown and the surface is set but still slightly soft to the touch.
Step 4: Add Chocolate and Candy Cane Toppings
- 1 cup semi-sweet chocolate chips
- chopped candy cane kisses from Step 1
Remove the hot cookie base from the oven and immediately scatter the chocolate chips evenly over the surface.
Let them sit for 1-2 minutes to soften from the residual heat, then use an offset spatula or the back of a spoon to spread the melted chocolate into an even layer.
While the chocolate is still warm and slightly tacky, sprinkle the chopped candy cane pieces generously over the top, pressing them gently so they adhere to the chocolate.
Step 5: Chill, Remove, and Cut into Pieces
Transfer the entire baking dish to the refrigerator and chill until the chocolate is completely firm and set—about 30-45 minutes.
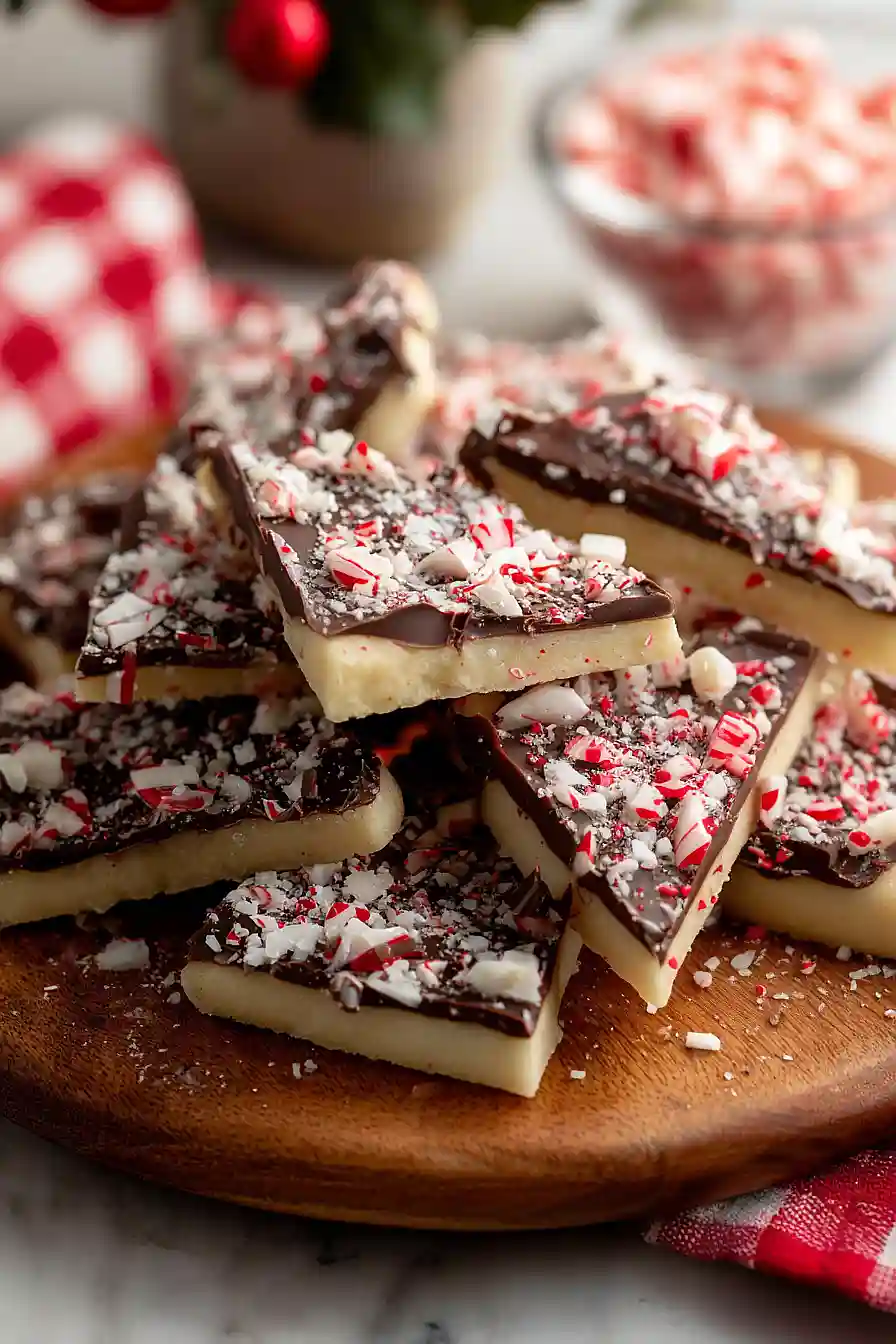
Once chilled, use the parchment paper overhang to lift the entire cookie slab out of the dish onto a cutting board.
Cut into squares or rectangles using a sharp knife, wiping the blade between cuts if needed to keep them clean.

Classic Peppermint Bark Sugar Cookies
Ingredients
- 1 large egg yolk
- 1 tsp vanilla extract (pure vanilla preferred for best flavor)
- 1 cup unsalted butter (softened to room temperature)
- 1 cup semi-sweet chocolate chips
- 1 cup sugar
- 2 cups all-purpose flour (I use King Arthur all-purpose flour)
- 1/2 tsp sea salt
- 1 cup chopped candy cane kisses (crushed into 1/4 to 1/2-inch pieces)
Instructions
- Preheat your oven to 350°F. While it heats, spray a 9x13 inch baking dish with cooking spray and line it with parchment paper, leaving some overhang on the sides for easy removal later. Chop your candy cane kisses into 1/4 to 1/2-inch pieces and set aside—I like to do this first so the pieces are ready when you need them, and you won't have sticky candy fingers later in the process. Measure out your flour and salt into a small bowl.
- In a large mixing bowl, beat the softened butter and sugar together until the mixture is light, fluffy, and pale—this usually takes about 2-3 minutes and is crucial for creating a tender cookie texture. Add the vanilla extract and egg yolk, beating until fully incorporated and the mixture looks smooth. Add the dry ingredient mixture (flour and salt from Step 1) and beat until a thick, cohesive dough forms. The dough should come together completely with no visible flour streaks.
- Transfer the dough from Step 2 into your prepared baking dish and use your hands or an offset spatula to press it into an even, compact layer covering the entire bottom. Pierce the dough all over with a fork—this prevents large air pockets from forming and helps the base bake evenly. Bake for 27 minutes, or until the edges are golden brown and the surface is set but still slightly soft to the touch.
- Remove the hot cookie base from the oven and immediately scatter the chocolate chips evenly over the surface. Let them sit for 1-2 minutes to soften from the residual heat, then use an offset spatula or the back of a spoon to spread the melted chocolate into an even layer. While the chocolate is still warm and slightly tacky, sprinkle the chopped candy cane pieces generously over the top, pressing them gently so they adhere to the chocolate.
- Transfer the entire baking dish to the refrigerator and chill until the chocolate is completely firm and set—about 30-45 minutes. Once chilled, use the parchment paper overhang to lift the entire cookie slab out of the dish onto a cutting board. Cut into squares or rectangles using a sharp knife, wiping the blade between cuts if needed to keep them clean.
