If you ask me, no-bake pies are one of the best ideas ever.
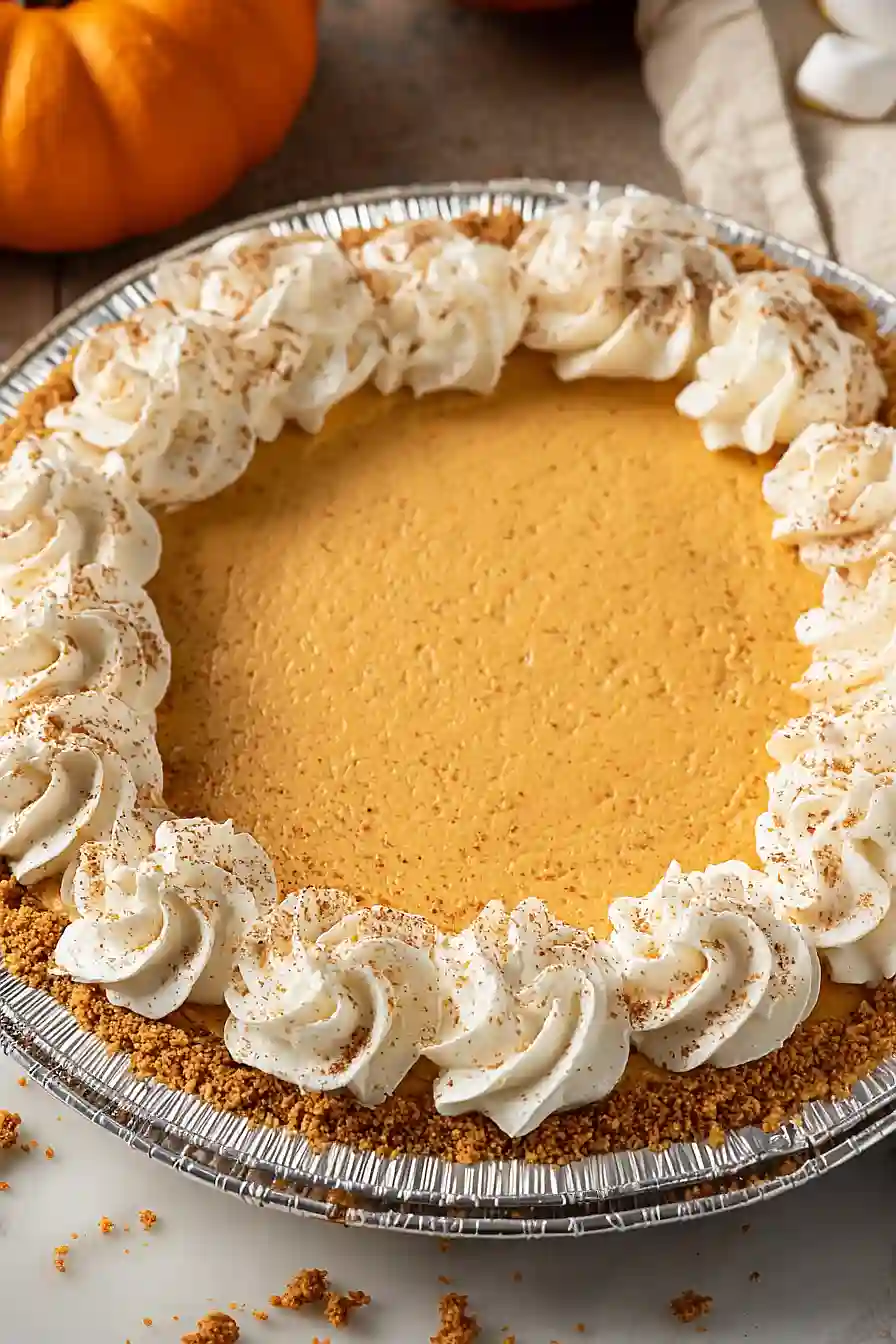
This creamy pumpkin pie skips the oven entirely and comes together in about 15 minutes. A graham cracker crust gets filled with a fluffy mixture of pumpkin puree, marshmallow fluff, and warm spices.
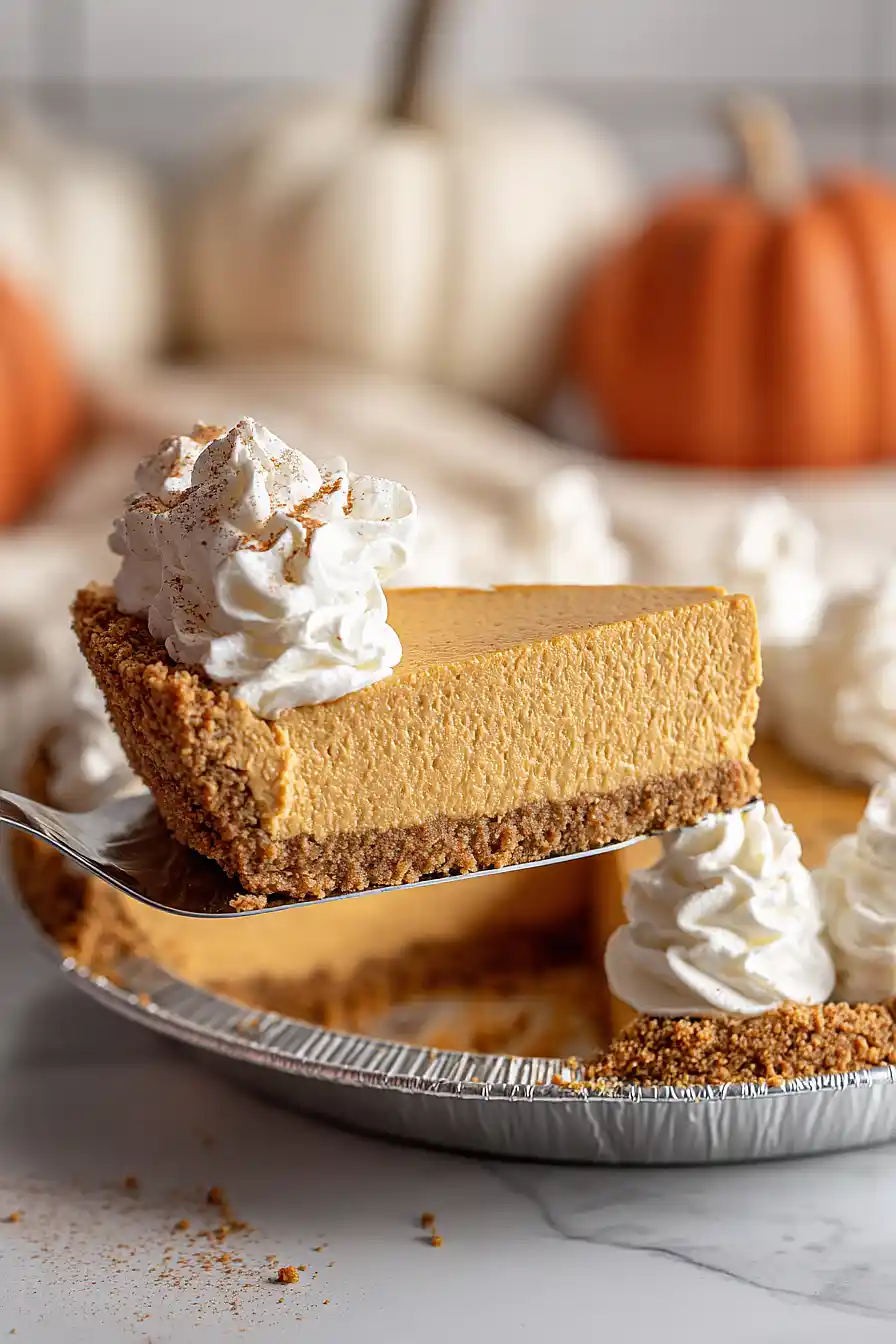
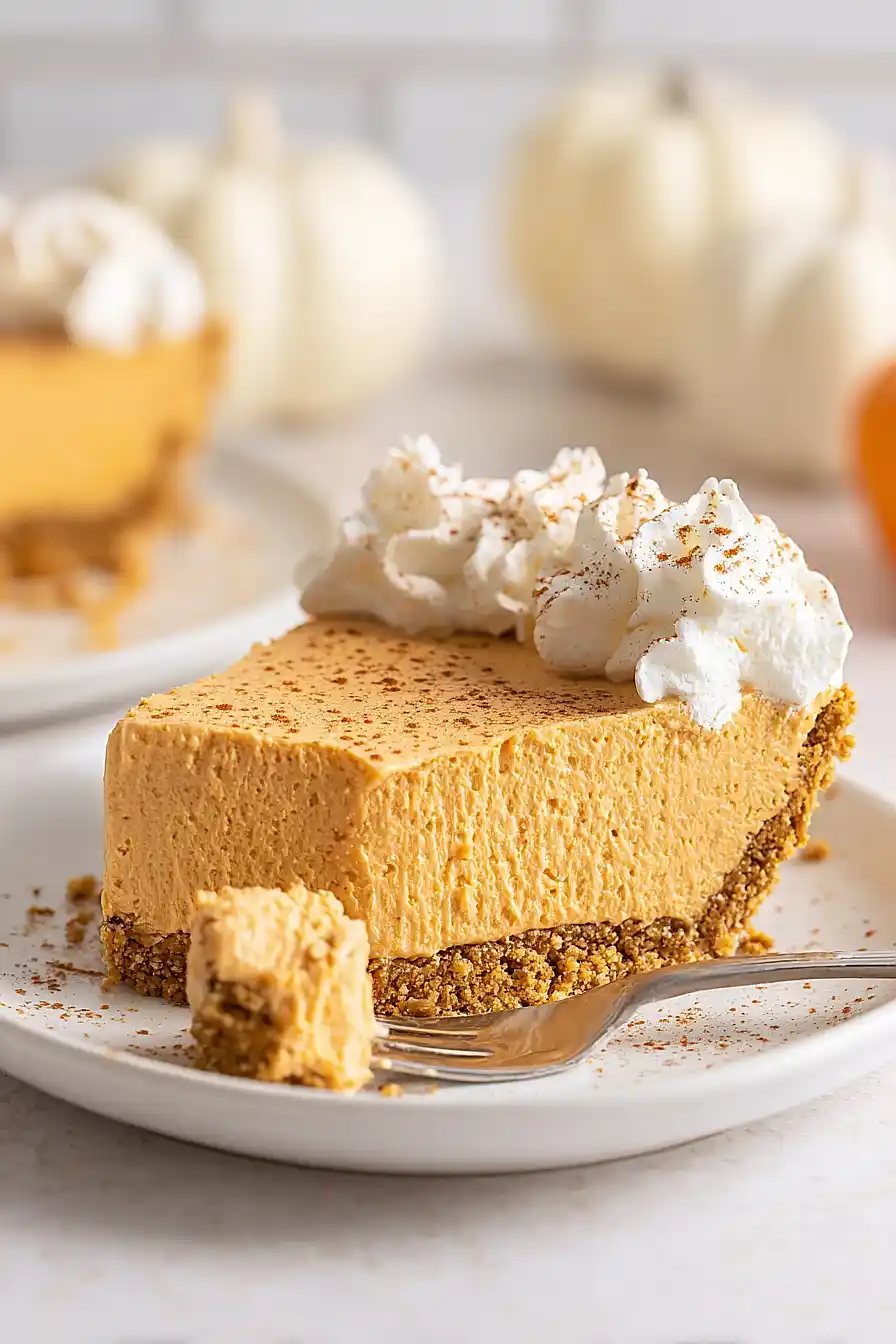
The marshmallow gives it a light, mousse-like texture that’s completely different from traditional pumpkin pie. A dollop of whipped cream on top makes it feel like a real dessert, even though you barely had to work for it.
It’s an easy fall treat that’s perfect when you want something seasonal but don’t want to turn on the oven.
Why You’ll Love This No Bake Marshmallow Pumpkin Pie
- No baking required – This pie comes together without turning on your oven, making it perfect for when you want a homemade dessert without the heat or hassle of baking.
- Simple ingredients – With just marshmallows, pumpkin, spices, and Cool Whip, you probably already have most of what you need in your pantry.
- Quick prep time – You can whip this together in about 15 minutes of actual work, then just let it chill while you do other things.
- Perfect for holidays – This pie gives you all the classic pumpkin pie flavors with a lighter, fluffier texture that’s a nice change from traditional heavy desserts.
- Beginner-friendly – Even if you’re not confident in the kitchen, this foolproof recipe is hard to mess up and always impresses.
What Kind of Pumpkin Should I Use?
For this no-bake pie, you’ll want to grab a can of pure pumpkin puree from the baking aisle – just make sure you’re not accidentally picking up pumpkin pie filling, which already has sugar and spices added. Pure pumpkin is simply cooked and mashed pumpkin with nothing else mixed in, and it’s what gives this pie its smooth, creamy texture. Most brands work equally well, so whether you choose Libby’s or the store brand, you’re good to go. If you happen to have leftover homemade pumpkin puree from roasting your own, that works too, just make sure it’s well-drained so your pie doesn’t end up watery.
Options for Substitutions
This easy no-bake pie is pretty forgiving when it comes to swaps:
- Large marshmallows: You can use mini marshmallows instead – just measure out about 5 cups to equal the 10 oz bag. They’ll melt the same way.
- Pumpkin pie spice: Don’t have pumpkin pie spice? Make your own by mixing ¼ teaspoon each of ginger, nutmeg, and allspice. Or just add an extra ½ teaspoon of cinnamon for a simpler version.
- Cool Whip: If you prefer, you can use homemade whipped cream instead. Just whip 1 cup of heavy cream with 2 tablespoons of powdered sugar until stiff peaks form.
- Graham cracker crust: Feel free to swap this with a vanilla wafer crust or ginger snap crust for a different flavor profile. You could also make your own crust by mixing 1 ½ cups of crushed graham crackers with 5 tablespoons melted butter and pressing it into a pie pan.
- Pure pumpkin: Make sure you’re using pure pumpkin puree and not pumpkin pie filling – they’re not the same thing. The pie filling already has sugar and spices added, which would throw off the recipe.
Watch Out for These Mistakes While Making This Recipe
The biggest mistake you can make with this no-bake pie is not melting the marshmallows completely, which will leave you with lumps that won’t blend smoothly into the pumpkin mixture – stir constantly over low heat and be patient until they’re fully melted and smooth.
Make sure your Cool Whip is completely thawed before folding it in, as frozen or partially frozen whipped topping won’t incorporate properly and can deflate your filling.
Another common error is skipping the chilling time – this pie needs at least 4 hours in the fridge to set up properly, so if you’re in a rush, it’ll be too soft to slice cleanly.
Finally, fold the Cool Whip gently into the pumpkin mixture instead of stirring vigorously, which keeps the filling light and airy rather than dense and heavy.
What to Serve With No Bake Pumpkin Pie?
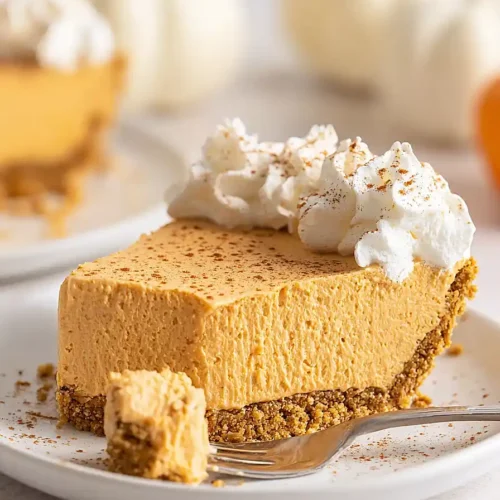
This pie is pretty rich and sweet on its own, so I like to serve it with a hot cup of coffee or spiced chai tea to balance out the flavors. A dollop of extra whipped cream on top is always a good idea, and you can sprinkle some cinnamon or crushed graham crackers for a little crunch. If you’re serving this for a holiday dinner, it pairs nicely with other fall desserts like apple crisp or pecan bars so your guests can try a little bit of everything. For a fun presentation, you can also add a drizzle of caramel sauce or some toasted pecans right before serving.
Storage Instructions
Refrigerate: This no bake pie needs to stay chilled in the fridge. Cover it loosely with plastic wrap or foil and it’ll keep for up to 4 days. The marshmallow filling holds up really well, so you can make it a day or two ahead if you’re planning for a gathering.
Freeze: You can freeze this pie for up to 2 months if you want to make it way ahead of time. Just wrap it tightly in plastic wrap and then in foil to prevent freezer burn. Let it thaw in the fridge overnight before serving.
Serve: For the best texture, let the pie sit at room temperature for about 10 minutes before slicing. This makes it easier to cut clean slices, and the filling will be perfectly creamy instead of too firm from the fridge.
| Preparation Time | 30-40 minutes |
| Cooking Time | 0 minutes |
| Total Time | 8-12 hours |
| Level of Difficulty | Easy |
Estimated Nutrition
Estimated nutrition for the whole recipe (without optional ingredients):
- Calories: 1700-1850
- Protein: 10-13 g
- Fat: 45-52 g
- Carbohydrates: 320-340 g
Ingredients
For the filling:
- 10 oz bag large marshmallows
- 1 cup canned pumpkin puree
- 1 tsp ground cinnamon
- 1/2 tsp pumpkin pie spice blend
- 1/2 tsp salt
- 8 oz tub cool whip (thawed)
For the crust:
- 1 prepared graham cracker crust (6 oz)
Step 1: Melt the Marshmallow Pumpkin Mixture
- 10 oz bag large marshmallows
- 1 cup canned pumpkin puree
- 1 tsp ground cinnamon
- 1/2 tsp pumpkin pie spice blend
- 1/2 tsp salt
In a saucepan over low or medium-low heat, combine the large marshmallows, canned pumpkin puree, ground cinnamon, pumpkin pie spice blend, and salt.
Stir very frequently to prevent the mixture from sticking, letting everything melt together until smooth and fully combined.
I sometimes add the salt last to taste, which really helps balance the sweetness.
Step 2: Cool the Pumpkin Mixture
- Pumpkin-marshmallow mixture from Step 1
Transfer the hot, smooth pumpkin-marshmallow mixture from Step 1 into a large mixing bowl.
Allow it to cool to room temperature before proceeding, about 30 minutes or longer if needed.
This ensures the whipped topping doesn’t melt when added.
Step 3: Fold in the Cool Whip
- Pumpkin-marshmallow mixture from Step 2
- 8 oz tub Cool Whip (thawed)
Once the pumpkin mixture is completely cool, add the thawed Cool Whip.
Stir gently until everything is evenly combined and the filling has a much lighter, fluffy texture.
Be careful not to overmix, as this will help keep the pie light and airy.
Step 4: Fill the Graham Cracker Crust
- Pumpkin pie filling from Step 3
- 1 prepared graham cracker crust (6 oz)
Spoon the pumpkin pie filling from Step 3 into the prepared graham cracker crust.
Spread it out evenly, smoothing the top with a spatula for a nice presentation.
Step 5: Chill the Pie
Cover the pie with the enclosed lid from the crust and refrigerate for at least 8 hours, or overnight for best results.
This allows the filling to thicken and the flavors to come together.
I always let it chill overnight—it slices perfectly afterward.
Step 6: Serve and Top with Whipped Cream
When ready to serve, slice the chilled pie and top each piece with additional whipped cream.
You can use spray can whipped cream, more Cool Whip, or even homemade whipped cream—it’s up to you.
Dollop just before serving to keep it fresh.
Homemade No Bake Marshmallow Pumpkin Pie
Ingredients
For the filling:
- 10 oz bag large marshmallows
- 1 cup canned pumpkin puree
- 1 tsp ground cinnamon
- 1/2 tsp pumpkin pie spice blend
- 1/2 tsp salt
- 8 oz tub Cool Whip (thawed)
For the crust:
- 1 prepared graham cracker crust (6 oz)
Instructions
- In a saucepan over low or medium-low heat, combine the large marshmallows, canned pumpkin puree, ground cinnamon, pumpkin pie spice blend, and salt. Stir very frequently to prevent the mixture from sticking, letting everything melt together until smooth and fully combined. I sometimes add the salt last to taste, which really helps balance the sweetness.
- Transfer the hot, smooth pumpkin-marshmallow mixture from Step 1 into a large mixing bowl. Allow it to cool to room temperature before proceeding, about 30 minutes or longer if needed. This ensures the whipped topping doesn't melt when added.
- Once the pumpkin mixture is completely cool, add the thawed Cool Whip. Stir gently until everything is evenly combined and the filling has a much lighter, fluffy texture. Be careful not to overmix, as this will help keep the pie light and airy.
- Spoon the pumpkin pie filling from Step 3 into the prepared graham cracker crust. Spread it out evenly, smoothing the top with a spatula for a nice presentation.
- Cover the pie with the enclosed lid from the crust and refrigerate for at least 8 hours, or overnight for best results. This allows the filling to thicken and the flavors to come together. I always let it chill overnight—it slices perfectly afterward.
- When ready to serve, slice the chilled pie and top each piece with additional whipped cream. You can use spray can whipped cream, more Cool Whip, or even homemade whipped cream—it's up to you. Dollop just before serving to keep it fresh.
