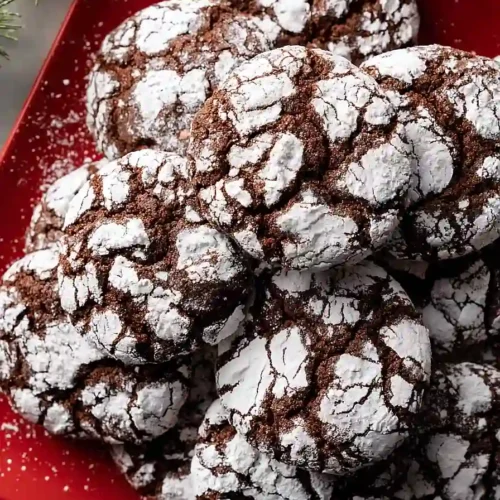
Rich Chocolate Peppermint Crinkle Cookies
Delicious Rich Chocolate Peppermint Crinkle Cookies recipe with step-by-step instructions.
Ingredients
For the dough:
- 1/2 tsp kosher salt
- 2 tsp peppermint extract (adds bright minty flavor)
- 1 cup cocoa powder (Dutch-process for deeper chocolate flavor)
- 2 cups all-purpose flour (I use King Arthur all-purpose)
- 2 cups sugar
- 4 large eggs (room temperature for better mixing)
- 2 tsp baking powder
- 1/2 cup vegetable oil (or canola oil)
For the coating:
- 1/2 cup confectioners' sugar (for rolling, creates crinkled effect)
Instructions
- In a large bowl, whisk together the sugar, cocoa powder, and vegetable oil until well combined and slightly paste-like. Add the room temperature eggs one at a time, whisking thoroughly after each addition to create a smooth, emulsified mixture. Stir in the peppermint extract until evenly distributed. This wet base is where all your chocolate and peppermint flavor lives, so make sure everything is fully incorporated before moving to the next step.
- In a separate bowl, whisk together the all-purpose flour, baking powder, and kosher salt. This dry mixture will be incorporated into the wet base to form the dough. I like to whisk these together to distribute the baking powder evenly—this prevents any bitter pockets of concentrated leavening in your cookies.
- Add the dry ingredient mixture from Step 2 to the wet chocolate mixture from Step 1, stirring until just combined into a thick, fudgy dough. Don't overmix—you want a cohesive dough without overdeveloping the flour, which would make the cookies tough. The dough will be quite rich and slightly sticky, which is exactly what you want for that signature crinkly texture.
- Cover the dough and refrigerate for at least 4 hours, or up to overnight. This resting period allows the flavors to meld and makes the dough much easier to handle when rolling. Cold dough won't spread as much during baking, which helps you achieve those signature deep crinkles on top.
- Preheat your oven to 350°F and set up your workspace. Pour the confectioners' sugar into a shallow bowl—this is your coating station. Have your baking sheets ready nearby so you can work efficiently once you start rolling the dough balls.
- Working with the chilled dough from Step 4, scoop out 2-tablespoon portions and roll them into balls. Immediately roll each ball in the confectioners' sugar until fully coated, then place it on your baking sheet about 2 inches apart. The sugar coating will create those beautiful crinkles as the cookies bake and the dough expands.
- Bake at 350°F for 10-12 minutes, until the edges are set but the center still has a slight jiggle—these cookies should be fudgy, not cake-like. Remove from the oven and let the cookies cool on the baking sheet for 5 minutes before transferring to a wire rack. I find this 5-minute rest on the sheet helps them firm up just enough to move without breaking while staying wonderfully chewy inside.