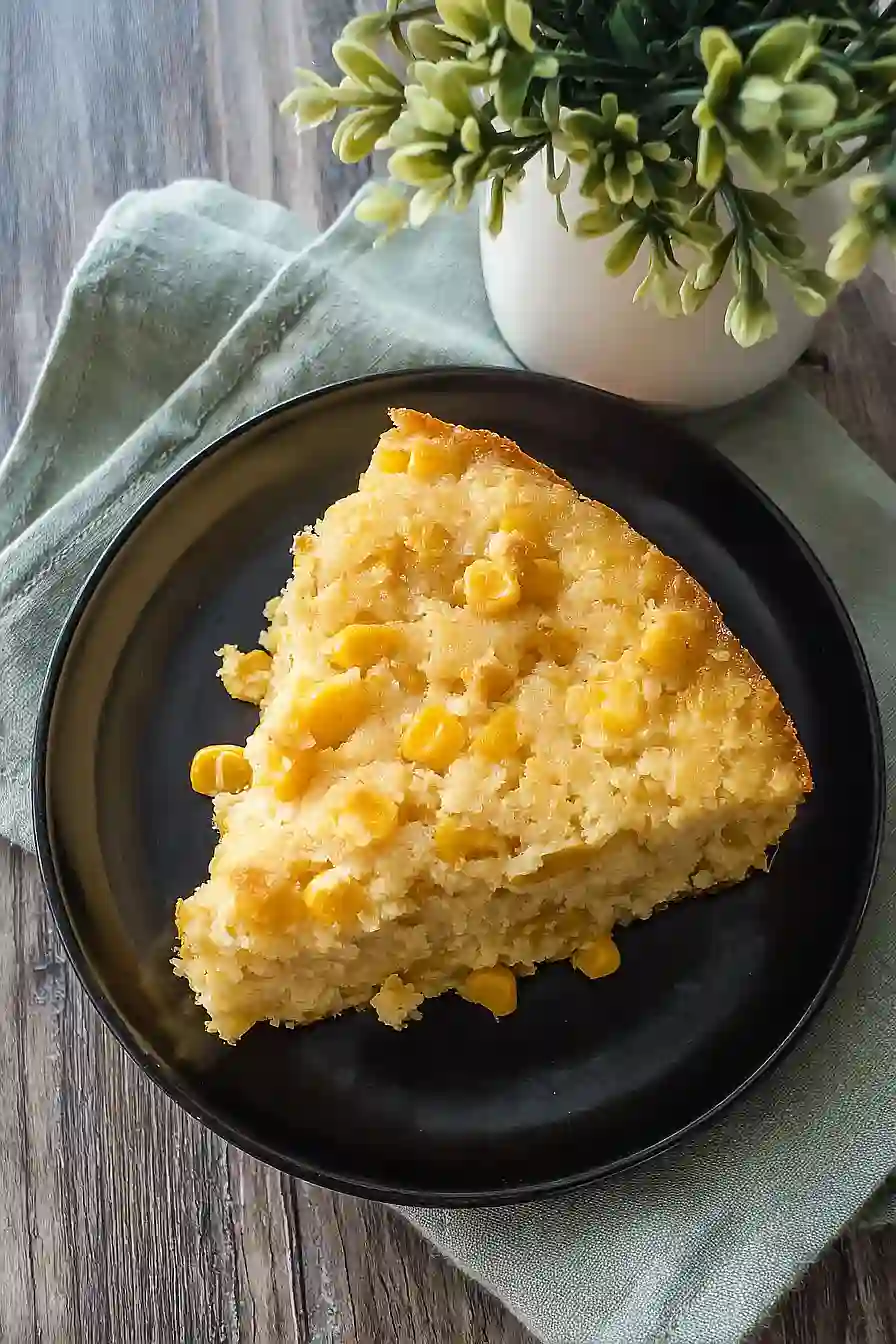
Here is my favorite Instant Pot corn casserole recipe, with creamy corn, buttery cornbread mix, sour cream, and just the right amount of sweetness, all cooked together in your pressure cooker.
This corn casserole is a total lifesaver during busy weeknights or when I need to bring a side dish to a potluck. I love that it’s made in the Instant Pot, which means less time in the kitchen and one less dish to clean up.

Why You’ll Love This Corn Casserole
- Quick and easy prep – This Instant Pot corn casserole comes together in about an hour, making it perfect for busy weeknights or last-minute holiday side dishes.
- Simple pantry ingredients – You probably already have most of these staples in your kitchen, including canned corn and a box of cornbread mix.
- Moist and flavorful – The combination of sour cream, butter, and creamed corn creates a rich, creamy texture that’s way better than dry cornbread.
- Perfect for gatherings – This crowd-pleasing side dish works great for potlucks, Thanksgiving dinner, or any time you need to feed a group without much fuss.
- Hands-off cooking – The Instant Pot does all the work for you, freeing up your oven for other dishes and keeping your kitchen cooler.
What Kind of Corn Should I Use?
This recipe calls for both whole kernel corn and creamed corn, and you’ve got some flexibility with your choices. For the whole kernel corn, you can use canned, frozen, or even fresh corn cut off the cob if it’s in season – just make sure to drain it well so you don’t add extra liquid to your casserole. The creamed corn is what gives this dish its signature creamy texture, and the canned version works perfectly since it’s already seasoned and has the right consistency. If you want to use fresh or frozen corn for both types, you can blend half of it with a little milk to create your own creamed corn version, though the canned stuff makes things much easier and tastes great.
Options for Substitutions
This corn casserole is pretty forgiving when it comes to swaps, so here are some options if you need them:
- Butter: You can use margarine or vegetable oil instead of butter. If using oil, use about 6 tablespoons instead of the full 1/2 cup.
- Reduced fat sour cream: Regular full-fat sour cream works just fine, or you can substitute with plain Greek yogurt for a similar tangy flavor and creamy texture.
- Cornbread mix: This is the base of your casserole, so don’t substitute this one. The mix is what gives the dish its structure and that signature cornbread flavor.
- Milk: Any milk works here – whole, 2%, almond, or even buttermilk. Buttermilk will give you a slightly tangier flavor.
- Whole kernel corn: Fresh corn cut from the cob or frozen corn (thawed and drained) both work great. You’ll need about 3/4 cup if measuring loose corn.
- Creamed corn: If you don’t have creamed corn, you can blend half of your whole kernel corn with 2 tablespoons of milk to create a similar consistency.
Watch Out for These Mistakes While Cooking
The biggest mistake with Instant Pot corn casserole is overmixing the batter once you add the cornbread mix, which can make your casserole dense and tough instead of light and fluffy – just stir until the dry ingredients are barely incorporated.
Another common error is forgetting to grease your baking dish or pan really well before pouring in the batter, since this casserole can stick like crazy and make serving a nightmare.
Make sure you’re using the right size pan that fits comfortably in your Instant Pot with enough space for steam to circulate, and always let the pressure release naturally for at least 10 minutes to prevent the casserole from collapsing in the middle.
Finally, resist the urge to dig in right away – letting it cool for 15-20 minutes helps it set up properly so you get clean slices instead of a gooey spoonful.

What to Serve With Corn Casserole?
Corn casserole is a total crowd-pleaser at any barbecue or family dinner, and it pairs perfectly with just about any grilled or smoked meat you can think of. I love serving it alongside pulled pork, brisket, or grilled chicken because the sweet, creamy corn balances out the savory flavors really nicely. It also works great as part of a bigger spread with coleslaw, baked beans, and some dinner rolls for a complete comfort food meal. If you’re doing a holiday dinner, this casserole fits right in next to roasted turkey or ham, and honestly, it’s one of those sides that people always come back for seconds.
Storage Instructions
Store: Keep your leftover corn casserole in an airtight container in the fridge for up to 4 days. It actually tastes even better the next day once all the flavors have had time to meld together, so don’t be surprised if you find yourself sneaking spoonfuls straight from the fridge!
Freeze: This casserole freezes really well for up to 3 months. Let it cool completely, then wrap it tightly in plastic wrap and aluminum foil, or portion it out into individual servings in freezer-safe containers. It’s great to have on hand for busy weeknights.
Reheat: Warm up individual portions in the microwave for about 1-2 minutes, or reheat the whole thing in a 350°F oven for 15-20 minutes until heated through. If it seems a bit dry after storing, just add a small pat of butter on top before reheating to bring back that moisture.
| Preparation Time | 15-20 minutes |
| Cooking Time | 50 minutes |
| Total Time | 65-70 minutes |
| Level of Difficulty | Medium |
Estimated Nutrition
Estimated nutrition for the whole recipe (without optional ingredients):
- Calories: 1750-1900
- Protein: 25-30 g
- Fat: 85-95 g
- Carbohydrates: 210-230 g
We'll Pay You $5 to Try This Recipe!
Cook our recipe, snap some photos, and earn a $5 Amazon Gift Card. It's that simple!
Here's how:
- Make the recipe
- Take nice pictures of your final dish
- Fill out our quick form (2 minutes max!)
- Your $5 reward is on the way!
Ingredients
- 1/2 cup softened butter (room temperature, about 70°F)
- 1/2 cup whole kernel corn (fresh or thawed frozen)
- 1 large egg (room temperature for better mixing)
- 1/4 cup sugar
- 1/2 cup creamed corn
- 1 box cornbread muffin mix (I use Jiffy brand)
- 1/2 cup milk
- 1 cup reduced fat sour cream
Step 1: Prepare the Instant Pot and Pan
- 1 cup water
- cake pan
- aluminum foil
Pour 1 cup of water into the bottom of your Instant Pot and place the trivet (rack) inside.
Grease a 7-inch round cake pan or similar Instant Pot-safe baking vessel thoroughly with butter or cooking spray, then wrap the bottom and all four sides tightly with aluminum foil.
This prevents water from seeping into the batter during cooking.
Set the prepared pan aside while you make the batter.
Step 2: Cream Butter and Sugar
- 1/2 cup softened butter
- 1/4 cup sugar
In a large mixing bowl, combine the softened butter and sugar, then beat on medium speed for 2-3 minutes until the mixture is light and fluffy.
This creaming process incorporates air into the batter, which helps the casserole rise and develop a tender crumb.
Stop occasionally to scrape down the bowl.
Step 3: Build the Wet Ingredient Base
- butter-sugar mixture from Step 2
- 1 large egg
- 1 cup reduced fat sour cream
Add the room temperature egg to the butter mixture and beat for about 1 minute until fully incorporated and the mixture looks smooth.
Then add the sour cream and beat for another minute until well combined.
I like to use sour cream at room temperature because it blends more smoothly into the butter mixture, creating a silkier batter base.
Step 4: Incorporate the Cornbread Mix and Milk
- wet mixture from Step 3
- 1 box cornbread muffin mix
- 1/2 cup milk
Add half of the cornbread muffin mix to the wet ingredients and beat on low speed until just combined, about 30 seconds.
Pour in the milk and mix briefly, then add the remaining cornbread mix and beat on low speed until the ingredients just come together into a smooth batter.
Avoid overmixing, as this can make the casserole dense.
Stop as soon as you don’t see any dry streaks of mix.
Step 5: Fold in the Corn and Assemble for Cooking
- batter from Step 4
- 1/2 cup whole kernel corn
- 1/2 cup creamed corn
- prepared pan from Step 1
Using a spatula or wooden spoon, gently fold the whole kernel corn and creamed corn into the batter with just a few strokes—don’t overmix.
Pour the batter into the foil-wrapped baking pan and smooth the top.
Tent a piece of aluminum foil loosely over the top of the pan (don’t seal it tightly), then carefully lower the pan onto the trivet in the Instant Pot.
I fold in the corn gently because the whole kernels are delicate and you want them to stay intact throughout cooking.
Step 6: Pressure Cook the Casserole
Close the Instant Pot lid and set the valve to sealing.
Cook on high pressure for 50 minutes.
When the timer beeps, carefully perform a quick release by moving the pressure valve to venting (use tongs or a wooden spoon if needed to avoid steam burns).
Remove the lid by tilting it away from you, then carefully lift out the trivet and pan using kitchen mitts or tongs.
Step 7: Rest and Finish
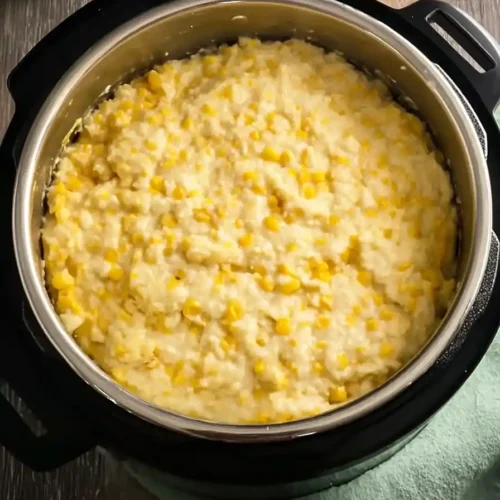
Remove the tented foil from the top of the pan and let the casserole rest in the pan for 15 minutes.
This resting time allows the casserole to set and firm up slightly, making it easier to serve.
You can serve it directly from the pan, or run a knife around the edges and invert it onto a serving plate if you prefer.
Creamy Instant Pot Corn Casserole
Ingredients
- 1/2 cup softened butter (room temperature, about 70°F)
- 1/2 cup whole kernel corn (fresh or thawed frozen)
- 1 large egg (room temperature for better mixing)
- 1/4 cup sugar
- 1/2 cup creamed corn
- 1 box cornbread muffin mix (I use Jiffy brand)
- 1/2 cup milk
- 1 cup reduced fat sour cream
Instructions
- Pour 1 cup of water into the bottom of your Instant Pot and place the trivet (rack) inside. Grease a 7-inch round cake pan or similar Instant Pot-safe baking vessel thoroughly with butter or cooking spray, then wrap the bottom and all four sides tightly with aluminum foil. This prevents water from seeping into the batter during cooking. Set the prepared pan aside while you make the batter.
- In a large mixing bowl, combine the softened butter and sugar, then beat on medium speed for 2-3 minutes until the mixture is light and fluffy. This creaming process incorporates air into the batter, which helps the casserole rise and develop a tender crumb. Stop occasionally to scrape down the bowl.
- Add the room temperature egg to the butter mixture and beat for about 1 minute until fully incorporated and the mixture looks smooth. Then add the sour cream and beat for another minute until well combined. I like to use sour cream at room temperature because it blends more smoothly into the butter mixture, creating a silkier batter base.
- Add half of the cornbread muffin mix to the wet ingredients and beat on low speed until just combined, about 30 seconds. Pour in the milk and mix briefly, then add the remaining cornbread mix and beat on low speed until the ingredients just come together into a smooth batter. Avoid overmixing, as this can make the casserole dense. Stop as soon as you don't see any dry streaks of mix.
- Using a spatula or wooden spoon, gently fold the whole kernel corn and creamed corn into the batter with just a few strokes—don't overmix. Pour the batter into the foil-wrapped baking pan and smooth the top. Tent a piece of aluminum foil loosely over the top of the pan (don't seal it tightly), then carefully lower the pan onto the trivet in the Instant Pot. I fold in the corn gently because the whole kernels are delicate and you want them to stay intact throughout cooking.
- Close the Instant Pot lid and set the valve to sealing. Cook on high pressure for 50 minutes. When the timer beeps, carefully perform a quick release by moving the pressure valve to venting (use tongs or a wooden spoon if needed to avoid steam burns). Remove the lid by tilting it away from you, then carefully lift out the trivet and pan using kitchen mitts or tongs.
- Remove the tented foil from the top of the pan and let the casserole rest in the pan for 15 minutes. This resting time allows the casserole to set and firm up slightly, making it easier to serve. You can serve it directly from the pan, or run a knife around the edges and invert it onto a serving plate if you prefer.
